Did the work today, a couple of notes.
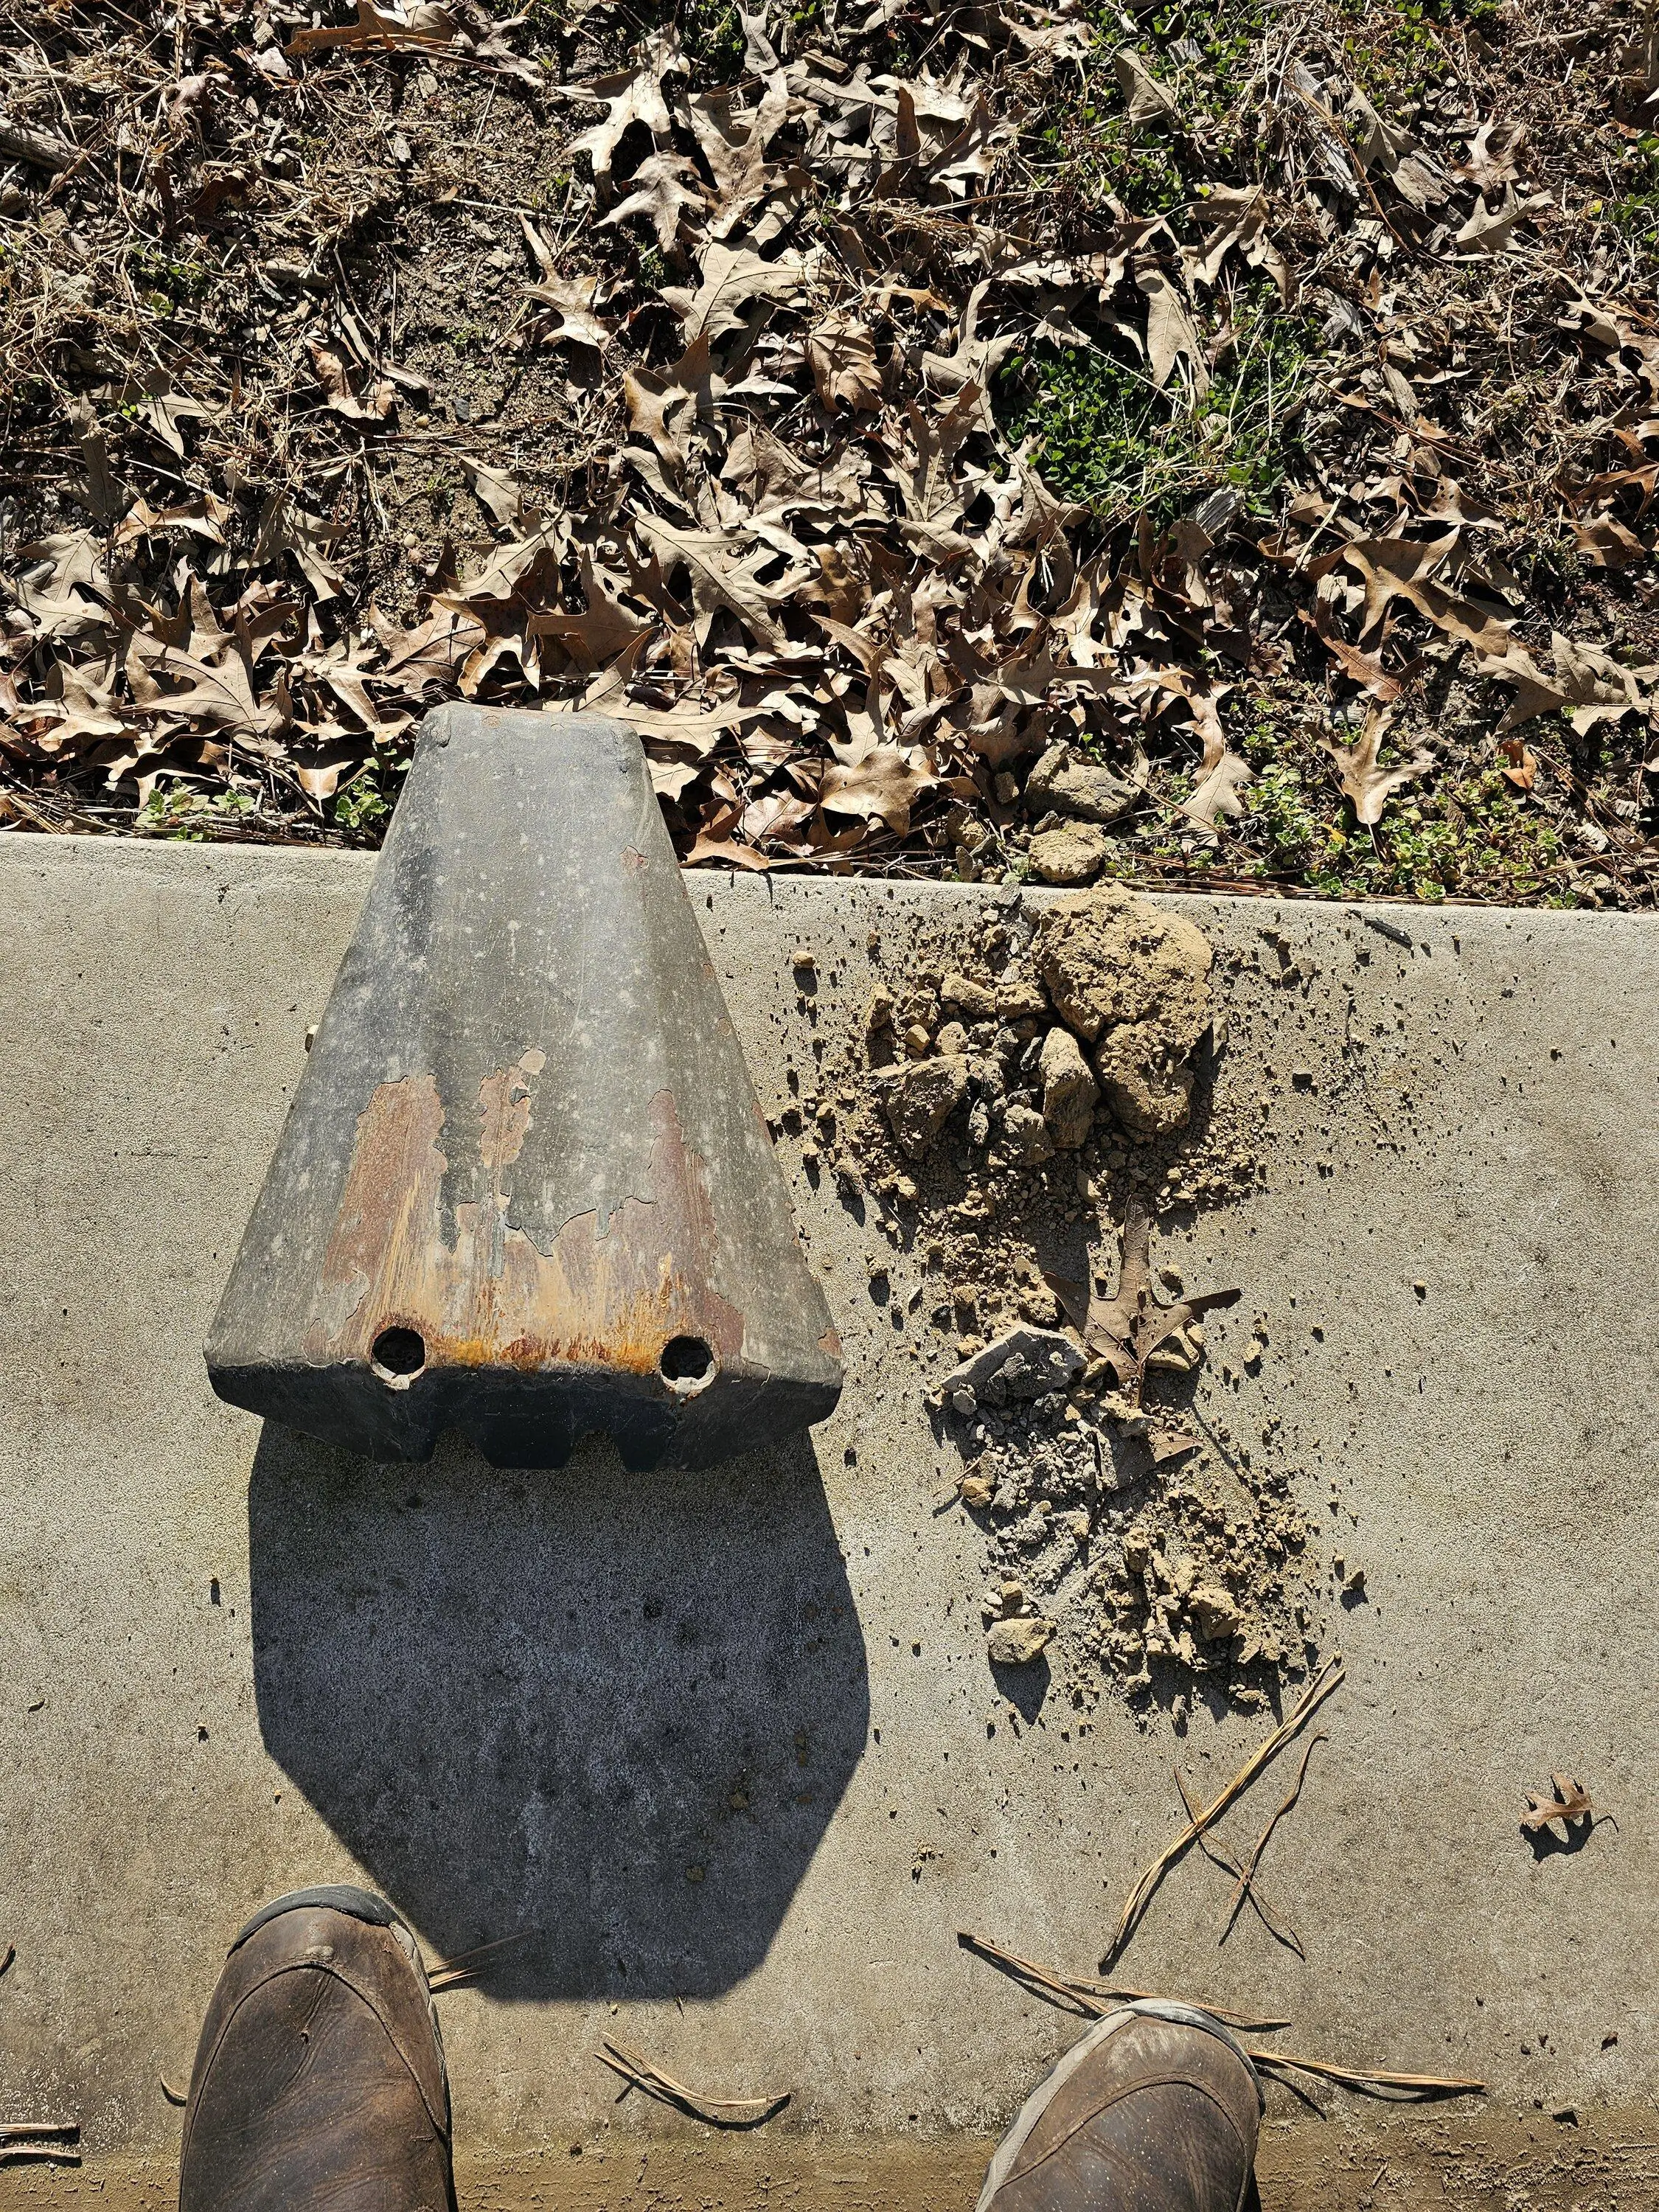
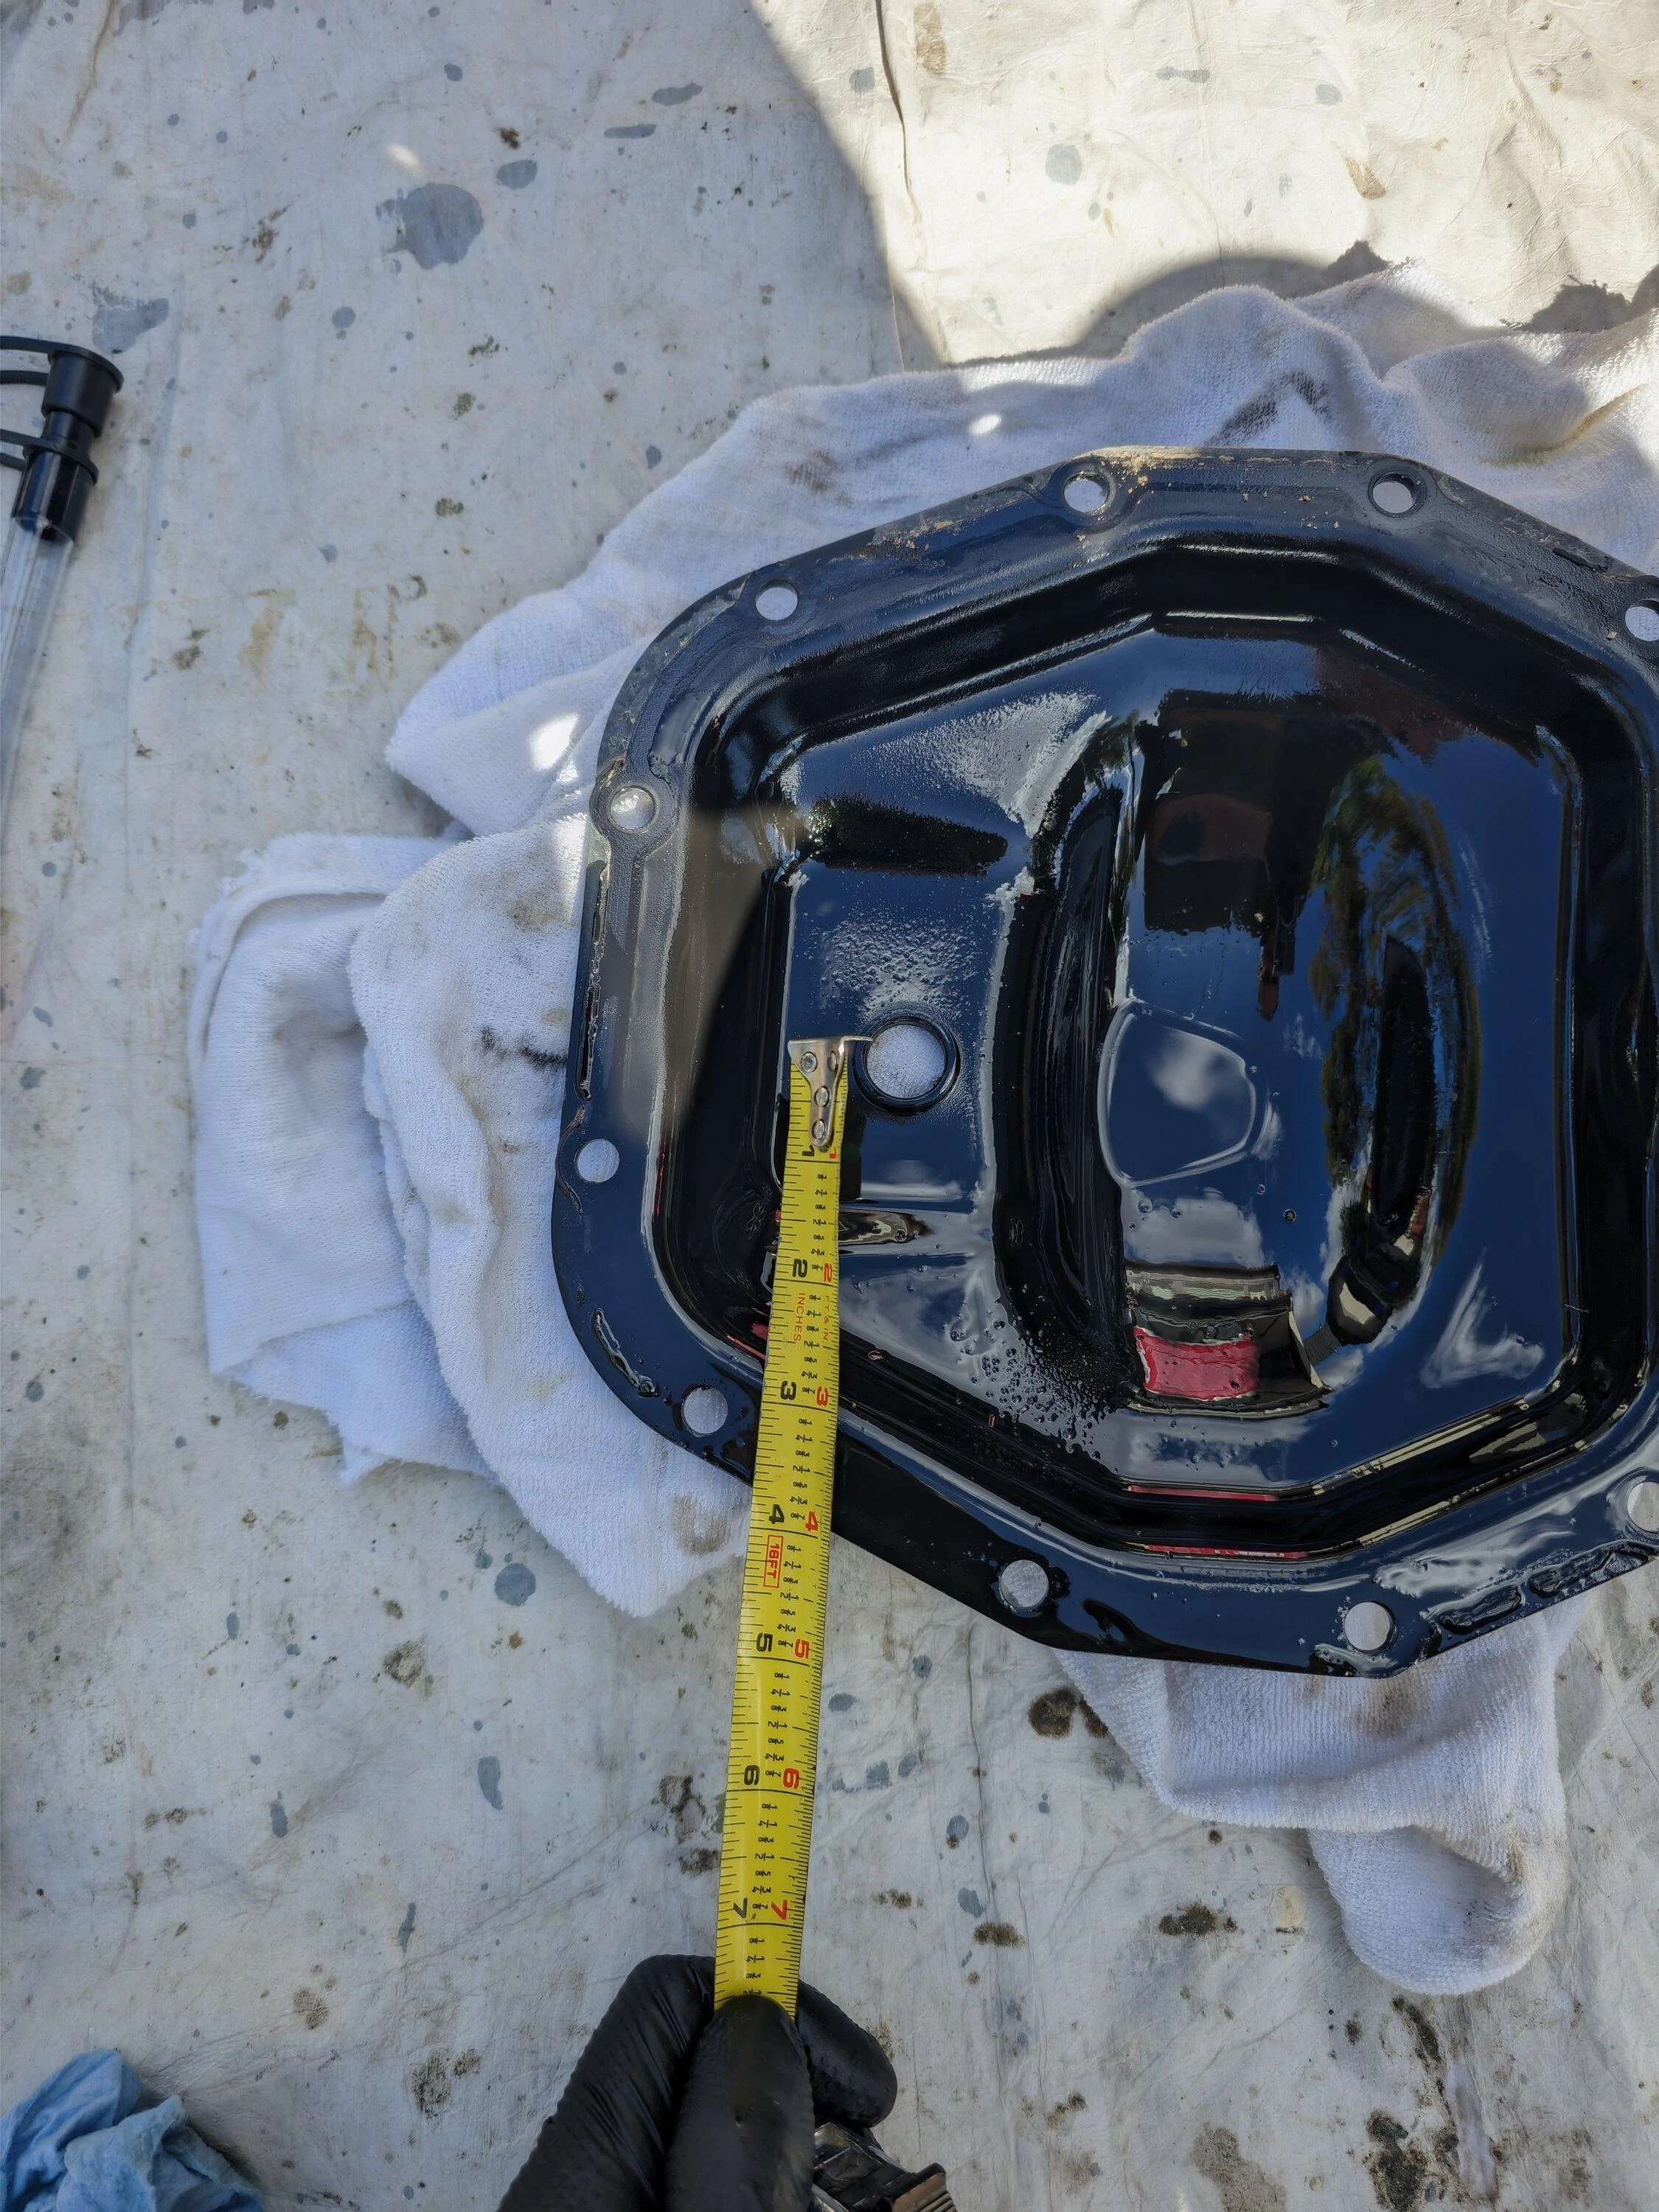
The lower drain plug on the FP cover is 1/2 inch lower than that on the OE cover, see first two pics. Despite that, the FP cover takes exactly 2 quarts of oil till it starts overflowing the lower drain plug. I measured the old oil and it came out to slightly less than 2 quarts.
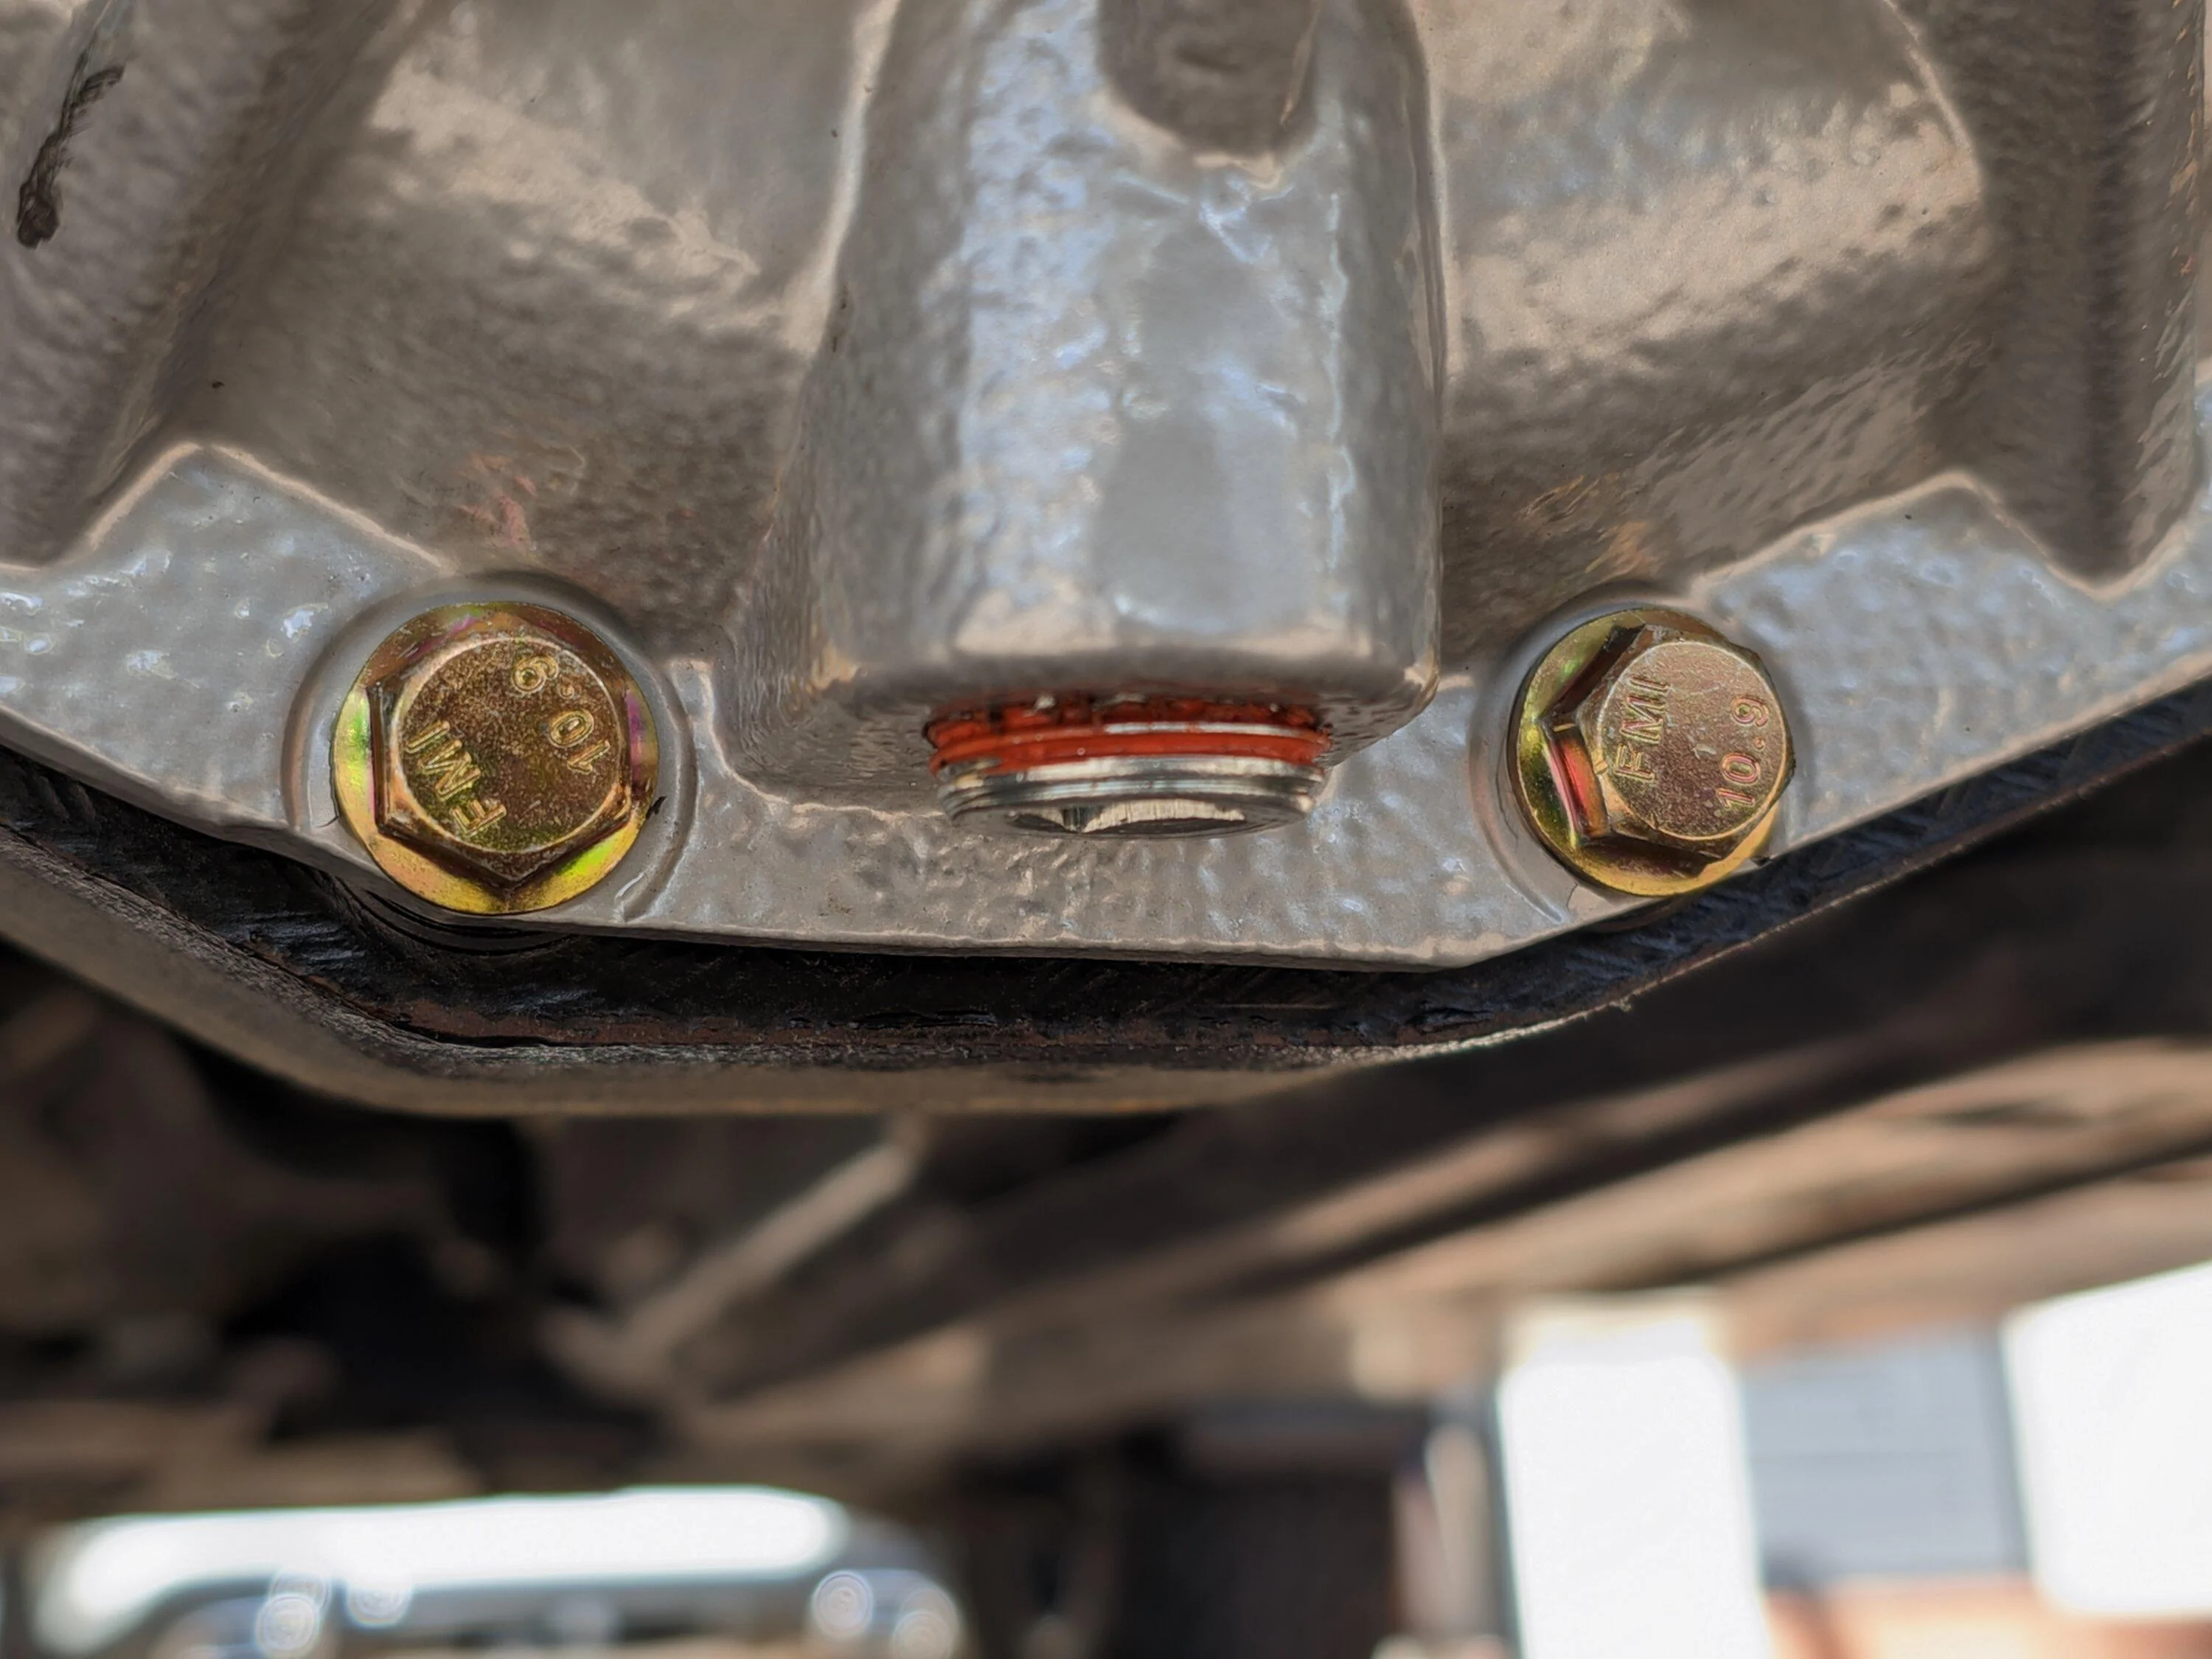
The lower edge of the FP cover is slightly above the diff housing (third image). I suspect that this is done intentionally so that if you drag the pumpkin there is less chance of snagging onto a rock and ripping the diff open.
Finally, I don't think it is necessary to buy additional magnetic plugs. You can just install the OE one in the lower position (it is magnetic) and keep the top one non magnetic.


The lower drain plug on the FP cover is 1/2 inch lower than that on the OE cover, see first two pics. Despite that, the FP cover takes exactly 2 quarts of oil till it starts overflowing the lower drain plug. I measured the old oil and it came out to slightly less than 2 quarts.
The lower edge of the FP cover is slightly above the diff housing (third image). I suspect that this is done intentionally so that if you drag the pumpkin there is less chance of snagging onto a rock and ripping the diff open.
Finally, I don't think it is necessary to buy additional magnetic plugs. You can just install the OE one in the lower position (it is magnetic) and keep the top one non magnetic.

Sponsored


")


 that hard, yes you protect it but it’s going to be a lot of disassembly to change the fluid in the future.. And if you are dragging your pumpkin you probably need to change that fluid (along with Transfer case and Front Differential) because your driveline will be working overtime.. Cheers