- First Name
- T
- Joined
- Mar 11, 2021
- Threads
- 18
- Messages
- 578
- Reaction score
- 713
- Location
- Berkeley, CA
- Vehicle(s)
- 2023 Badlands, 2013 Toyota Highlander, 2000 Miata
- Your Bronco Model
- Badlands
- Thread starter
- #1
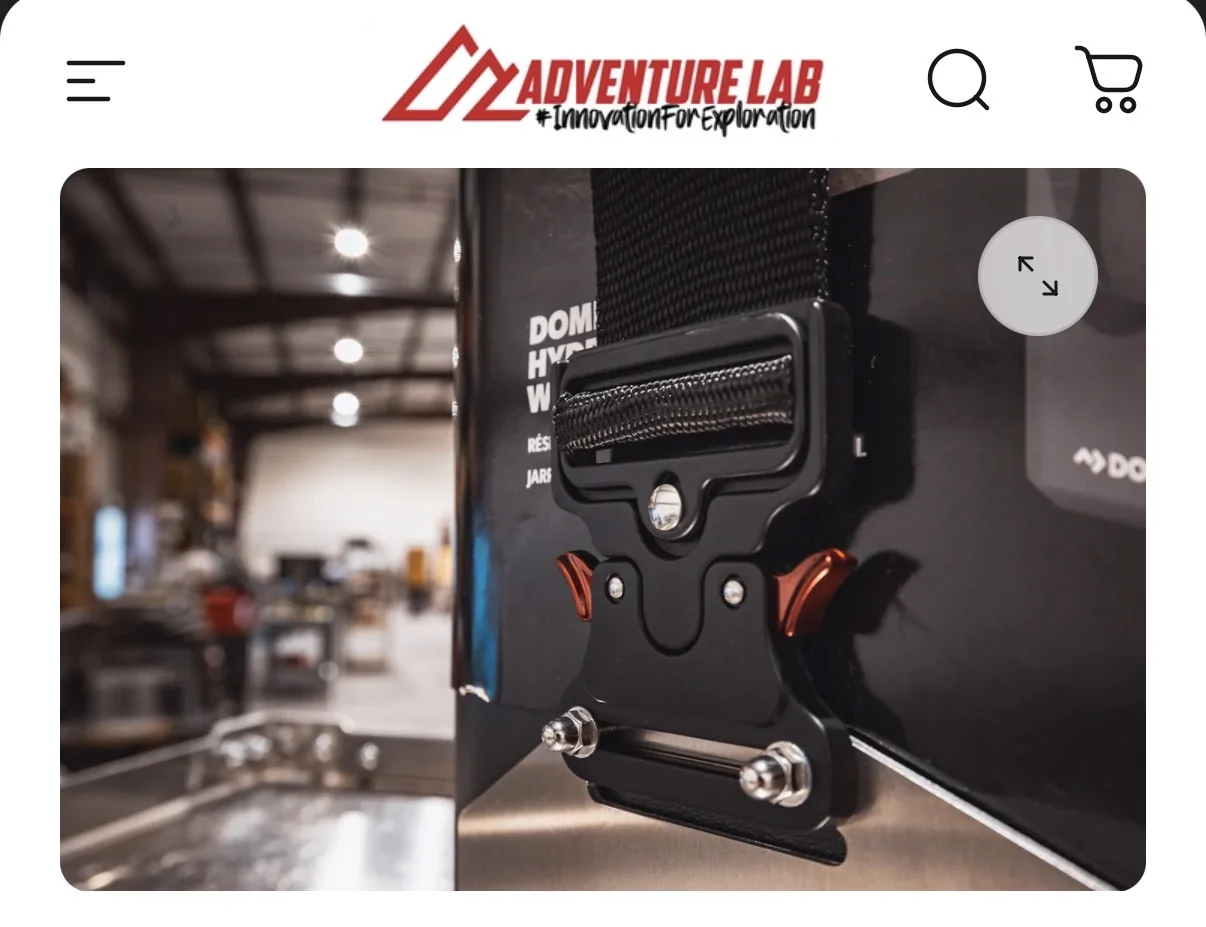
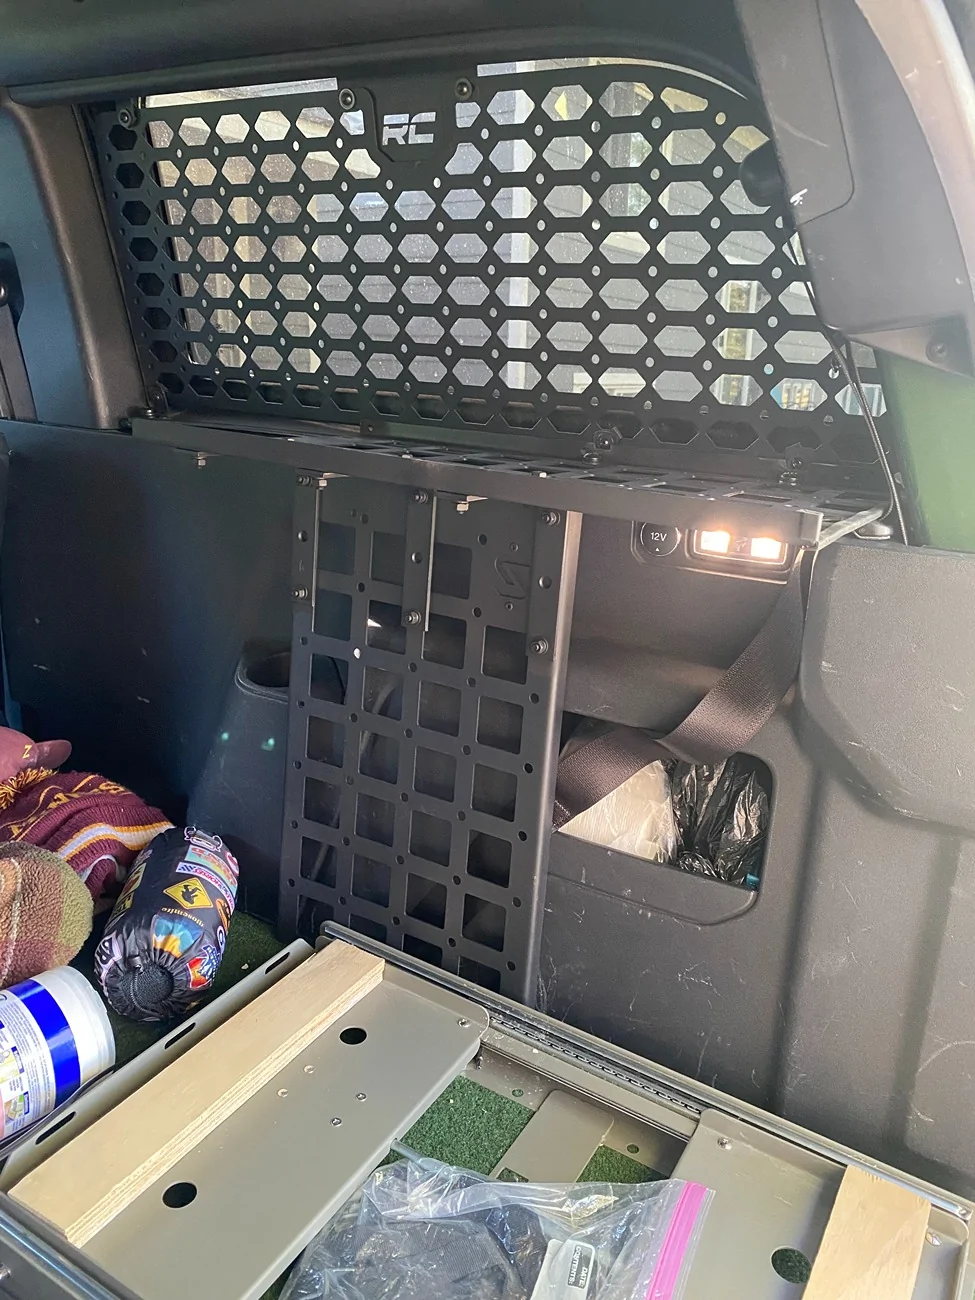
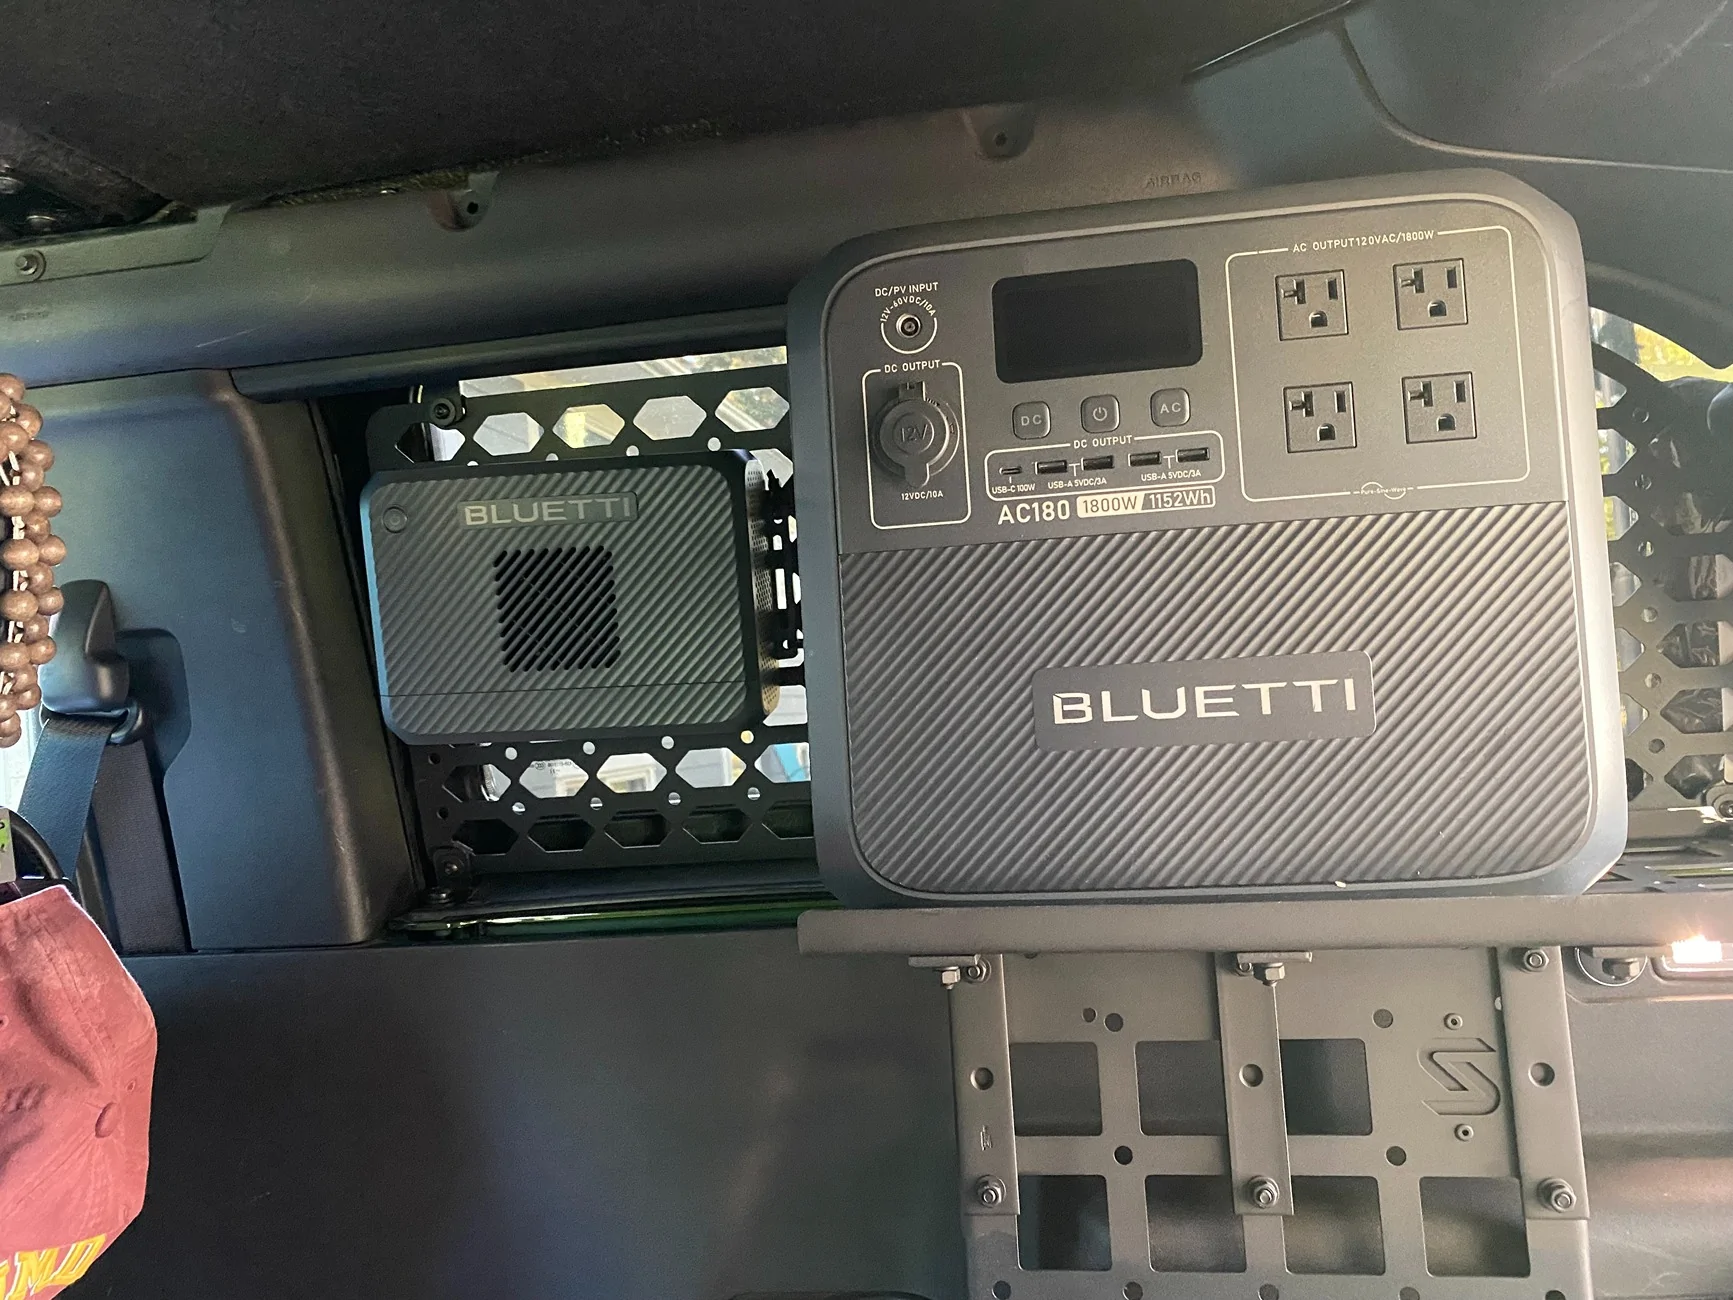
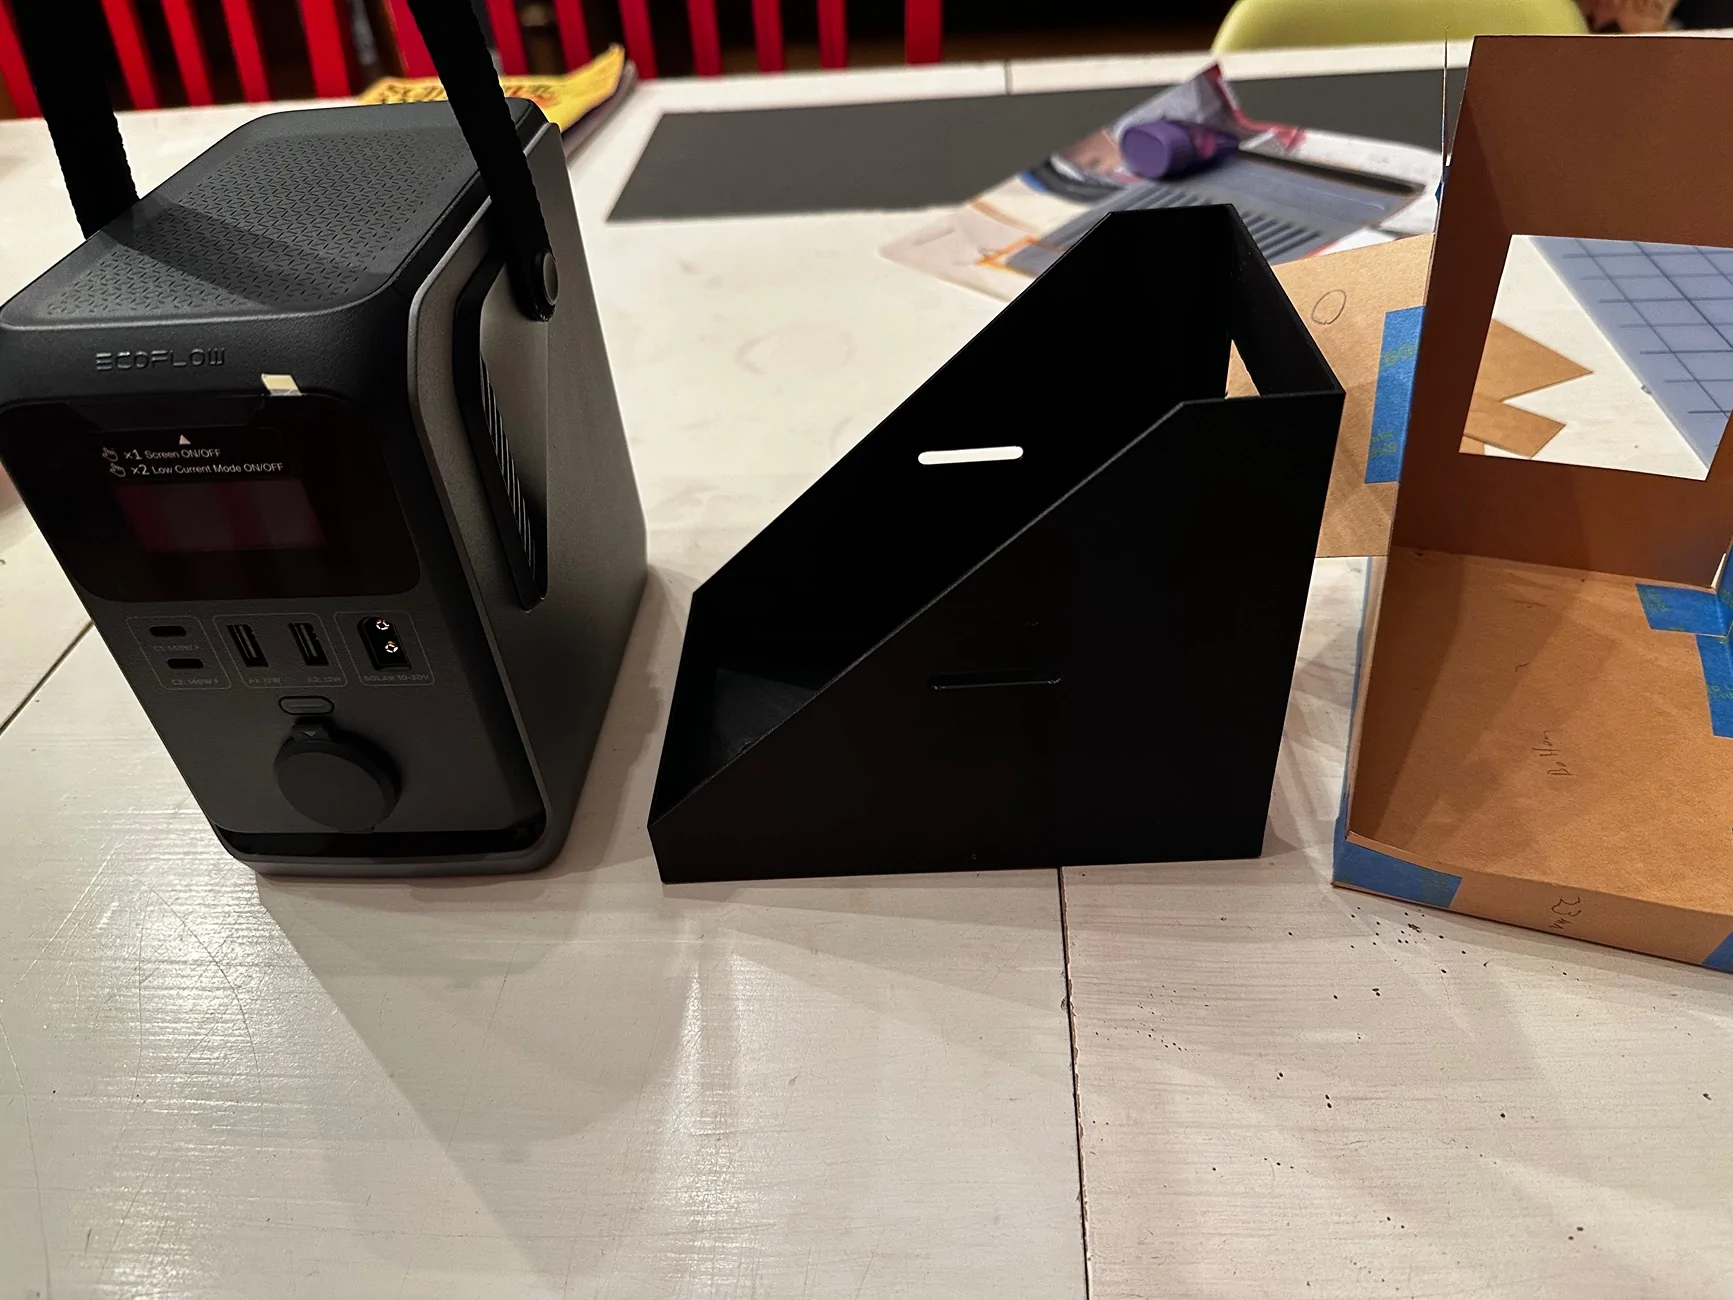
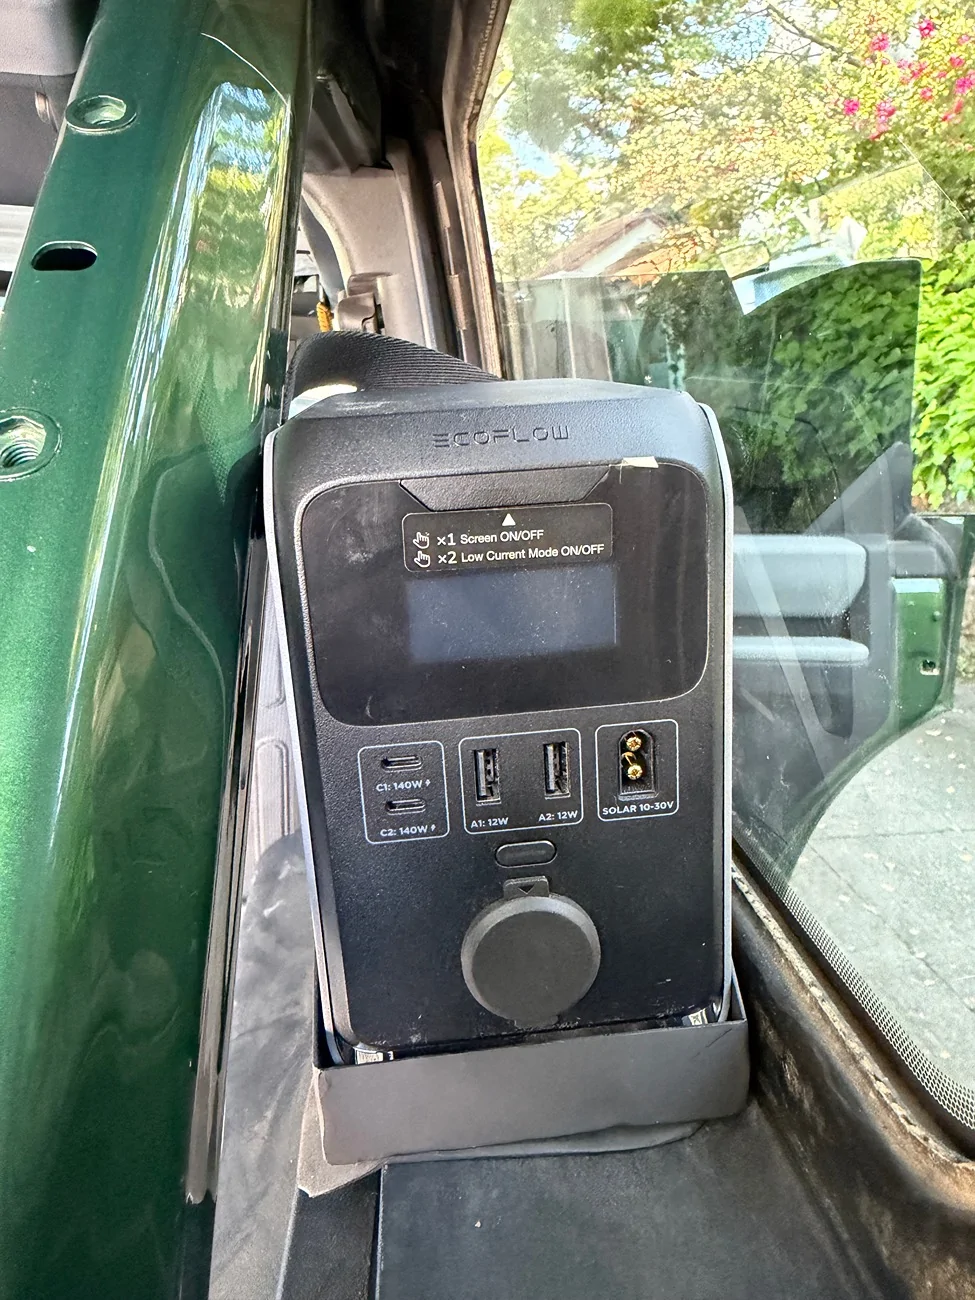
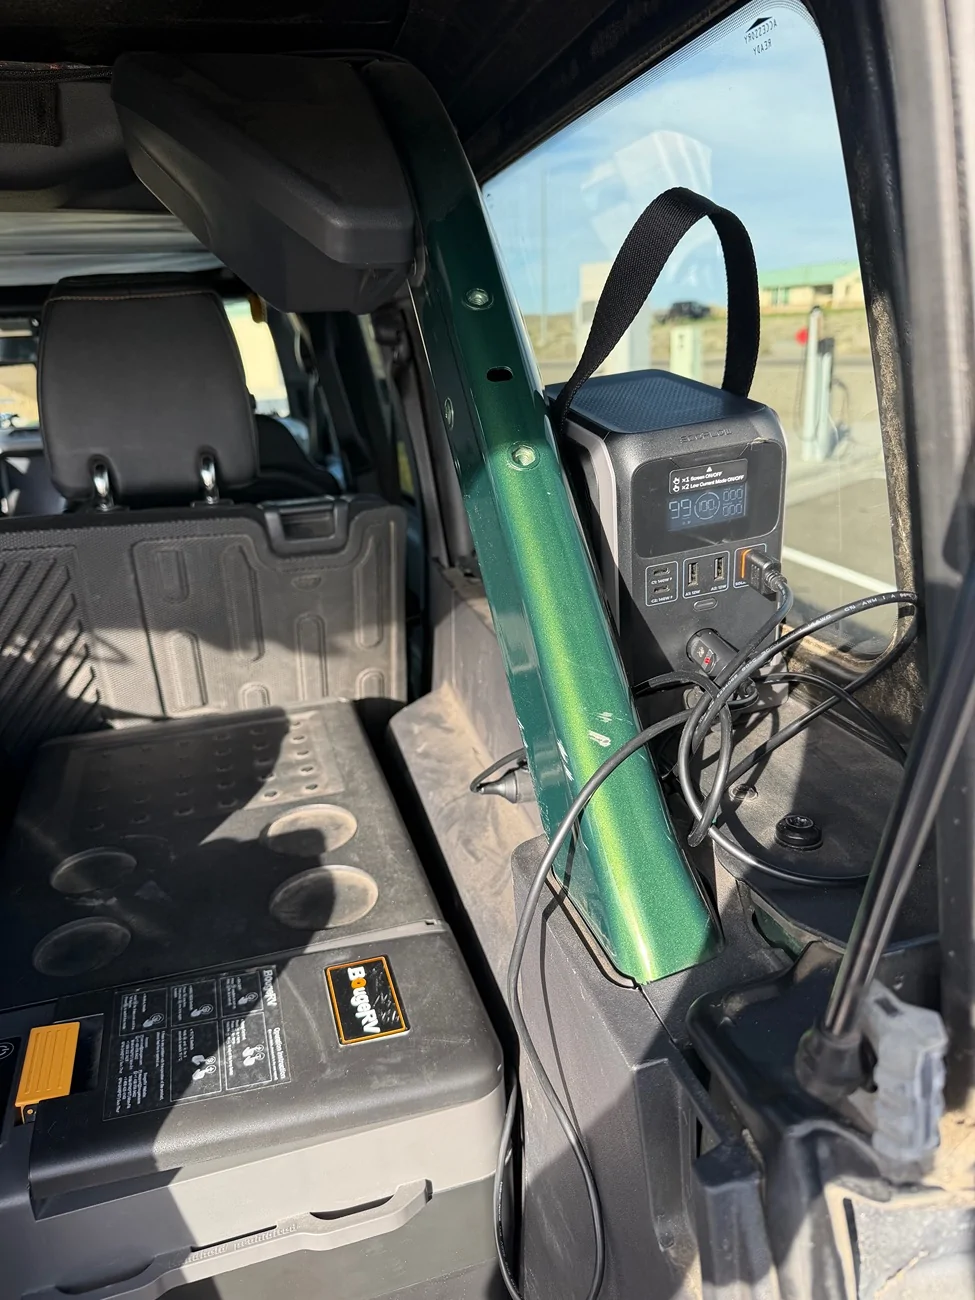
I finished a custom battery mount for the Bronco. It’s specifically for the Ecoflow Trail 200/300 battery series. It mounts to existing hardtop retention bolts next to the passenger side rollbar. Pics below.
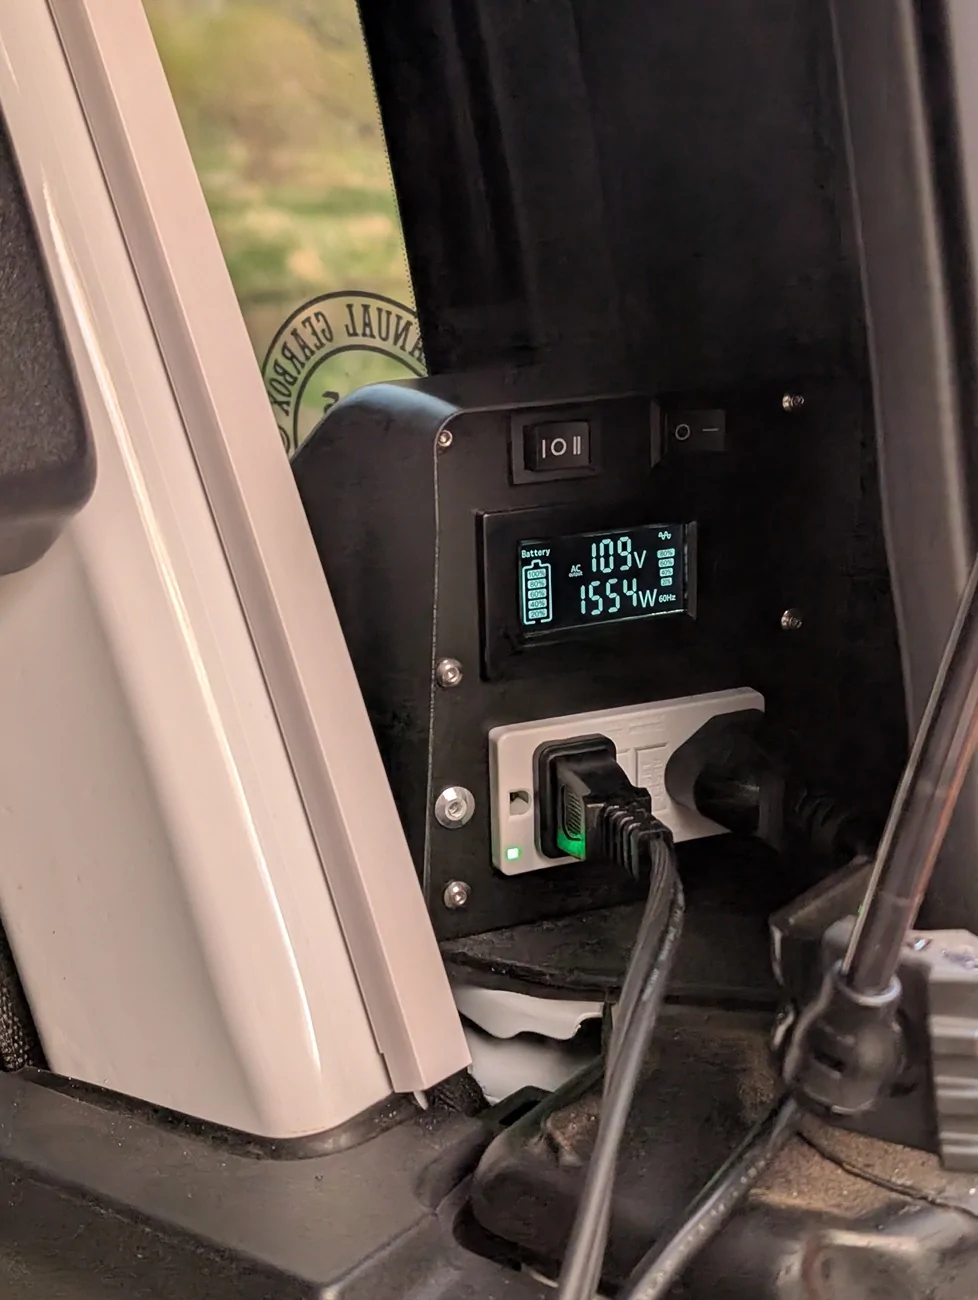
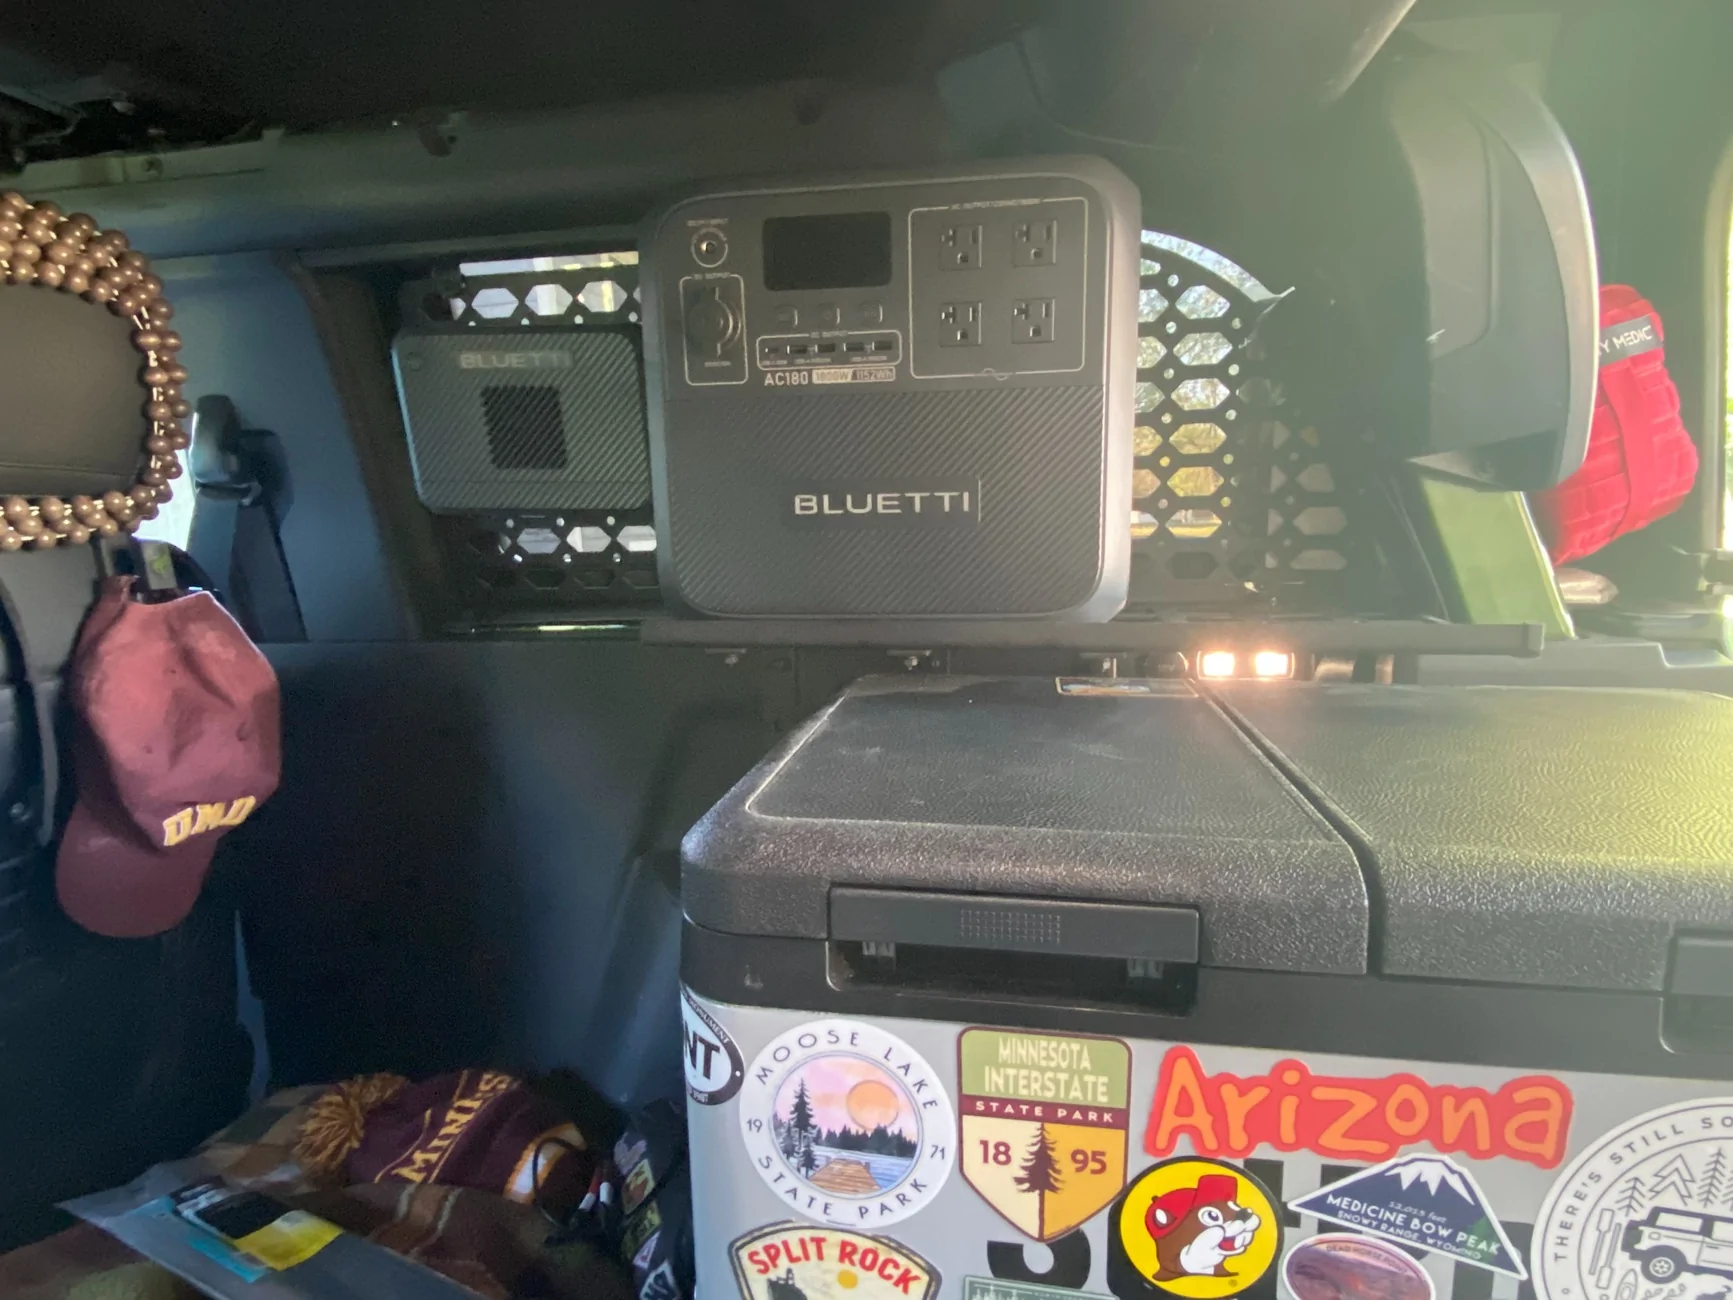
It’s a small capacity 288Wh battery with USB and 12V outputs (no AC out). I don’t have large power needs. The main purpose is to power my BougeRV fridge, and keep it going should I have a one day layover with no other power. I’m usually moving everyday and the battery is charged from the 12V rear passenger outlet.
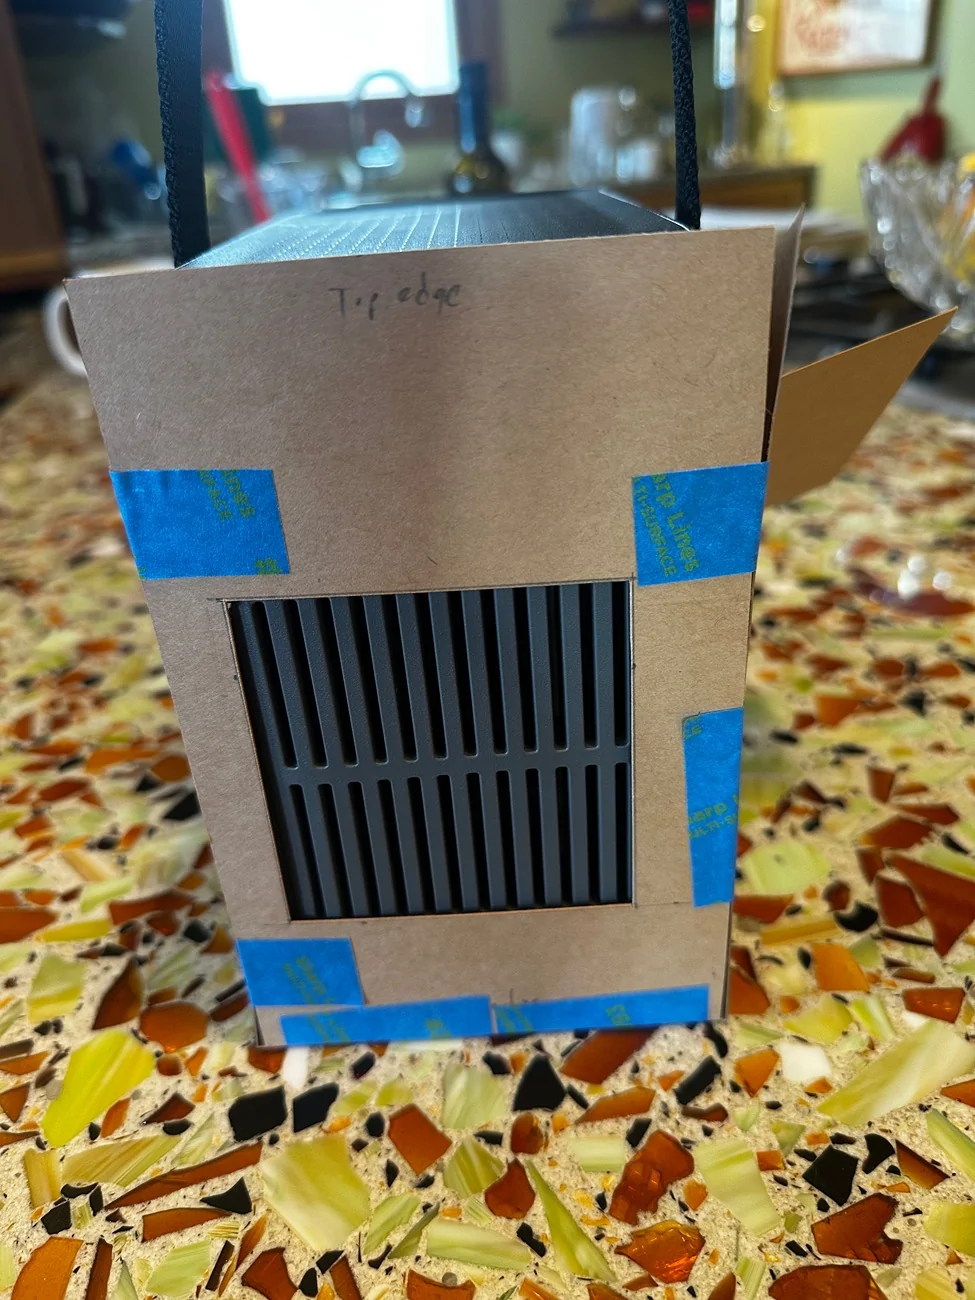
But I had no way to secure the battery. So I started the design process using CAD.V1 (cardboard…). Made a quick prototype and figured let’s keep going. A friend (the kind of friend you really want!) has a 3D printer, welder, etc. So we BS-ed during post-mountain bike beers and he agreed to do a Fusion360 CAD render.
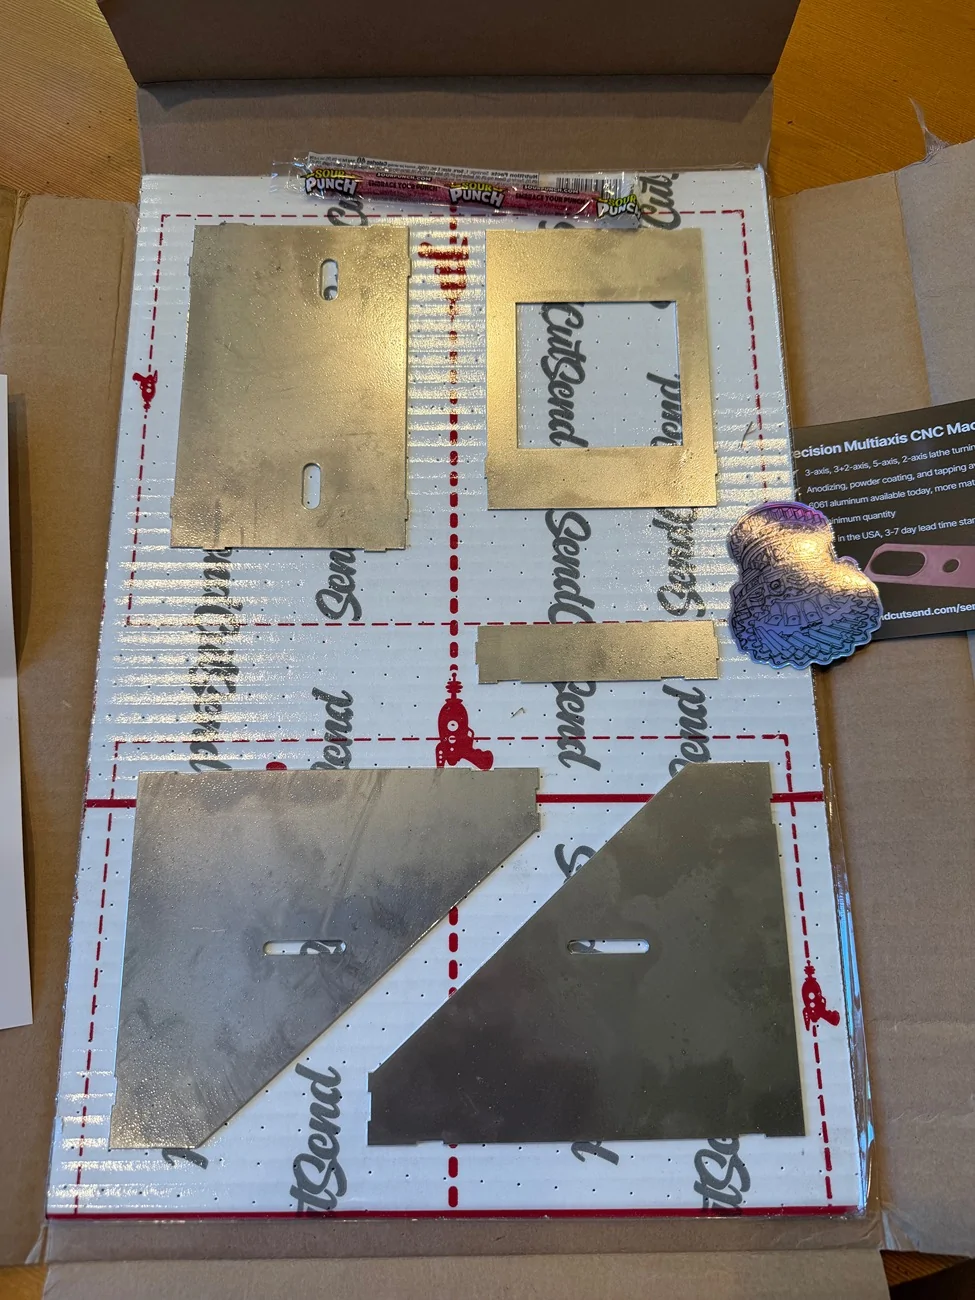
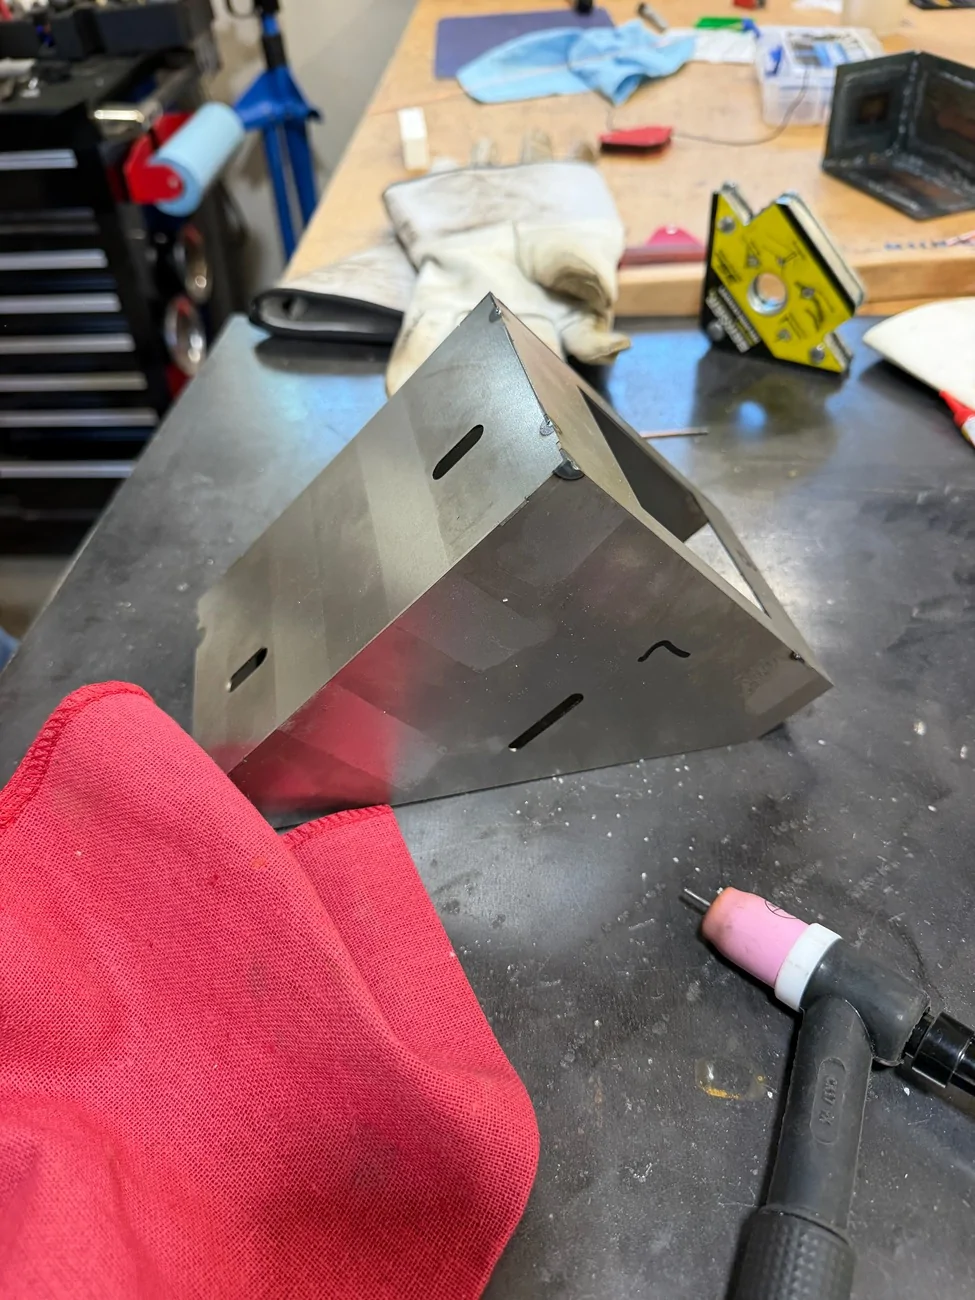
After a couple 3D prints, and test fits, I then sent it to Send-Cut-Send to have the metal parts cut. A few days later SCS delivered (what an amazing service!!!) and we welded, grinded it smooth, and then several coats of matte black.
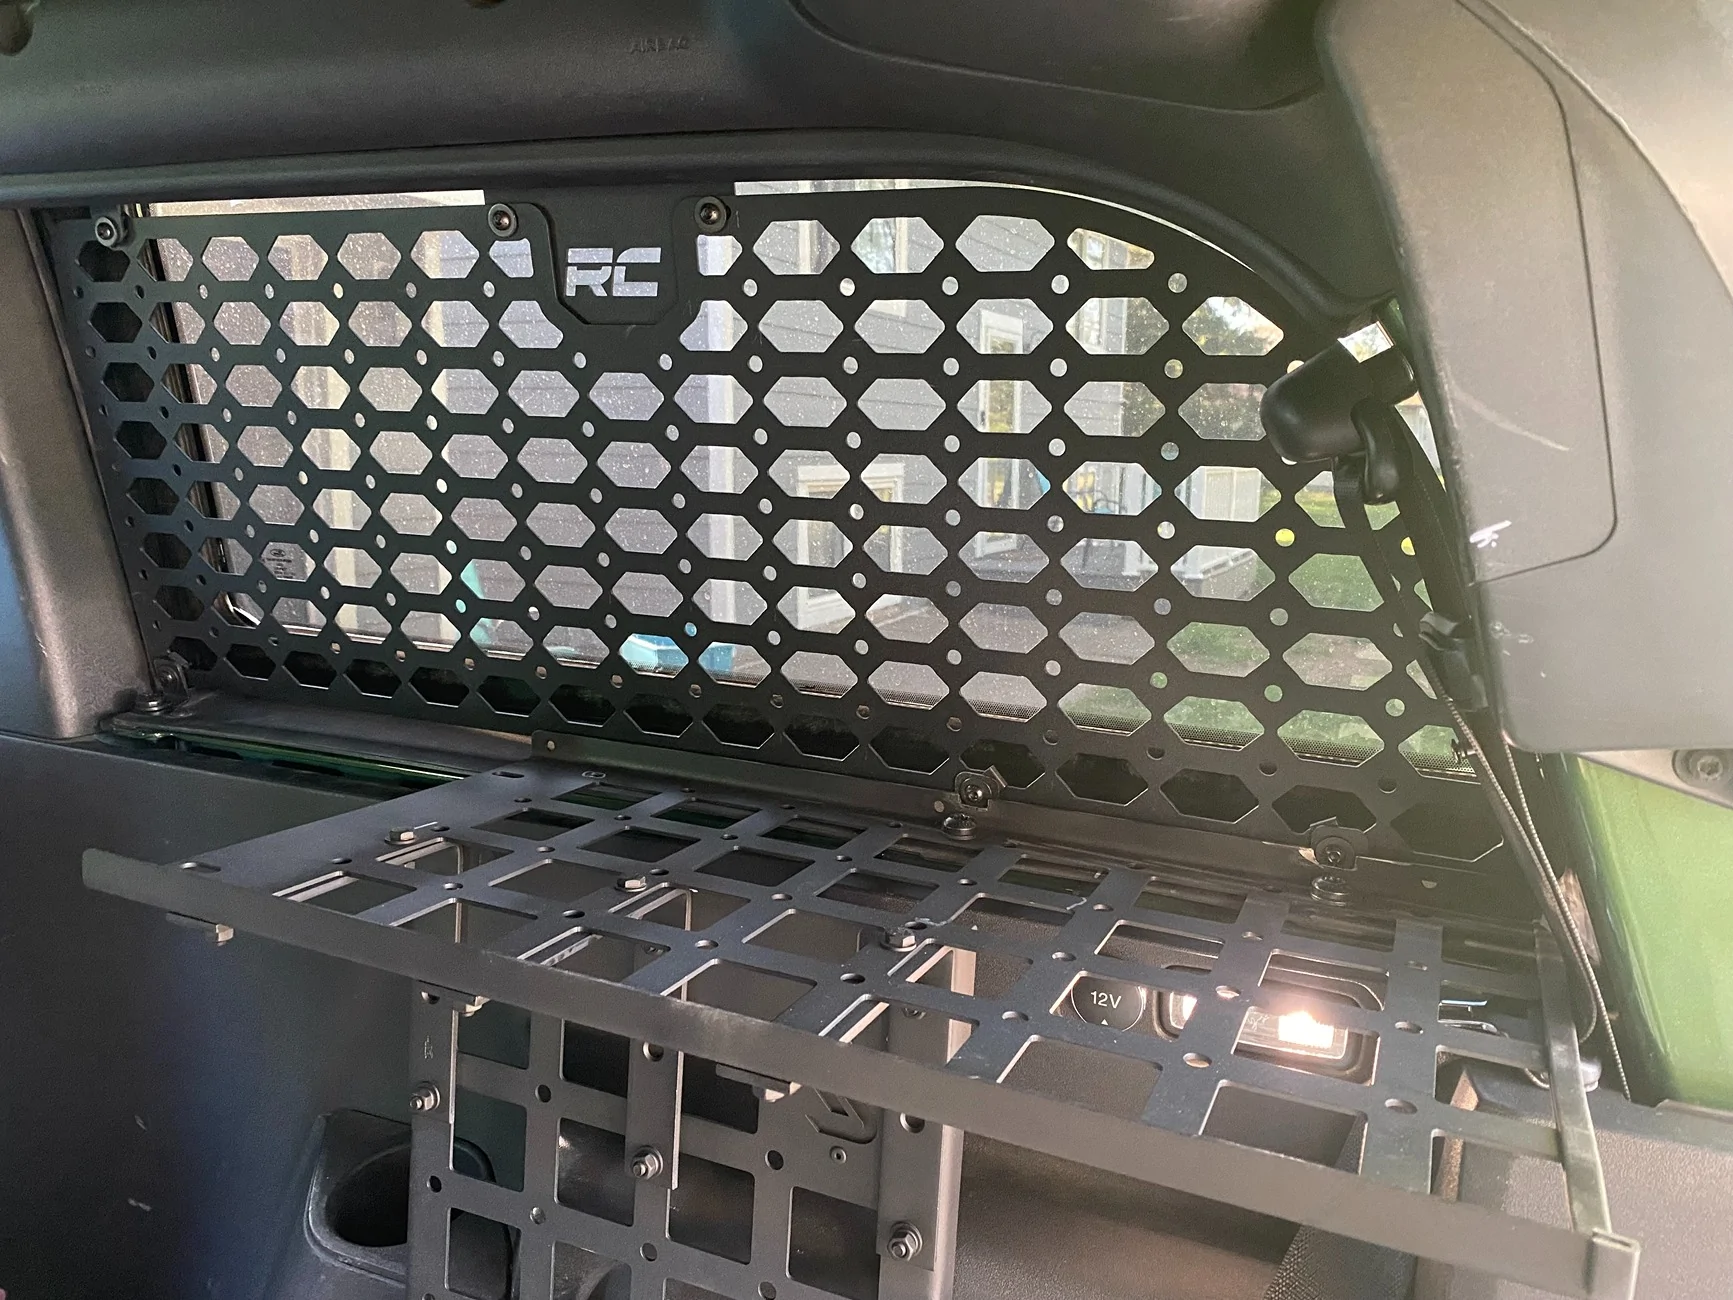
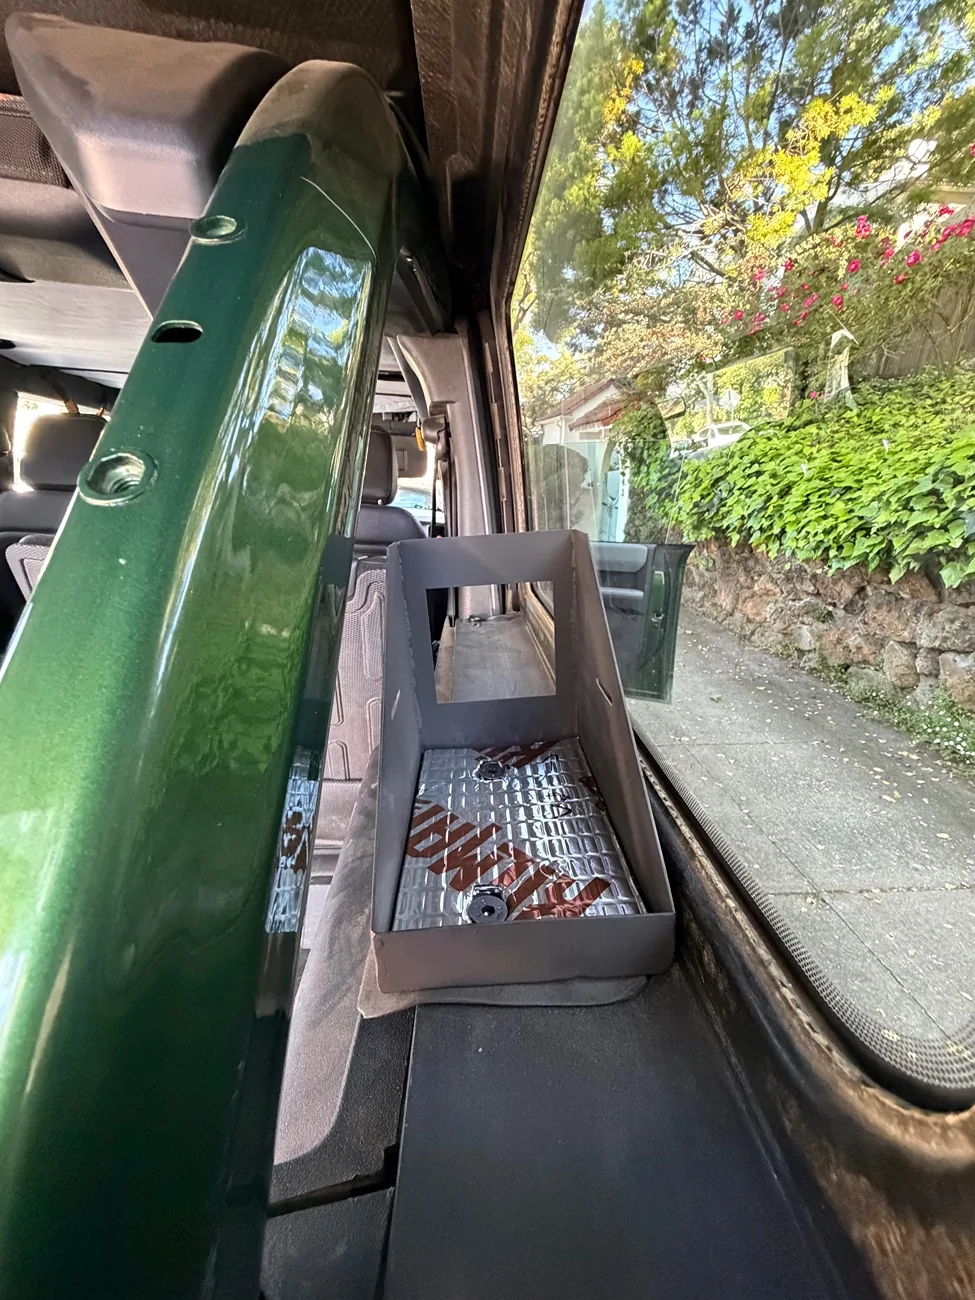
Here’s the result. A small, integrated battery mount that fits between the rollbar and hardtop window. Uses existing hardtop bolt threads to secure it (I sourced low profile flat M8 bolts for the base). I’ve completed 20-30 twisty off-road miles so far and the tolerances seem to work between the rollbar and the window as the frame flexes.
I realize it’s not useful for everyone. But it works for my low power needs. And was fun! My first metal project and first CAD learning experience. A few more ideas are percolating.


It’s a small capacity 288Wh battery with USB and 12V outputs (no AC out). I don’t have large power needs. The main purpose is to power my BougeRV fridge, and keep it going should I have a one day layover with no other power. I’m usually moving everyday and the battery is charged from the 12V rear passenger outlet.
But I had no way to secure the battery. So I started the design process using CAD.V1 (cardboard…). Made a quick prototype and figured let’s keep going. A friend (the kind of friend you really want!) has a 3D printer, welder, etc. So we BS-ed during post-mountain bike beers and he agreed to do a Fusion360 CAD render.
After a couple 3D prints, and test fits, I then sent it to Send-Cut-Send to have the metal parts cut. A few days later SCS delivered (what an amazing service!!!) and we welded, grinded it smooth, and then several coats of matte black.
Here’s the result. A small, integrated battery mount that fits between the rollbar and hardtop window. Uses existing hardtop bolt threads to secure it (I sourced low profile flat M8 bolts for the base). I’ve completed 20-30 twisty off-road miles so far and the tolerances seem to work between the rollbar and the window as the frame flexes.
I realize it’s not useful for everyone. But it works for my low power needs. And was fun! My first metal project and first CAD learning experience. A few more ideas are percolating.
Sponsored

 I’m still in the “thinking about it” stage of a battery purchase, but one thought was how I would secure it—things have been known to get airborne in my cargo area!