Oh one other note… slei told me to measure using C (or Z) setting so that’s the numbers based on C readings on the meter. If I switch to A mode, the number drops by approximately 17-18 which may be more in line with your watch readings.
Sponsored
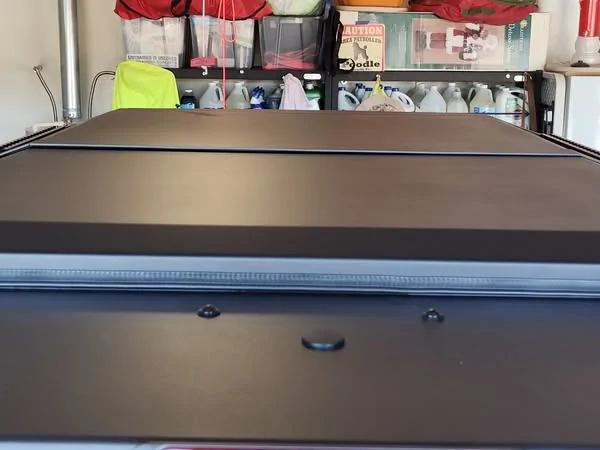
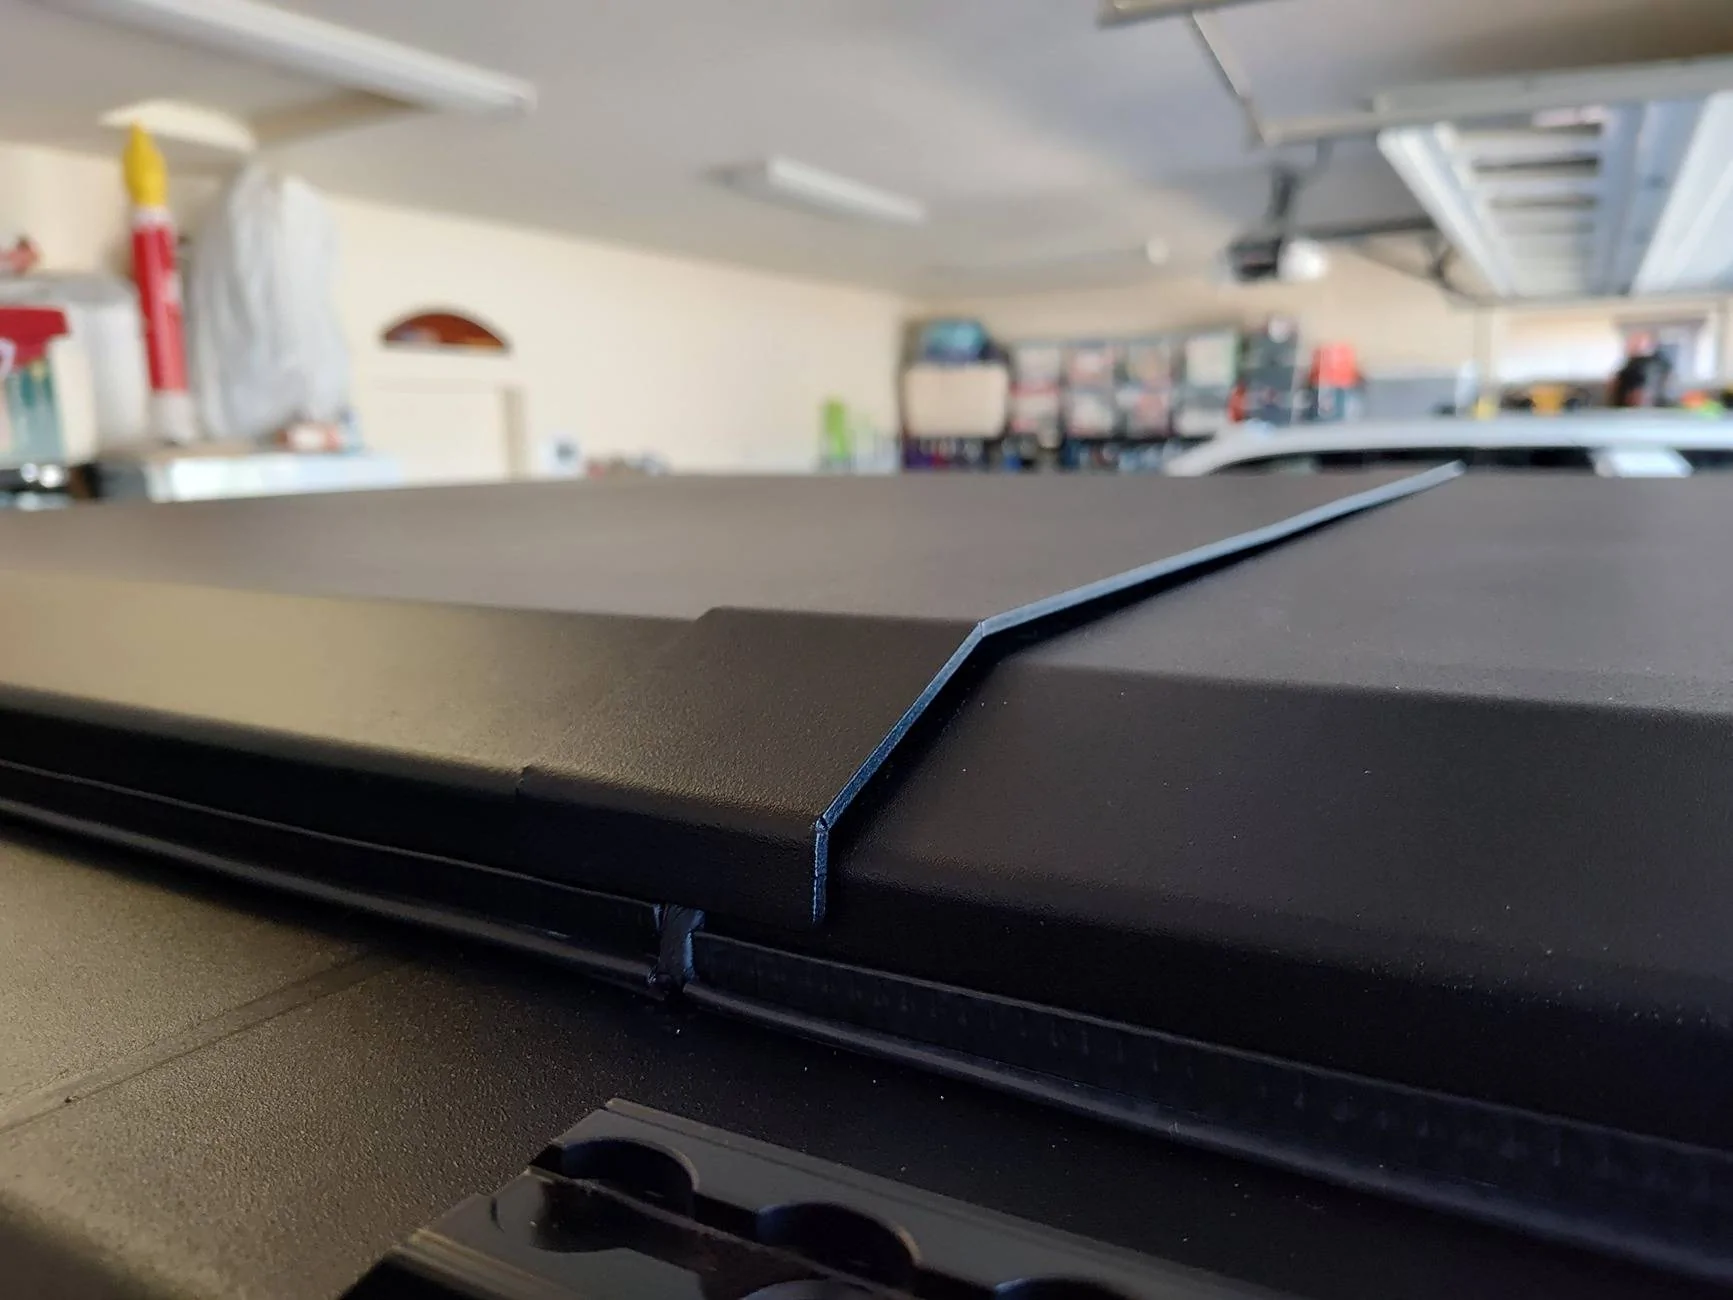
Could you elaborate on the things to be aware of when swapping an OEM hardtop to the Armadillo hardtop? I just placed my order last week so I have quite the wait, but would be nice to know what to look out for from someone who has also swapped out a OEM hardtop. Ill be swapping out my shadow black painted hardtop on my '24. Thanks for the info!Had a couple of issues with the foam attachment but only on the two back panels and the thin trim so far. One fell off while we were installing and of course fell face down on the street and now is packed with dirt and will be a pain to clean. Otherwise the install went really well the fit and finish of everything else as perfect.
If anyone is going to do this on a OEM hardtop conversion instead of the soft top hit me up there are a few things the video does not show you will need to be aware of.


Slei,Had a couple of issues with the foam attachment but only on the two back panels and the thin trim so far. One fell off while we were installing and of course fell face down on the street and now is packed with dirt and will be a pain to clean. Otherwise the install went really well the fit and finish of everything else as perfect.
If anyone is going to do this on a OEM hardtop conversion instead of the soft top hit me up there are a few things the video does not show you will need to be aware of.
Awesome finally going to see a 2 dr!Slei,
I am also going from an OEM hardtop to the Armadillo. I have a 2 door. My Armadillo top is enroute to my home right now.
Yes....could you elaborate on what you discovered in this conversion?
What makes it "worse" for me....Armadillo does NOT have a video on how to install the 2 door model....saying it is similar to the 4 door. I am sure it is, but there are differences too. I want my install to go smooth (a video would sure help) ....I hate issues and have less patience now being 69, and I will have neighbors helping with the lifting, I do not want to impose on them because of snafus.
THANKS!!!!!!!!!!!!!!!!!
EDIT-ADD:
Did you relocate your GPS-Satelite antenna? Does Armadillo tell you how to do it?
THANKS again!!!!!!!!!!!!!!!
Hey sorry been rather busy lately.Slei,
I am also going from an OEM hardtop to the Armadillo. I have a 2 door. My Armadillo top is enroute to my home right now.
Yes....could you elaborate on what you discovered in this conversion?
What makes it "worse" for me....Armadillo does NOT have a video on how to install the 2 door model....saying it is similar to the 4 door. I am sure it is, but there are differences too. I want my install to go smooth (a video would sure help) ....I hate issues and have less patience now being 69, and I will have neighbors helping with the lifting, I do not want to impose on them because of snafus.
THANKS!!!!!!!!!!!!!!!!!
EDIT-ADD:
Did you relocate your GPS-Satelite antenna? Does Armadillo tell you how to do it?
THANKS again!!!!!!!!!!!!!!!
Here’s a post on instagram from a small photoshoot about 2 weeks ago. Have a 2 door, 4 door and raptor present. I’m the 4 door.Awesome finally going to see a 2 dr!
Oh just wait! I will post photos as I did a few special things.Awesome finally going to see a 2 dr!
Heh,Hey sorry been rather busy lately.
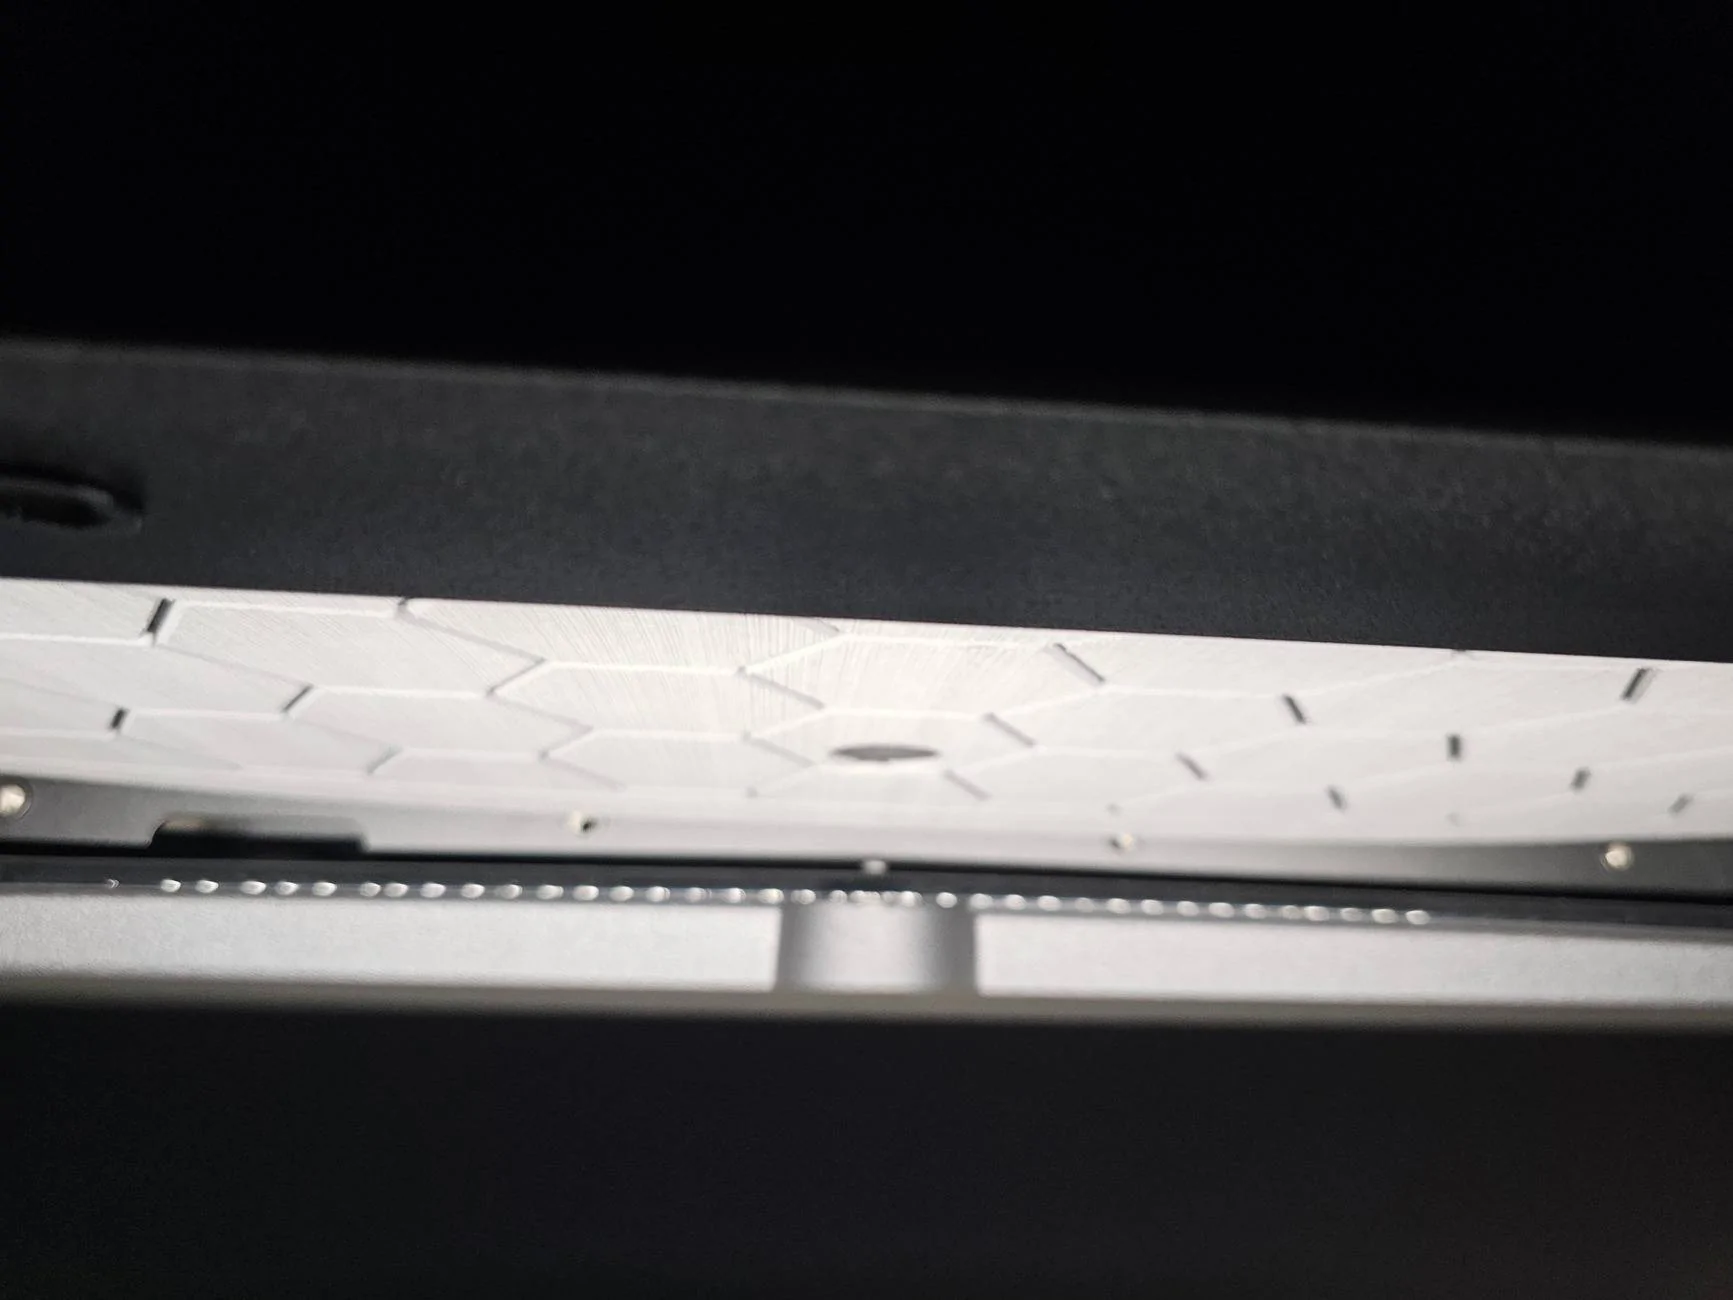
First one of the things I thought was not in the video is but for less than a second and I missed it. That is removing the Hardtop or Softop brackets in the front and sides of the roll bar.
There are still some differences I had from the install video. Sorry this is going to be a lengthy explanation.
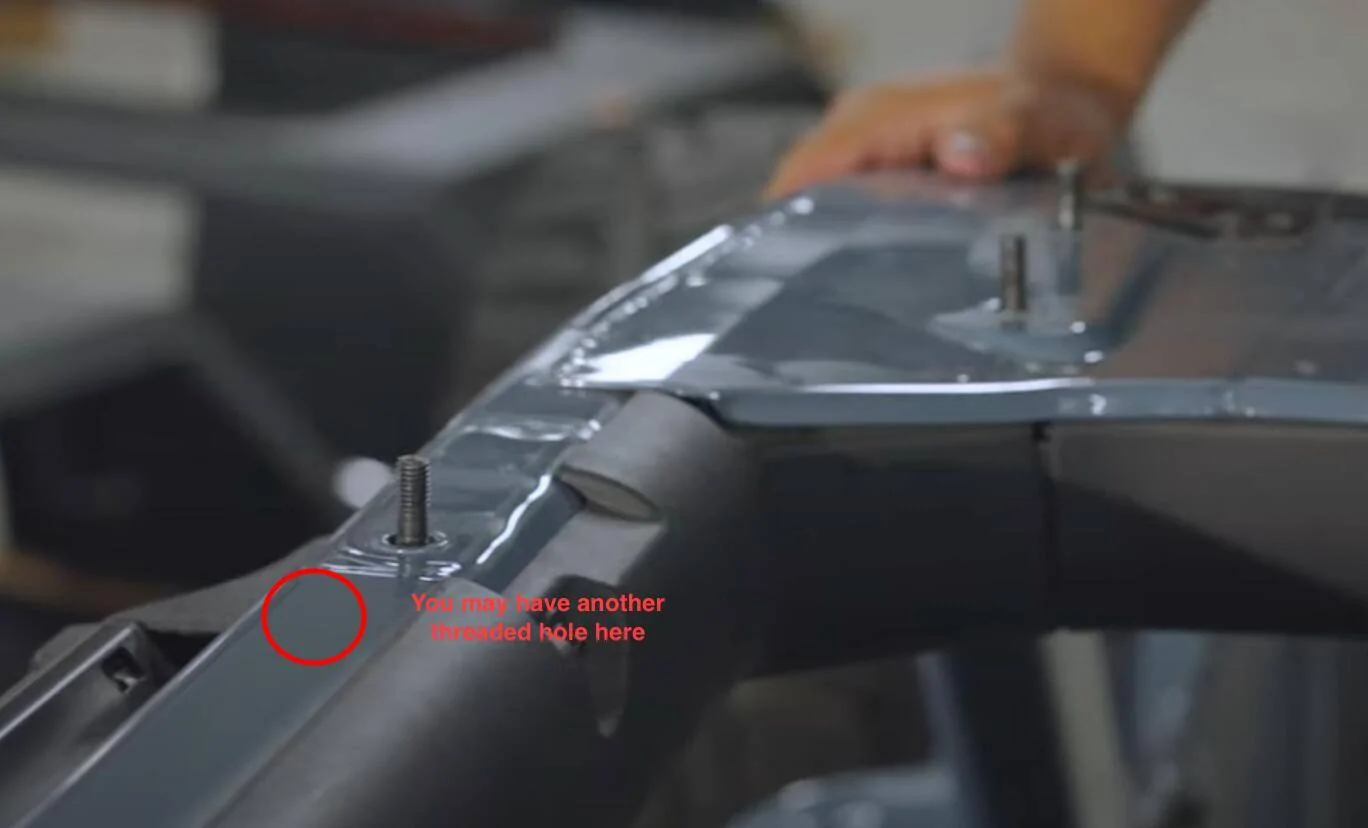
When you put in the 6 M8 studs, on my 2023 bronco anyways, there was two threaded holes on each side over the rear doors not one like in the video. It is the rear set directly above the the panel bolt holding on the trim.

Measuring the distances made it clear this was the correct spot but clamping at the base of the B pillars like in the video caused it to miss the corresponding hole in the top by about a 1/16 of an inch. I was lucky and 3 out of the 5 who helped put the top on were large guys and we just pushed and pulled it into place but if we had not had them I would probably had to ratchet strap it high up maybe around the rear opening to pull it strait forward instead of from the bottom where it tilted the top slightly.
It took us two sets of hands to fix each rear gasket while the third lifted to get the gasket at the rear body to sit right not just one person at the corners.
The last issue I ran into was installing the rear bolts all the way before the front left the barest minimal threads to start each afterwards. I would just start them all then make sure everything is lined up and tighten it up following the order of install in the video.
As for the GPS/XM antenna I did not relocate it. I don't care about the higher frequency XM that the top will likely block. As for the lower frequency GPS it seems to get through just fine. I may eventually put a multi band antenna setup through this spot to boost reception for 5G/LTE/GNSS/GRMS etc. If I do Ill post about it.
I have a question for you: In the video you install 3 threaded studs in the 3 locations to the rear, both sides. When the top is put in place, it talks of putting nuts on just 2 studs per side, not 3. Is the "3rd" stud just for alignment purposes? My guess, there is no way to get to the furthest rear stud to affix anything. THANKS!!!!!!!!!!!!!!!!!!!!!!!!!Hey sorry been rather busy lately.
First one of the things I thought was not in the video is but for less than a second and I missed it. That is removing the Hardtop or Softop brackets in the front and sides of the roll bar.
There are still some differences I had from the install video. Sorry this is going to be a lengthy explanation.
When you put in the 6 M8 studs, on my 2023 bronco anyways, there was two threaded holes on each side over the rear doors not one like in the video. It is the rear set directly above the the panel bolt holding on the trim.
Measuring the distances made it clear this was the correct spot but clamping at the base of the B pillars like in the video caused it to miss the corresponding hole in the top by about a 1/16 of an inch. I was lucky and 3 out of the 5 who helped put the top on were large guys and we just pushed and pulled it into place but if we had not had them I would probably had to ratchet strap it high up maybe around the rear opening to pull it strait forward instead of from the bottom where it tilted the top slightly.
It took us two sets of hands to fix each rear gasket while the third lifted to get the gasket at the rear body to sit right not just one person at the corners.
The last issue I ran into was installing the rear bolts all the way before the front left the barest minimal threads to start each afterwards. I would just start them all then make sure everything is lined up and tighten it up following the order of install in the video.
As for the GPS/XM antenna I did not relocate it. I don't care about the higher frequency XM that the top will likely block. As for the lower frequency GPS it seems to get through just fine. I may eventually put a multi band antenna setup through this spot to boost reception for 5G/LTE/GNSS/GRMS etc. If I do Ill post about it.
I put my top on myself, and that bolt, the furthest back, is not used.. You will put on the bolt in the "front" position and the one on the side. Then there are 4 in the front.I have a question for you: In the video you install 3 threaded studs in the 3 locations to the rear, both sides. When the top is put in place, it talks of putting nuts on just 2 studs per side, not 3. Is the "3rd" stud just for alignment purposes? My guess, there is no way to get to the furthest rear stud to affix anything. THANKS!!!!!!!!!!!!!!!!!!!!!!!!!
Thanks....I assumed that rear stud was not accessible and was more for alignment issues. My top should be here Monday or Tuesday. One from the first batch of 2 door models to be made. Looking forward to getting it on and selling the OEM.I put my top on myself, and that bolt, the furthest back, is not used.. You will put on the bolt in the "front" position and the one on the side. Then there are 4 in the front.
Honestly, it's not hard to do. The hardest part is getting the top in position. You WILL need another person. I found that having a person get in the front, having someone in the middle, and having a person hold the rear was easiest. Then guide it down on the bolts. I did mine at night with spotlights. (That's when the help showed up) If you have trouble getting on some of the nuts, just get someone to push down in that area. Make sure you do not squish or pinch the rubber and you have a good seal. Use a clamp to move the top fully forward. That's it.
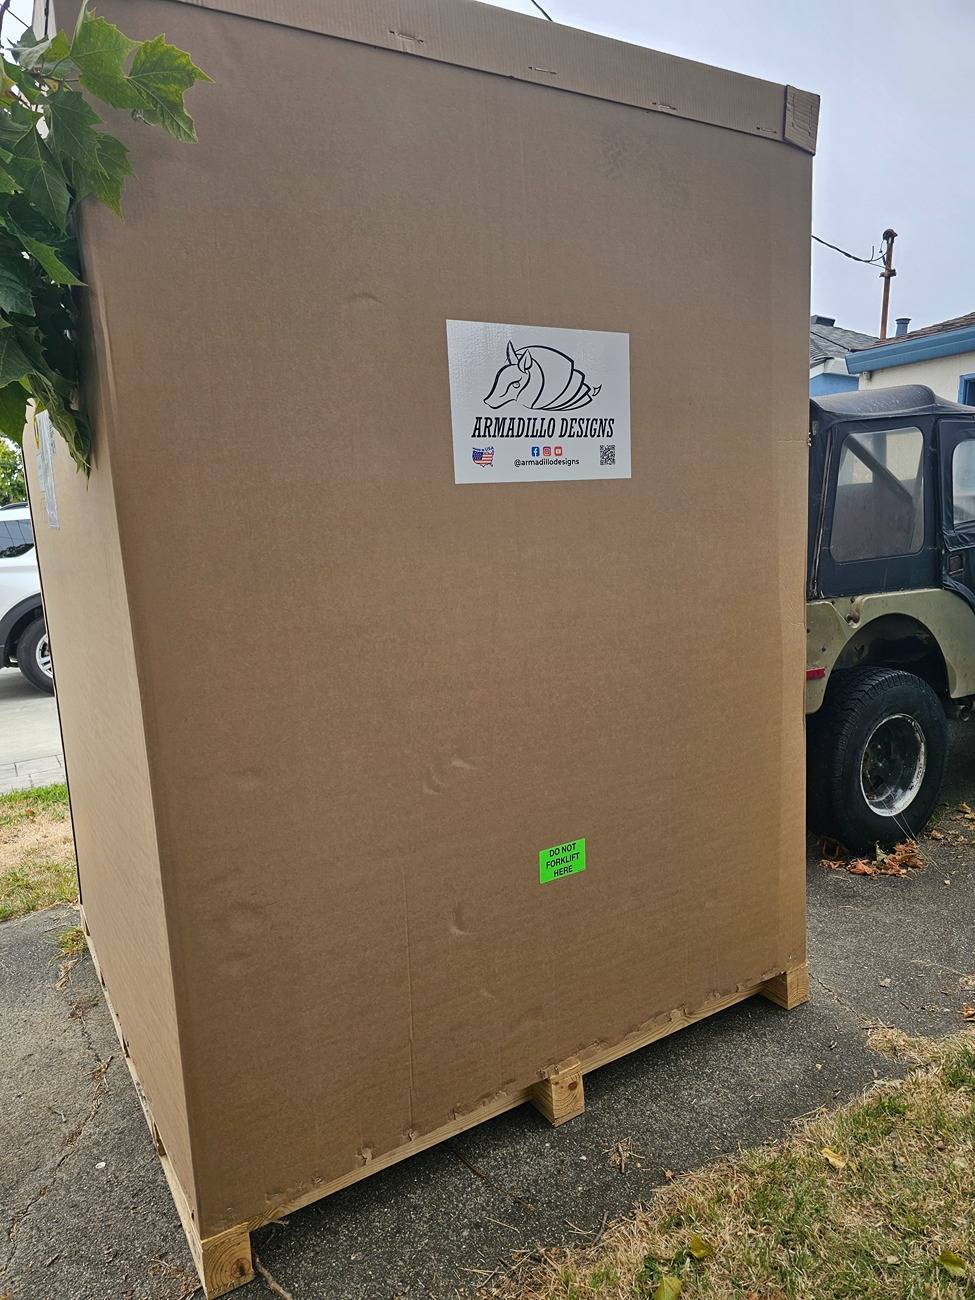
early on they’ll do a build of similar style tops. For efficiency. Since the 4 door slant back was the first product offering, that was a majority of batch 1. A couple of square backs were squeezed into batch 1 too but mine came just a few weeks later in batch 2. nowadays they may just be going in order where they can. Only a guess though.Anybody have an idea how orders are being prioritized and shipped? Noted some ordered in March and they are in final assembly...I place my order 27Jan and I am still in powder coating (and my dates have slipped from original and updated dates each month). Now expected August. I am VERY excited to receive...but since others have ordered after me, wondering how these orders are being fulfilled?