OP
OP

- Thread starter
- #46
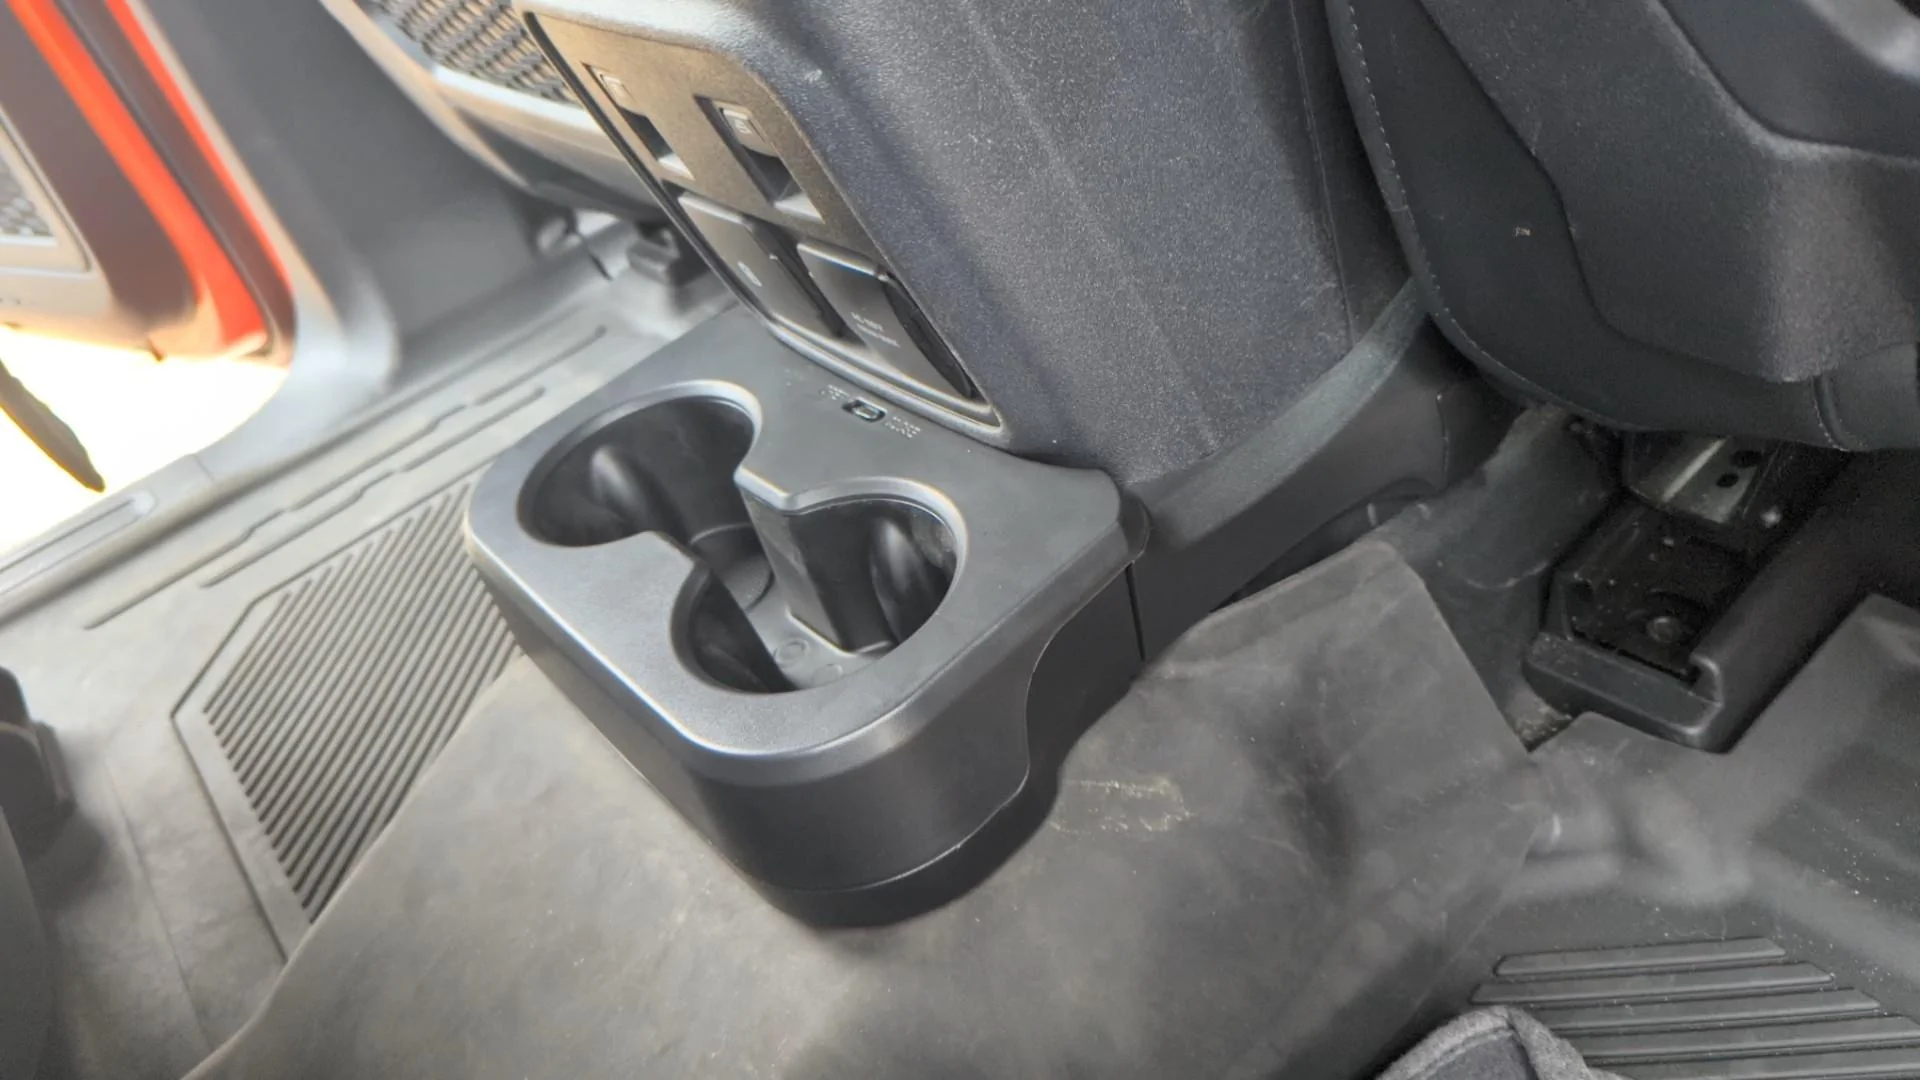
Cool, my guess was wrong. Looks like R button does indeed memorize ASS.Yeah, just to check I just went an stored my R mode with everything set to normal, turned ASS off, stored again, and when double tapping the R button the ASS disabled notification pops up as if I just hit the button on the dash.
Does the plug in eliminator still cause the notification to pop up when you start the vehicle?
Unfortunately, even with my ASS disable hardware, the nag dialog for ASS disabled still shows up during start up.
Sponsored
 .
.


 .
.
 .
.