OP
OP

- First Name
- Chris
- Joined
- Jan 4, 2022
- Threads
- 18
- Messages
- 1,849
- Reaction score
- 3,524
- Location
- Shreveport, LA
- Vehicle(s)
- 2022 Bronco with correct amount of doors... 1993 Mustang GT
- Your Bronco Model
- Black Diamond
- Thread starter
- #16
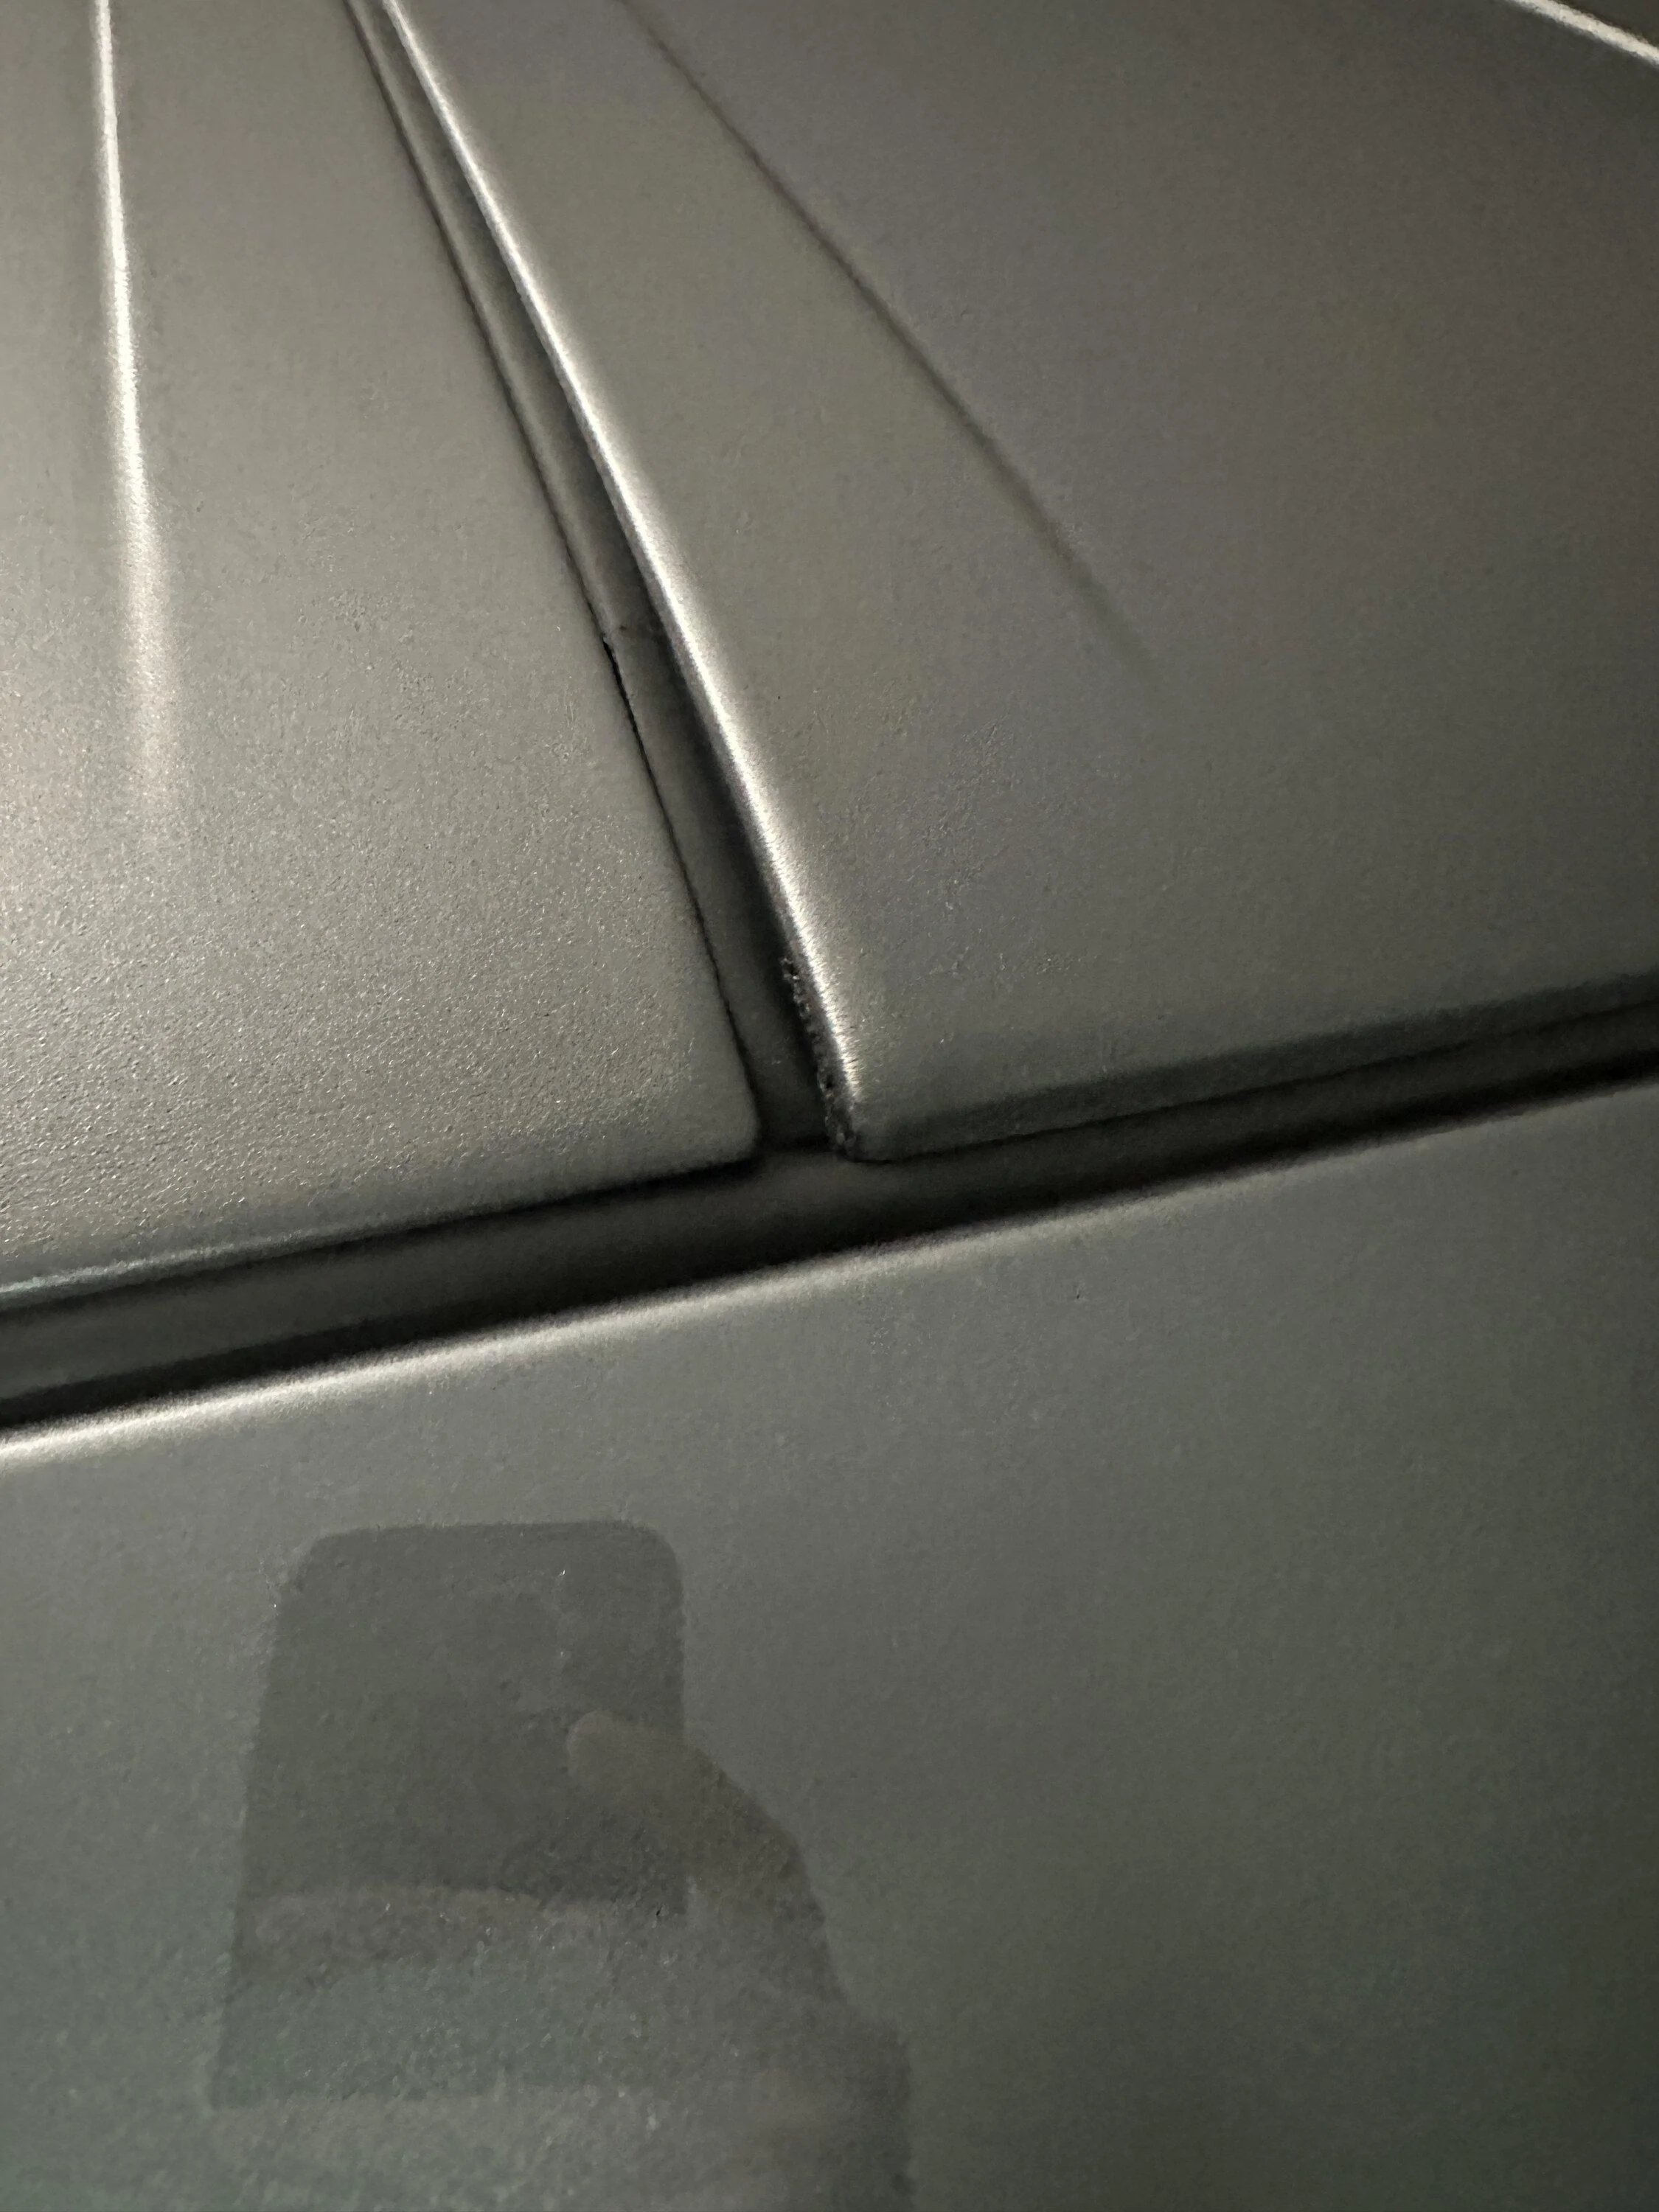
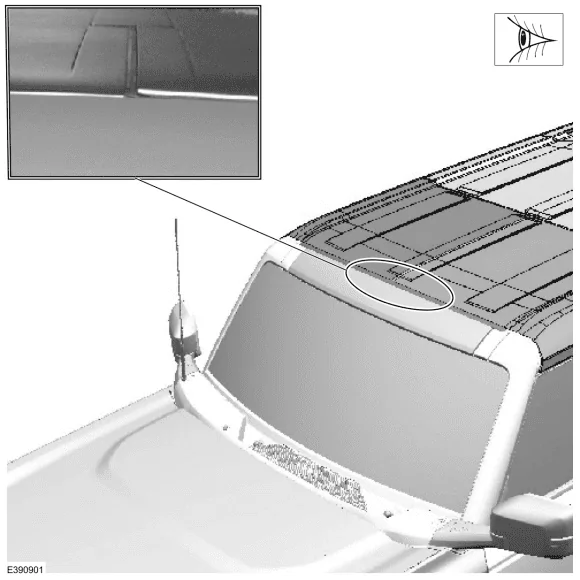
1. Do the front roof panels sit at an uneven height? (Figure 1)
Figure 1

(1). Yes - proceed to Step 2.
(2). No - this article does not apply.
2. Remove the windshield header trim panel. Refer to Workshop Manual (WSM), Section 501-05.
3. Locate the front center strikers, just above the rear-view mirror. Using a marker, outline the mounted position of both strikers on the body. These marks may be used to return the strikers to their original position or to show how much adjustments were made when the repair is complete. (Figure 2)
Figure 2 (Previous post)
4. Loosen all 4 striker bolts (2 on each striker) just enough to allow each striker to move. Do not completely remove these bolts.
5. Reinstall both front roof panels (leave the front strikers loose). Refer to the Digital Owner’s Manual > Removable Vehicle Components > Removable Roof Panels > Removable Hard Top > Removing and Installing the Hard Top.
6. Adjust the position of the strikers as needed to obtain a flush appearance between the 2 front roof panels. It may be necessary to hand tighten the striker bolts to hold them in place during inspections. Once flushness is achieved, test the roof latching effort to be sure it is not excessive.
7. Once correct striker placement and latching effort is achieved, tighten the front striker bolts to 20 Nm (15 lb-ft).
8. Install the windshield header trim panel. Refer to WSM, Section 501-05.
9. If the original issue persists, continue with normal diagnostics found in WSM, Section 501-18B.
Figure 1
(1). Yes - proceed to Step 2.
(2). No - this article does not apply.
2. Remove the windshield header trim panel. Refer to Workshop Manual (WSM), Section 501-05.
3. Locate the front center strikers, just above the rear-view mirror. Using a marker, outline the mounted position of both strikers on the body. These marks may be used to return the strikers to their original position or to show how much adjustments were made when the repair is complete. (Figure 2)
Figure 2 (Previous post)
4. Loosen all 4 striker bolts (2 on each striker) just enough to allow each striker to move. Do not completely remove these bolts.
5. Reinstall both front roof panels (leave the front strikers loose). Refer to the Digital Owner’s Manual > Removable Vehicle Components > Removable Roof Panels > Removable Hard Top > Removing and Installing the Hard Top.
6. Adjust the position of the strikers as needed to obtain a flush appearance between the 2 front roof panels. It may be necessary to hand tighten the striker bolts to hold them in place during inspections. Once flushness is achieved, test the roof latching effort to be sure it is not excessive.
7. Once correct striker placement and latching effort is achieved, tighten the front striker bolts to 20 Nm (15 lb-ft).
8. Install the windshield header trim panel. Refer to WSM, Section 501-05.
9. If the original issue persists, continue with normal diagnostics found in WSM, Section 501-18B.
Sponsored