

- First Name
- John
- Joined
- Aug 13, 2020
- Threads
- 24
- Messages
- 2,570
- Reaction score
- 5,016
- Location
- Westchester County, NY
- Website
- teachu2shoot.com
- Vehicle(s)
- M-B GLE53 AMG, Ducati XDiavel, Jeep WK GC x3
- Your Bronco Model
- Raptor
Very nice touch with the rivnuts - now I'm mad I didn't think of that since I have a rivnut tool.Some overlap with the OP and other posts but wanted to add my details on the mechanical approach I took here for the KK 500.1 and Kicker 8" sub.
She really moves some air and provides much more feel to the bass as compared to stock. I was definitely cursing trying to use my snap ring pliers trick to get the huge 8 Ga cable through the firewall grommet, but it was definitely worth it.
- Don't cut the larger mounting hole concentric with the factory hole. Offsetting it so the new driver clears the front protrusions in the enclosure prevents any required cutting/removing of these main body protrusions and repairing/plugging them later. I cut with a side cutting drywall bit in a dremel with the drywall router type base on the dremel tool.
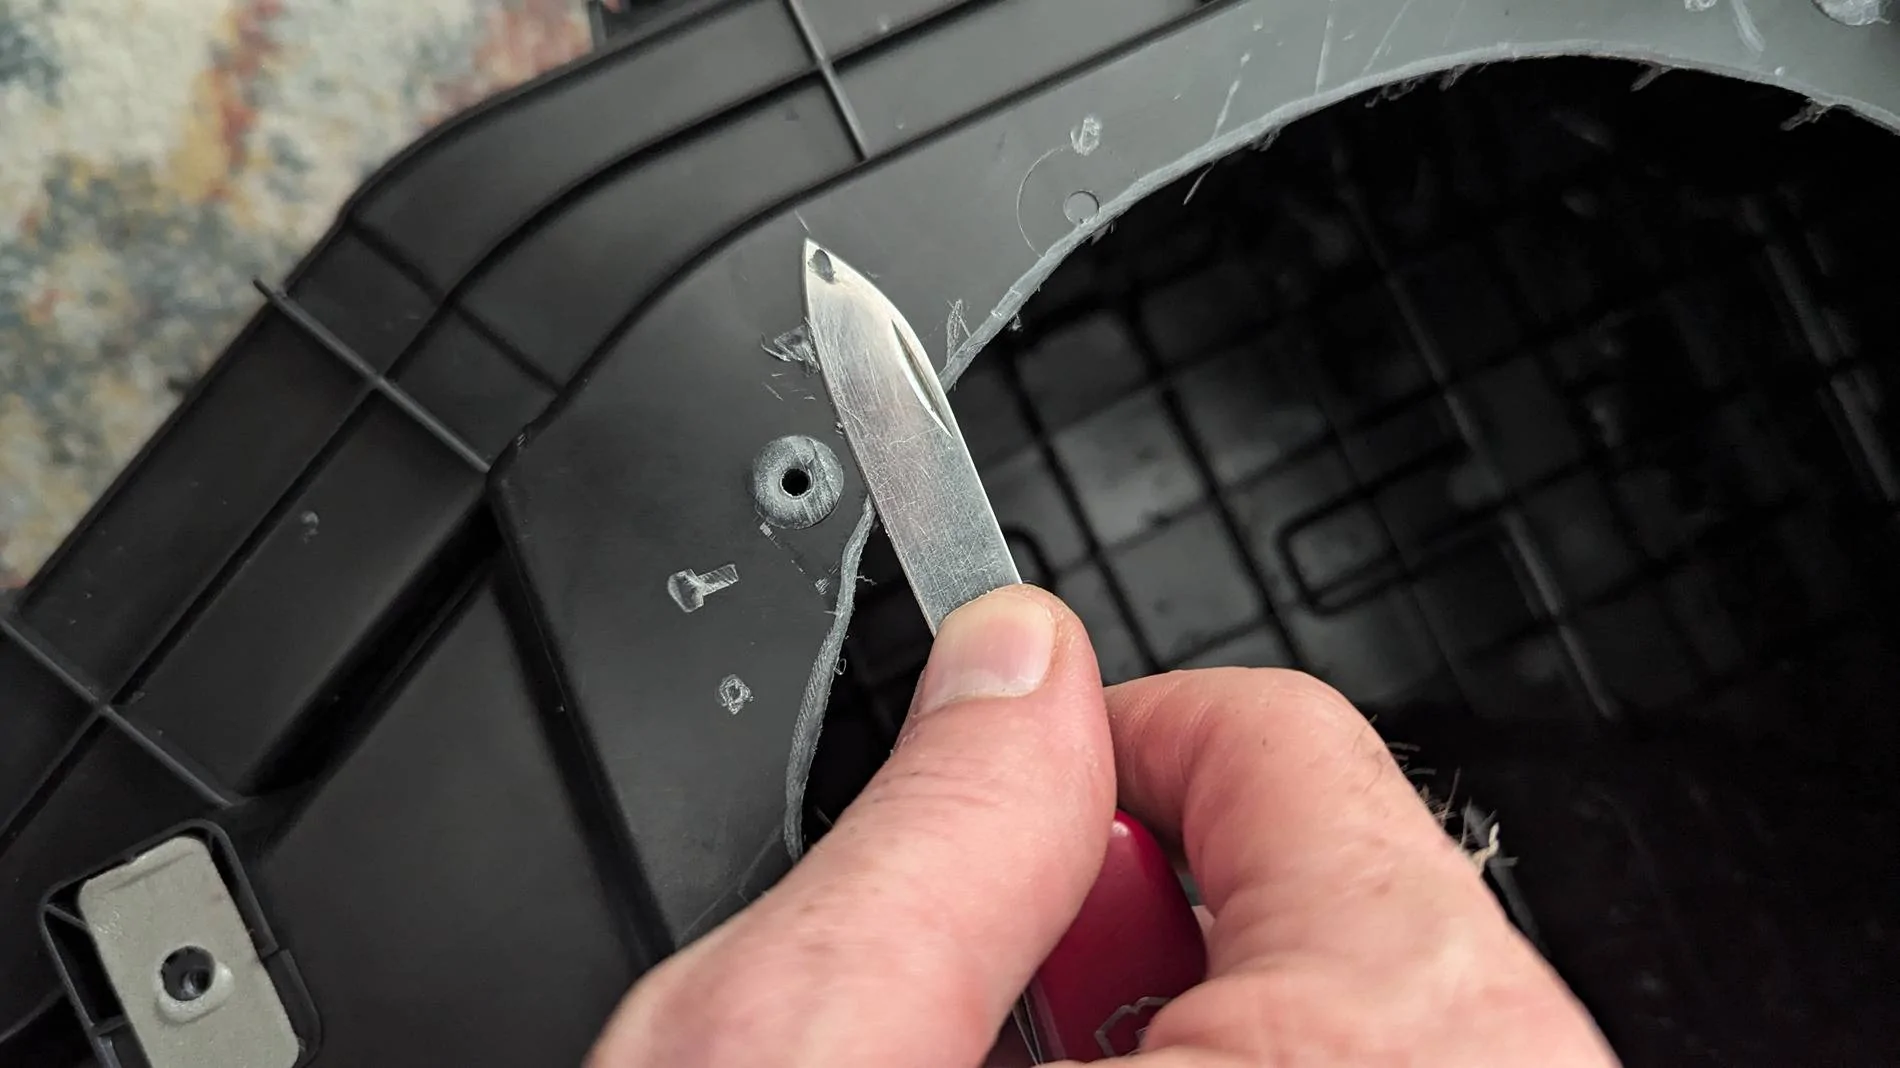
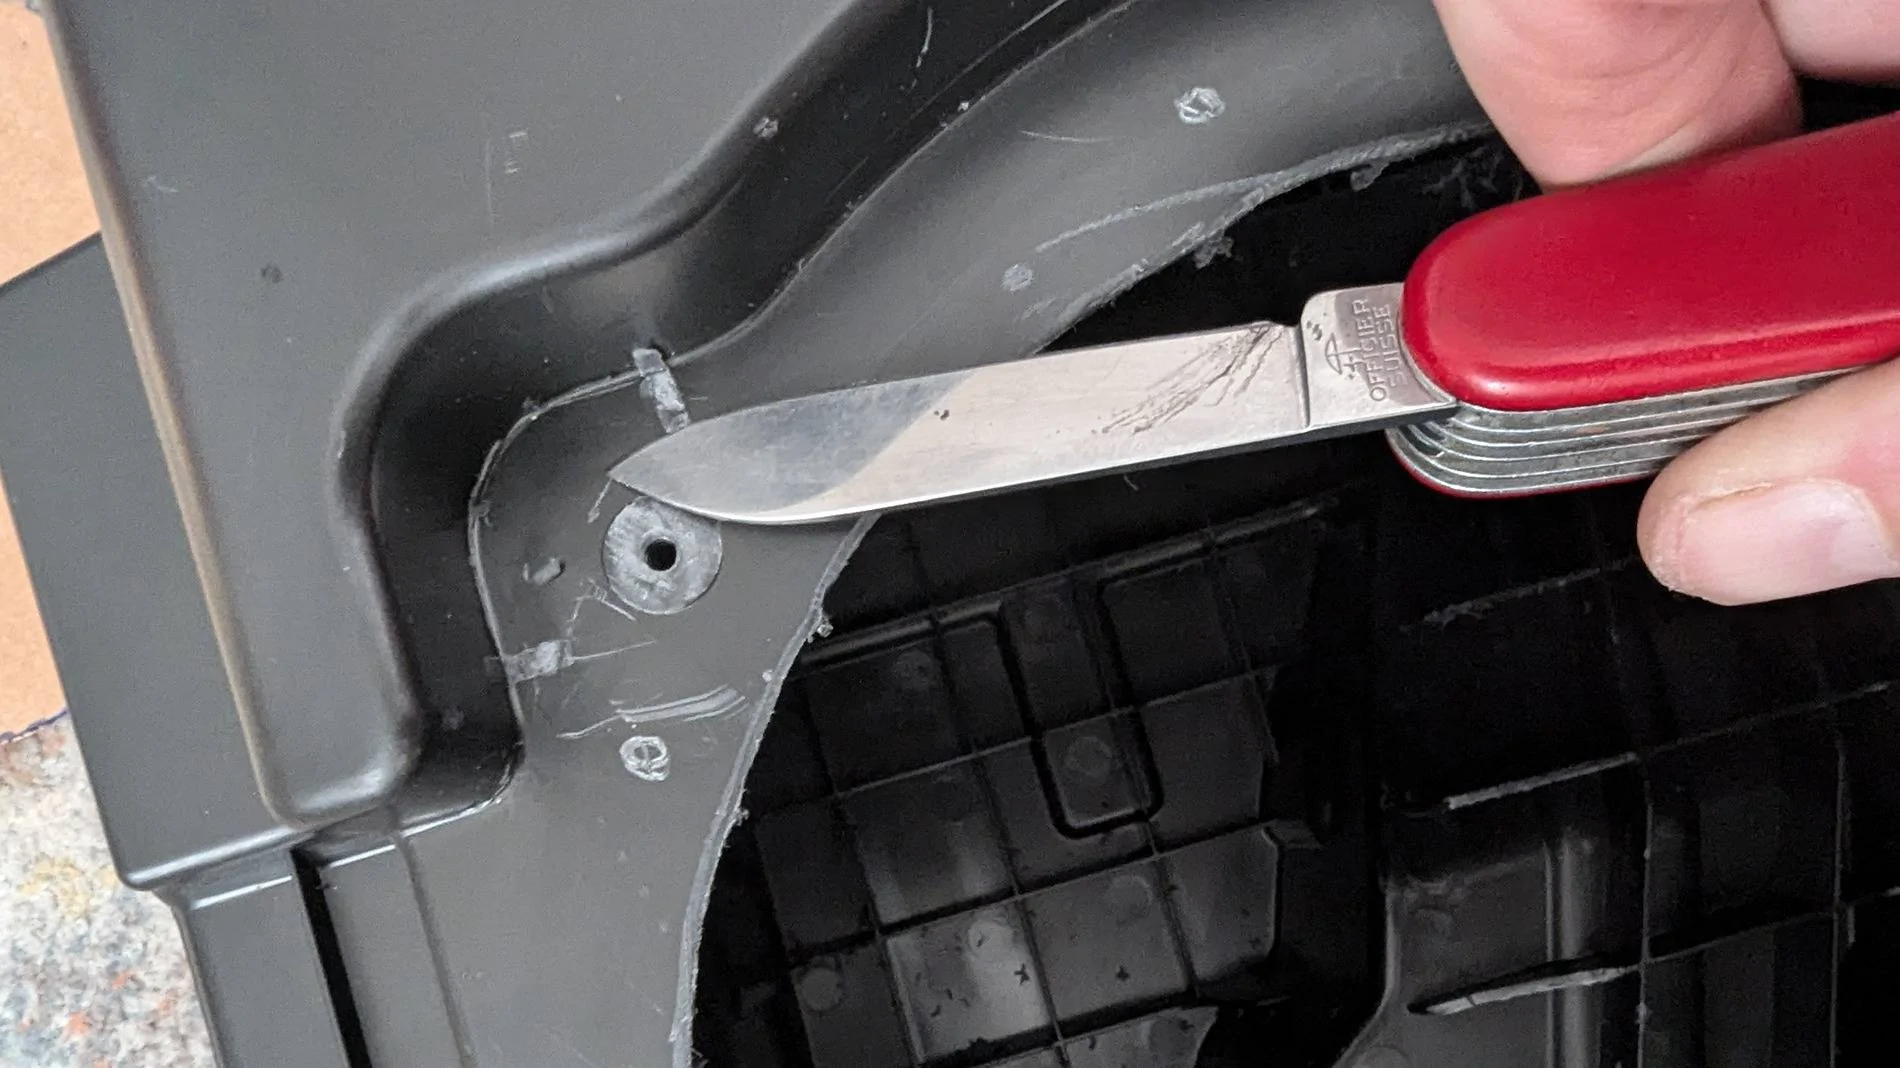
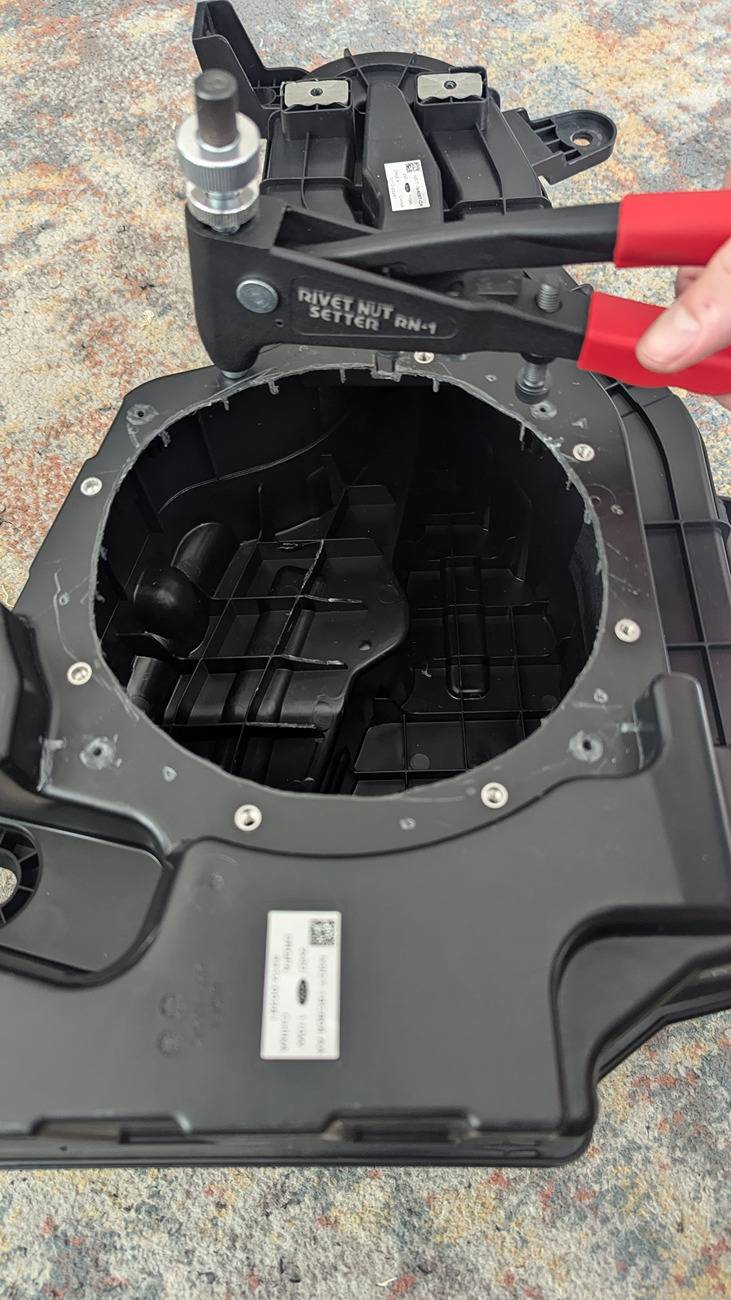
- Shave off the small protrusions from the factory screw holes and various tabs/stiffeners that prevent a totally flat mounting of the new sub.

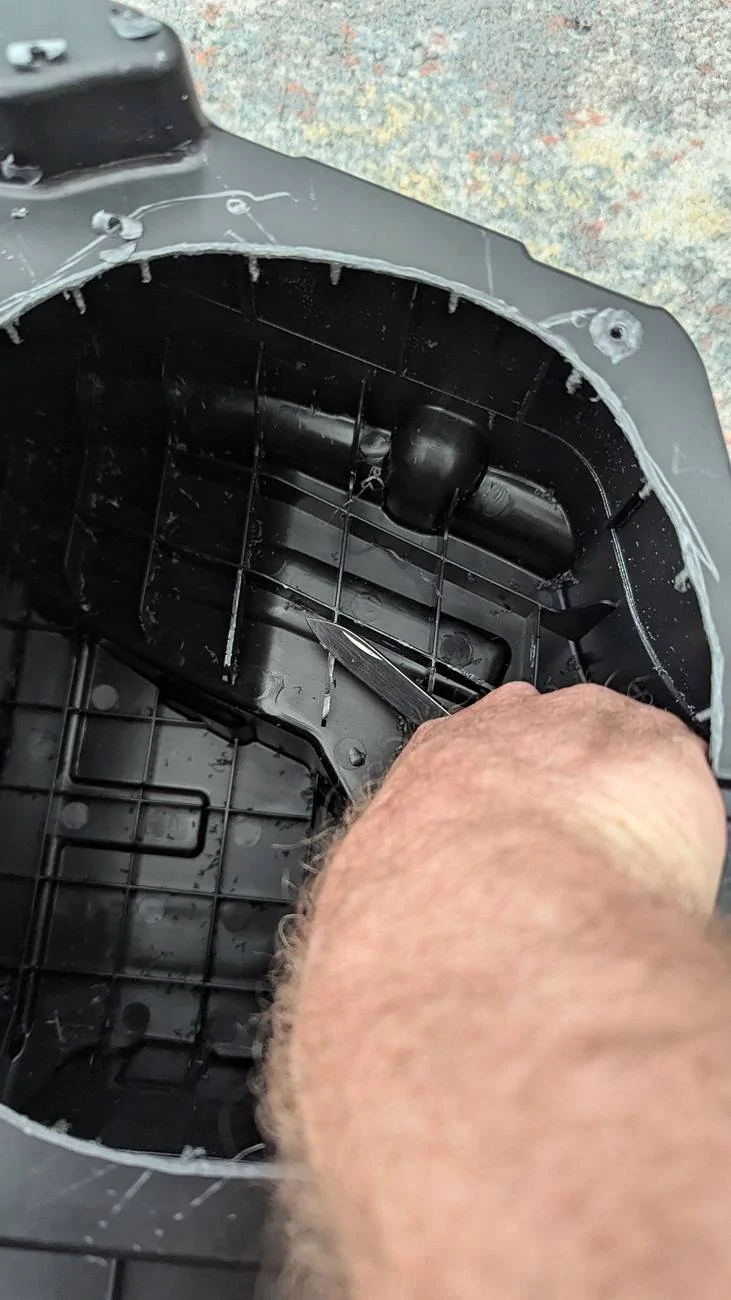
- The standard depth 8" sub (48CWR84) is just a hair too deep. Easily remedied by taking a sharp knife or box cutter to a couple of the ribs on the back wall.

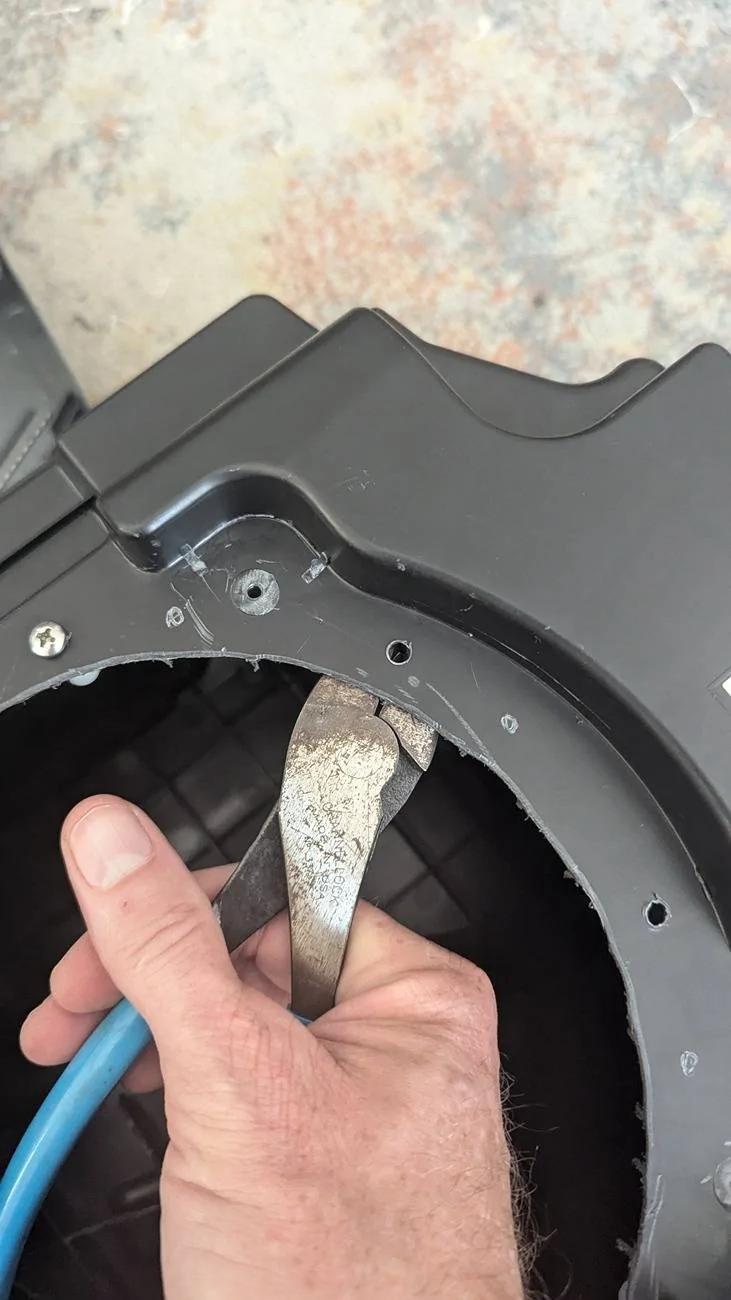
- Trim any interfering ribs away from your new mounting holes with wire cutters.
- The plastic case is very epoxy "resistant" so I used #8 aluminum rivnuts for mounting.
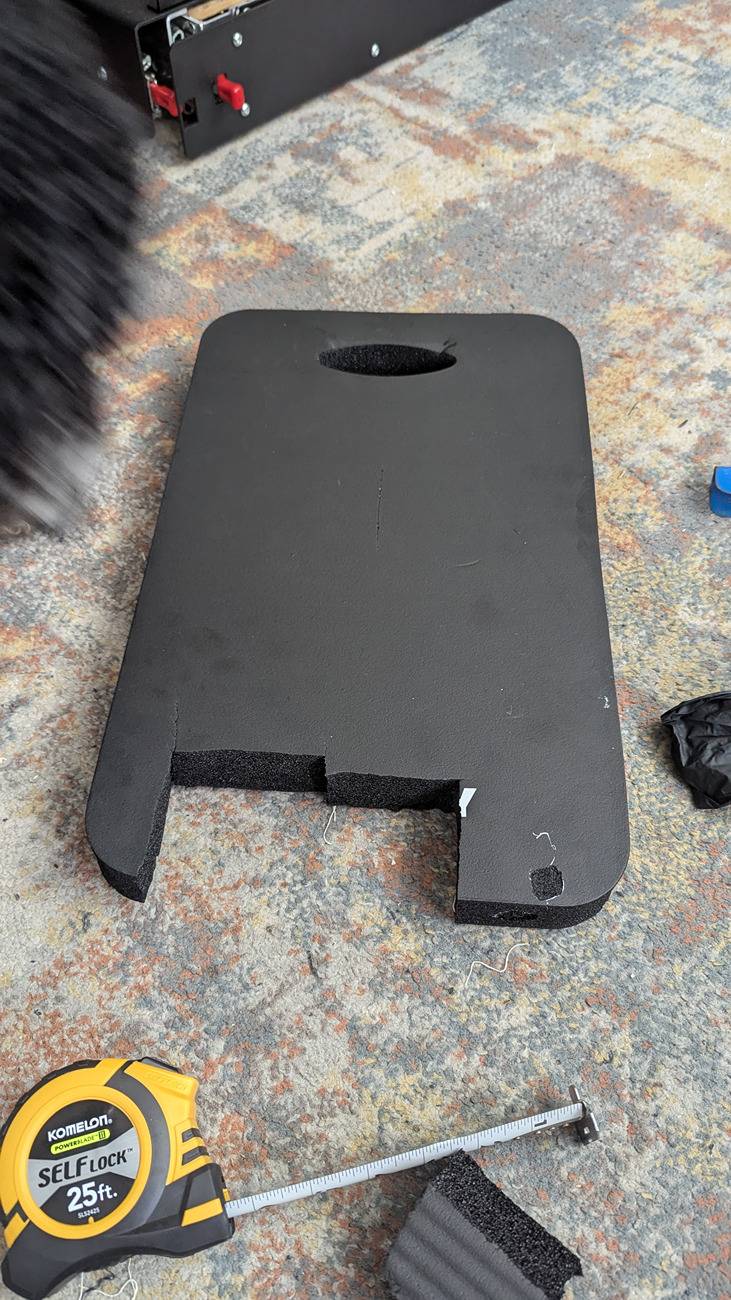
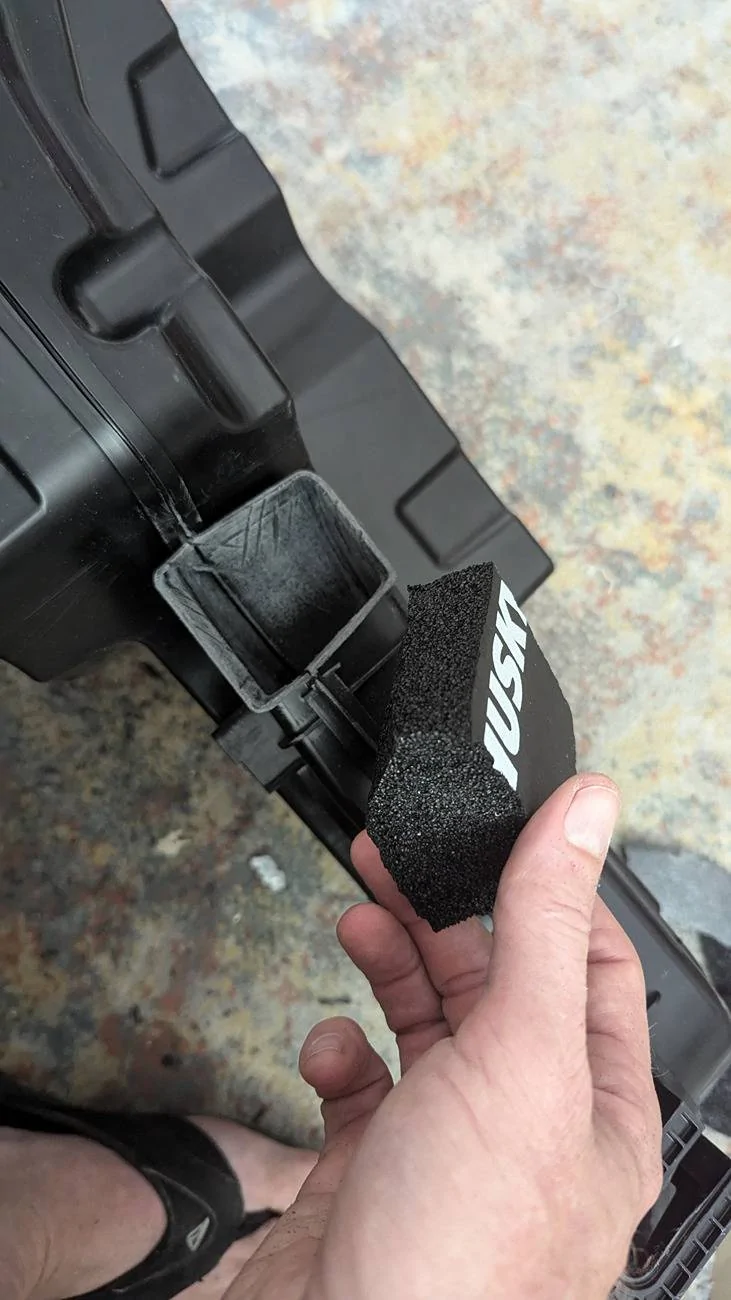
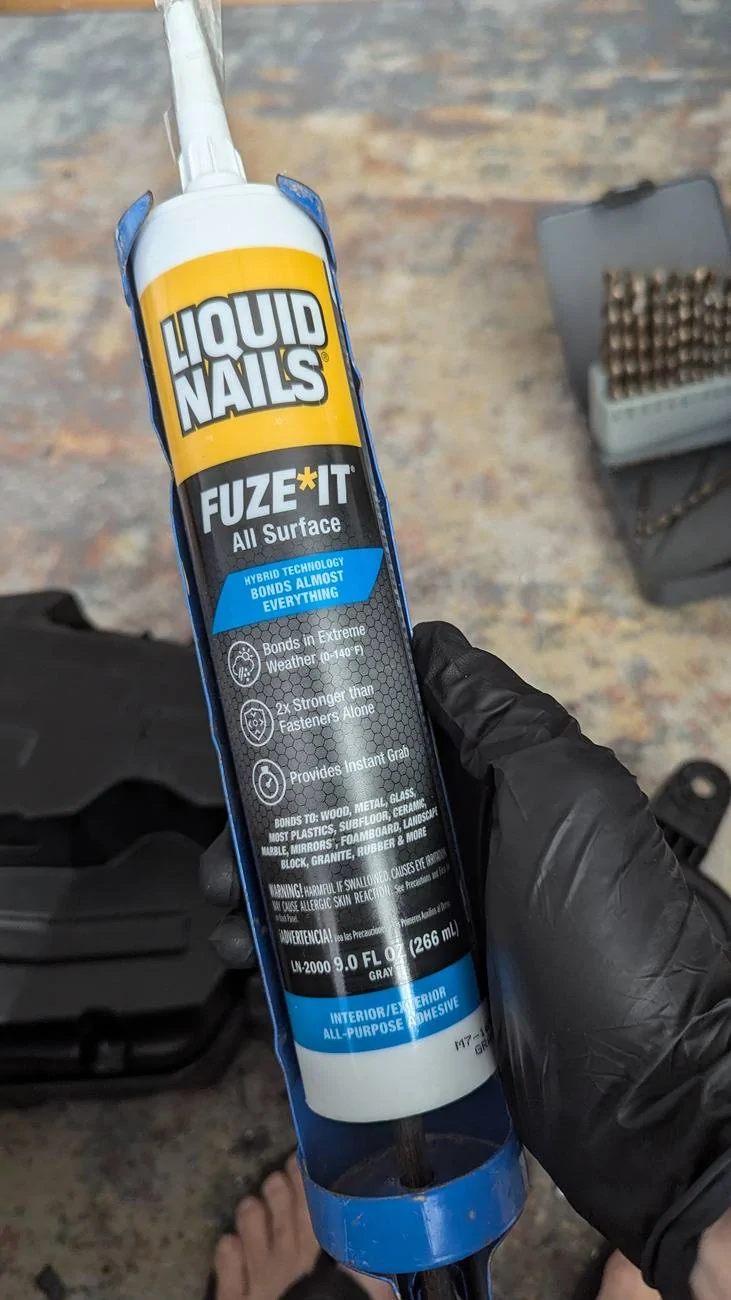
- I sealed the port (and stuffed the enclosure with poly fill). I used a Husky brand closed cell foam knee pad from Home Depot and Liquid Nails Fuze It. Fuze It is supposed to adhere to just about any substrate. Due to the poor adhesion of a dedicated plastic epoxy, I actually tested the adhesion of Fuze It to both the foam (stronger than the foam) and to the enclosure (decent, no where near a well bonded epoxy, but good enough for sealing). I cut and oversize piece of foam, sanded the inside of the terminus of the port with 60 grit and scared it with a dremel cut off wheel, cleaned everything with IPA, slathered up the foam with Fuze It and held it in place with clear packaging tape while the Fuze It cured. Worked great.
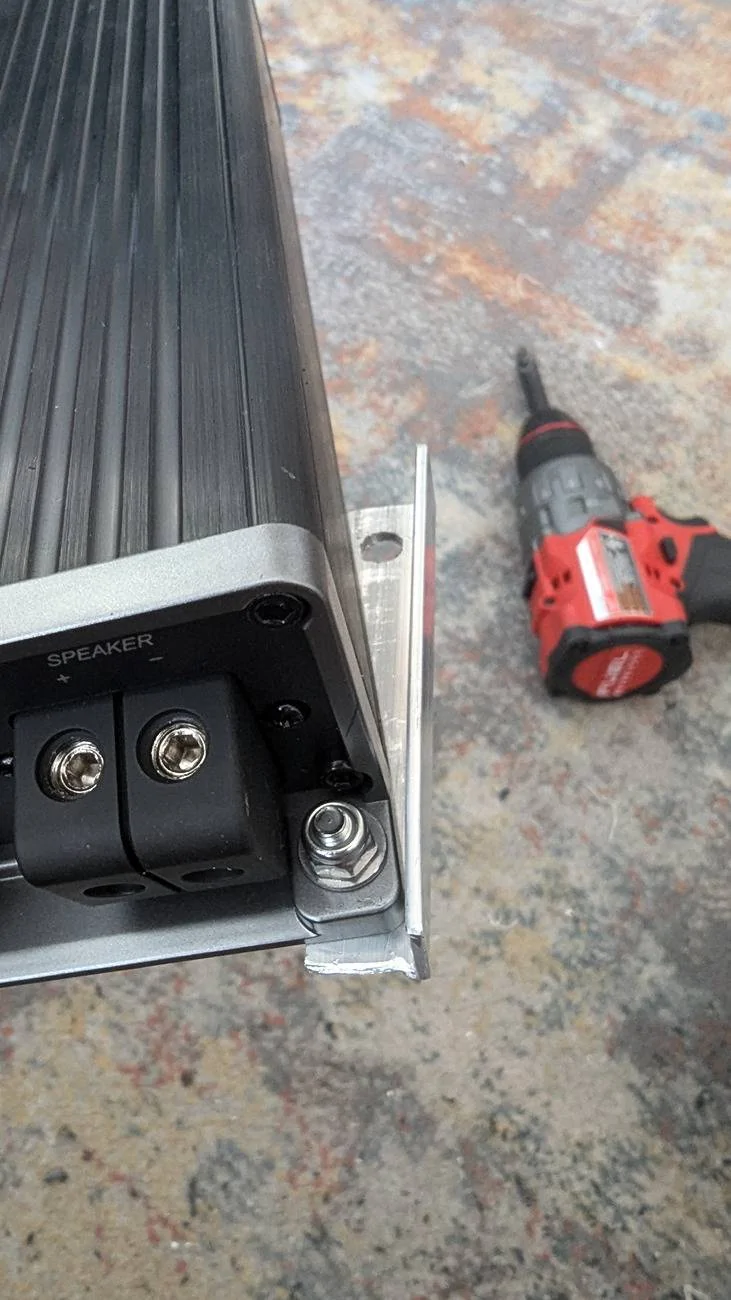
- Don't struggle making custom plastic mounting plates for the amp and then struggle more trying to get perfect alignment and clearing the large plastic cover panel (or denting the cover panel badly as some did...). Mount the amp using:
- Standard upper left enclosure mounting hole, through the existing upper left amp base plate hole. Have the power side of the amp face the woofer itself. Cables will be tight but will fit without undue kinks/stress.
- Standard lower left enclosure mounting hole and simply drill a new hole in the amp base/mounting plate to line up.
- An offset aluminum L beam (hobby or good hardware store) and the existing enclosure upper right mounting hole.
- A custom fastener "stack", based on a threaded rod, through the existing lower right amplifier mounting hole through a drilled hole, all the way through the enclosure near the plugged port. From near side toward outside of the truck the fastener stack is: #8 nylock nut, #8 washer, 3.75" long #8 threaded rod, #8 fender washer (much larger OD than a standard washer), 2nd #8 nylock nut. I'll try to post a picture to better explain this.
- P.S. Don't try to get away with just 3 mounting points for the amp. I tried only #1-#3 above and she rattled good, hence I added the threaded rod solution in #4.
- Wiring colors courtesy of @6inthefamily here.
- White with orange stripe = upfitter switch (dont use, tape off)
- Yellow with red stripe = power (dont use, tape off, ran new 8 guage power wire)
- Violet with green stripe = speaker positive
- Green with white stripe = speaker negative
- Black with green stripe = ground (don't use)
- Yellow with violet stripe = remote turn on
- The speaker positive on the vehicle harness should be wired to both the L AND R amplifier positive inputs, similarly for the negatives.
Sponsored





 . Precisely how do I get this thing in calibration mode? Also, his do I get the bass knob working again?



 . Just full sound.


