- Joined
- Dec 15, 2020
- Threads
- 106
- Messages
- 4,860
- Reaction score
- 9,177
- Location
- Portland, Oregon
- Vehicle(s)
- Mustang
- Your Bronco Model
- Badlands
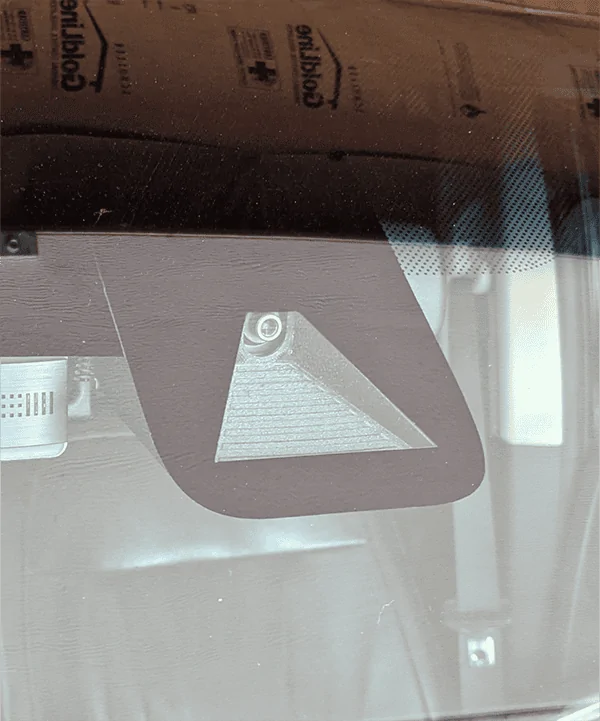
What is causing the pressure/tension on the vinyl?Five-month update.
Electrically, it's been working fine.
Visually, the vinyl kept trying to pull away from the glass, resulting in a visible pattern on the outside in the shape of the bracket. Of course, I somehow failed to get any pictures of this.
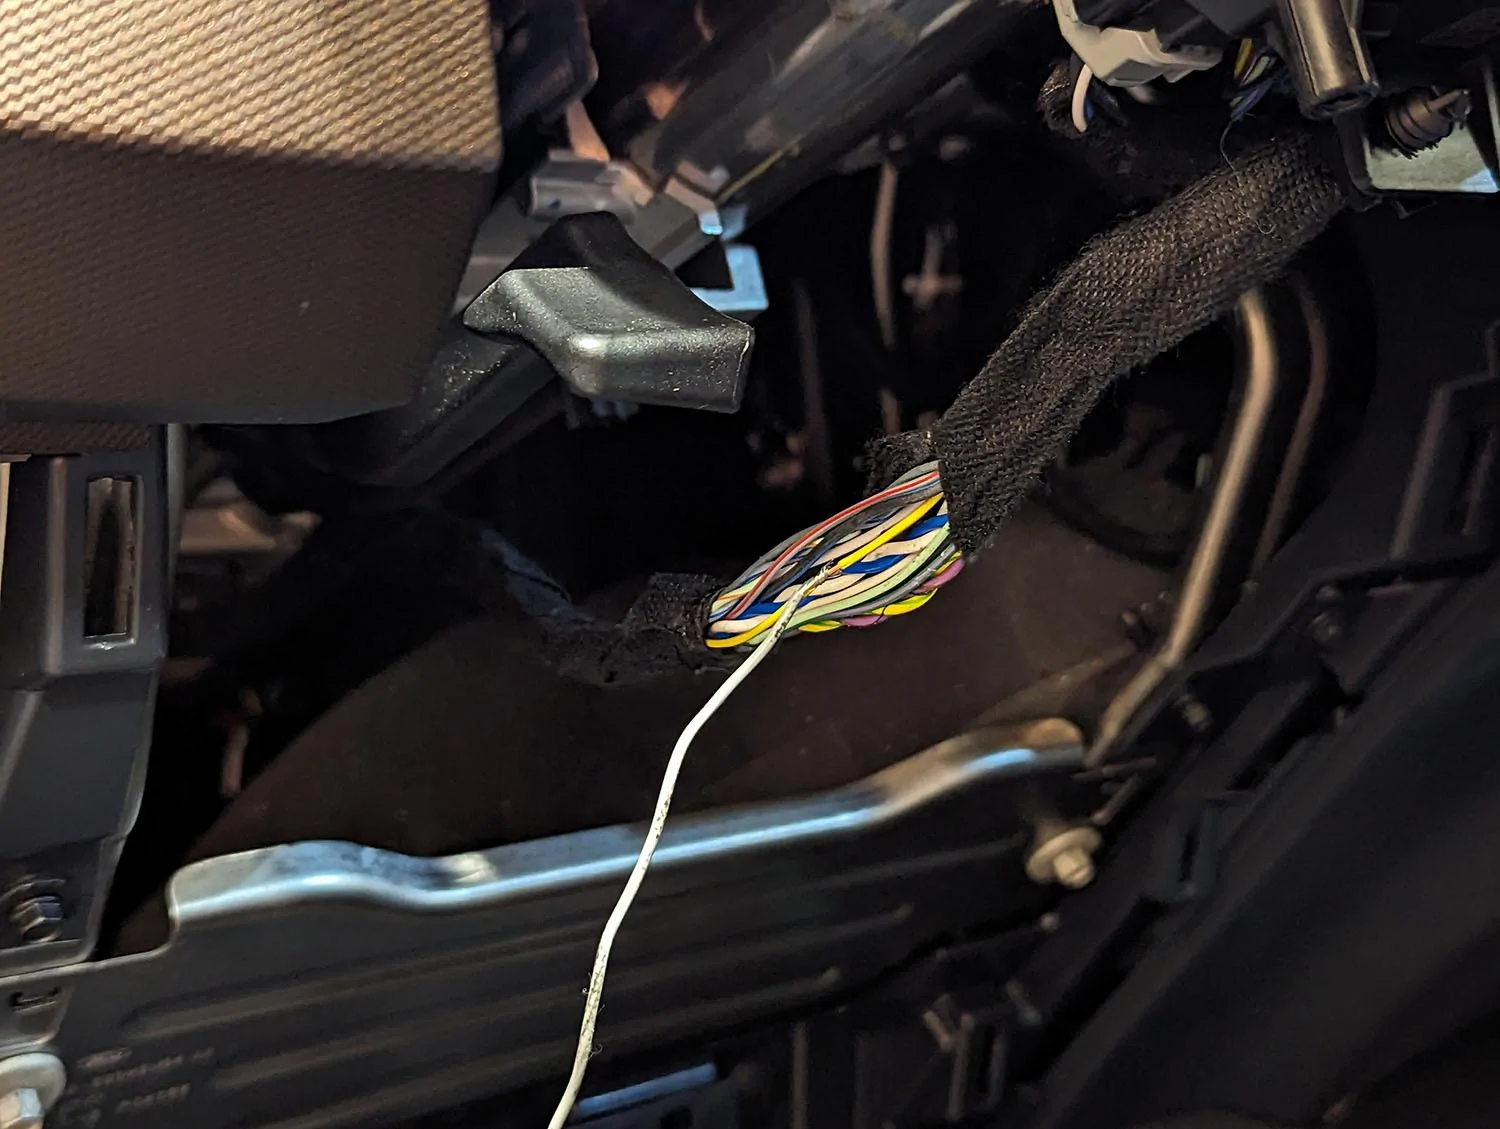
My thought was to switch to a two-layer setup like I'm doing in the Flex -- apply glass primer to the windshield, then a layer of vinyl over it. My thought was the vinyl might stick better to primer, and any air pockets would be hidden. I had my camera all set up so I could record a full howto on the installation.
Well, applying the primer didn't go as planned and on the third attempt, spilled it all over my hands. The gel on the rain sensor also got pretty messed up, so I have more shipping from aliexpress ($6 for eight vs $35 for one on Amazon)
Decided to modify the bracket design. The first version was meant to replicate the OEM bracket 1:1 so it'd be compatible with OEM covers, with an optional 'shorter' cover that would have to be printed.
New design increases the surface area but isn't directly compatible with OEM covers. Maybe it'd work if you broke the tabs off.
I also got nervous about having too much surface area because I broke the Flex's windshield using epoxy over too large of an area. Instead, I used high-temp VHB tape to apply the bracket this time. Dialed in the vinyl template design a little closer, too.
So I guess we'll see again. The increased surface area should hopefully help prevent pulling away. If I can find one of my spare rain sensor covers, I'll see if it can attach directly to this mount. I'm honestly hoping so, because I haven't found a good way to print the cover that didn't result in an obvious '3d printed' appearance.
Also debating having the first layer of vinyl being properly shaped to match the existing frit, then put three or four additional 'rough" layers just where the bracket mounts for extra strength. I can already kinda see where the tape is, though that could just be from the vinyl still needing to even out


Sponsored