
- First Name
- Jeff
- Joined
- Aug 23, 2020
- Threads
- 57
- Messages
- 6,068
- Reaction score
- 9,891
- Location
- Kane County, Western Chicago area
- Vehicle(s)
- 22 Black Diamond non squatch 4 door softtop v6
- Your Bronco Model
- Black Diamond
Deserves beer.
Sponsored
Deserves beer.
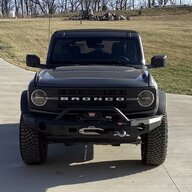
This whole thing is awesome. Great job and love your humble approach but with great execution!No, sorry. It was actually my first time and purchase ever on Etsy.
https://www.etsy.com/listing/265474005/ford-bronco-grill-1st-generation-u-100?ga_order=most_relevant&ga_search_type=all&ga_view_type=gallery&ga_search_query=bronco+grill&ref=sc_gallery-1-1&listing_id=265474005&listing_slug=ford-bronco-grill-1st-generation-u-100&plkey=ac80b82dd413b607e4f9e9011cb266803c303770:265474005
https://www.amazon.com/gp/product/B08C56Z6GF/ref=ppx_yo_dt_b_asin_title_o02_s00?ie=UTF8&th=1
Sorry, I didn’t think anyone else would like it. I think it’s kinda cool though. Would make for some great wall art as well I suppose.
https://www.etsy.com/listing/265474005/ford-bronco-grill-1st-generation-u-100?ga_order=most_relevant&ga_search_type=all&ga_view_type=gallery&ga_search_query=bronco+grill&ref=sc_gallery-1-1&listing_id=265474005&listing_slug=ford-bronco-grill-1st-generation-u-100&plkey=ac80b82dd413b607e4f9e9011cb266803c303770:265474005
Thank you. I really enjoy little projects like these. It’s part of the fun in having a vehicle like this. Put your own little touches on it and make it yours.This whole thing is awesome. Great job and love your humble approach but with great execution!

Really smart well thought out build. Thank you for sharing. This is the kind of content I hope will start populating this forum once we all get our Broncos.A few have asked, so I’ll try to explain a bit more here. I’m trying to remember what all I used, so please excuse any errors or items I forgot.
SUPPLIES:
Plywood 4’x4’x3/4”
4x4 douglas fir x 8’ long https://www.lowes.com/pd/4-in-x-4-i...37-in-x-3-437-in-x-7-937-ft-Actual/1000028817
2 each of 48” long x 12” x 1” thick pine stair treads https://www.menards.com/main/stair-...492797420.htm?tid=2954335932258313170&ipos=29
48” of 1” x 1/8” aluminum angle https://www.menards.com/main/hardwa...lid-aluminum-angles/11334/p-1444432412012.htm
Set of locking 24” drawer slides https://www.amazon.com/gp/product/B08C56Z6GF/ref=ppx_yo_dt_b_asin_title_o02_s00?ie=UTF8&th=1
Menards automarine carpet 6’ wide x 10’ long https://www.menards.com/main/floori...08-c-6542.htm?tid=-2433676722122166500&ipos=1
One can of spray adhesive for carpet to plywood https://www.menards.com/main/paint/...64-c-7923.htm?tid=-8499634572309301396&ipos=5
Staples for hidden carpet to plywood edges
Continuous Hinge - 30”
2- 6” strap hinges - black https://www.lowes.com/pd/ReliaBilt-N236-990-ReliaBilt-6-In-Black-Strap-Hinge/5001781801
16 - Black carriage bolts 1/4-20 x 2”, washers, and nuts for attaching 6” strap hinges to plywood. If you can find shorter that is better. I had to cut mine shorter after bolted together.
8 - structural screws for tie downs https://www.menards.com/main/hardwa...10-c-8742.htm?tid=8623719224557601739&ipos=14
4 - 1/4” x 2-1/2” lag bolts for fastening drawers slides to 4x4’s https://www.menards.com/main/hardwa...ead-lag-screws/zhl14212-4/p-1444421587938.htm
#12 machine screws and nuts for fastening slides to aluminum angle https://www.menards.com/main/hardwa...02-c-8933.htm?tid=2988488976367348458&ipos=10
8 each of 8mm-1.25 x 90mm or longer hex bolts and washers for fastening 4x4’s to existing tie down mounts. Can find at a hardware store or pay more for them at a place like Lowe’s https://www.lowes.com/pd/Hillman-8mm-x-90mm-Zinc-Plated-Coarse-Thread-Hex-Bolt-2-Count/999996050
Metal grill https://www.etsy.com/listing/265474005/ford-bronco-grill-1st-generation-u-100?ga_order=most_relevant&ga_search_type=all&ga_view_type=gallery&ga_search_query=bronco+grill&ref=sc_gallery-1-1&listing_id=265474005&listing_slug=ford-bronco-grill-1st-generation-u-100&plkey=ac80b82dd413b607e4f9e9011cb266803c303770:265474005
General steps to build
- Cut the 8’ 4x4 to fit. I cut to fit so I could get all 8 bolts into existing tie-down mounts (plastic trim at rear to plastic trim behind the seats), then angled each end to be wider at the top. The cut for the portion by existing tailgate hump took several trial and errors for clearance. View attachment 239416
- NOTE: THE TIE-DOWNS ARE NOT PARALLEL TO EACH OTHER. The tie-downs towards front of Bronco are further apart than tie-downs at the rear. Will have to do your own math on where to drill holes to make the 4x4’s run parallel with each other. I set mine to be 32” apart - inside face to inside face. I didn’t write it down, but I think the front holes are 36-1/4” apart and the rears are 35-1/4”apart. That leaves you with 2-1/8” from inside face for the front hole centers and 1-5/8” from inside face for the rear hole centers. This centers the 4x4 over the mounts and leaves a 32” parallel space between them. I’m sure that sounds very confusing, but you’ll see. Hopefully my memory is correct. Double check against a pic I just drew up to explain better. View attachment 239413
- Drill holes for the 4x4’s. Figure out where the head of the 8mm bolt will end up when tightened down, then drill with 5/8” spade bit or larger to that head depth. This will be large enough to fit a washer under the hex head and provide more bearing surface when tightening. Then use 3/8” or similar drill bit to drill the rest of the way. View attachment 239415
- Test fit with the bolts. Be careful to not strip the factory mount nuts and don’t force anything. I added a little bit of anti-seize to help.
- I cut my plywood first to 35” deep and about 43” wide, then cut the edges to fit both sides and hump of existing rear door. The plastic sides are flimsy and have some play.
- Figure out where you want to cut the hinged section. I wanted at least 1” of bearing on the 4x4, and still have room to lag the tie-downs into the same 4x4, all while making sure the tie-down hoops clear the lid. A person could also get other tie down that are more slim and give some more play to this measurement.
- Cut out the hinged section. Mine is roughly 24” deep and 35” wide. I cut it out first, then cut another 1/4” of material off the sides that will be screwed down to give clearance for adding carpet later. I should have cut off another 1/8” to give a bit more clearance, as it is pretty snug right now. View attachment 239417
- Layout the hinges underneath and drill holes for them. Test fit as you go. Use the 1/4 black carriage bolts for these. You could also put the hinges on top so it could fully open, but I didn’t need that and didn’t want the hinge protruding from the floor.
- Disassemble and carpet everything. Menards carries the carpet linked above in their store. You can get by with less than 6’x10’, but it’s pretty cheap in case you mess up a cut. I just used the adhesive on the big flat sections so it wouldn’t get wavy. Stapled other areas. I’m sure there are professional ways of doing it all without staples. I poked holes thru the carpet as I went so I didn’t lose where my hinge holes were located. View attachment 239422
- Use the structural screws to go thru the tie-downs and plywood and into the 4x4’s. I did pre-drill for them.
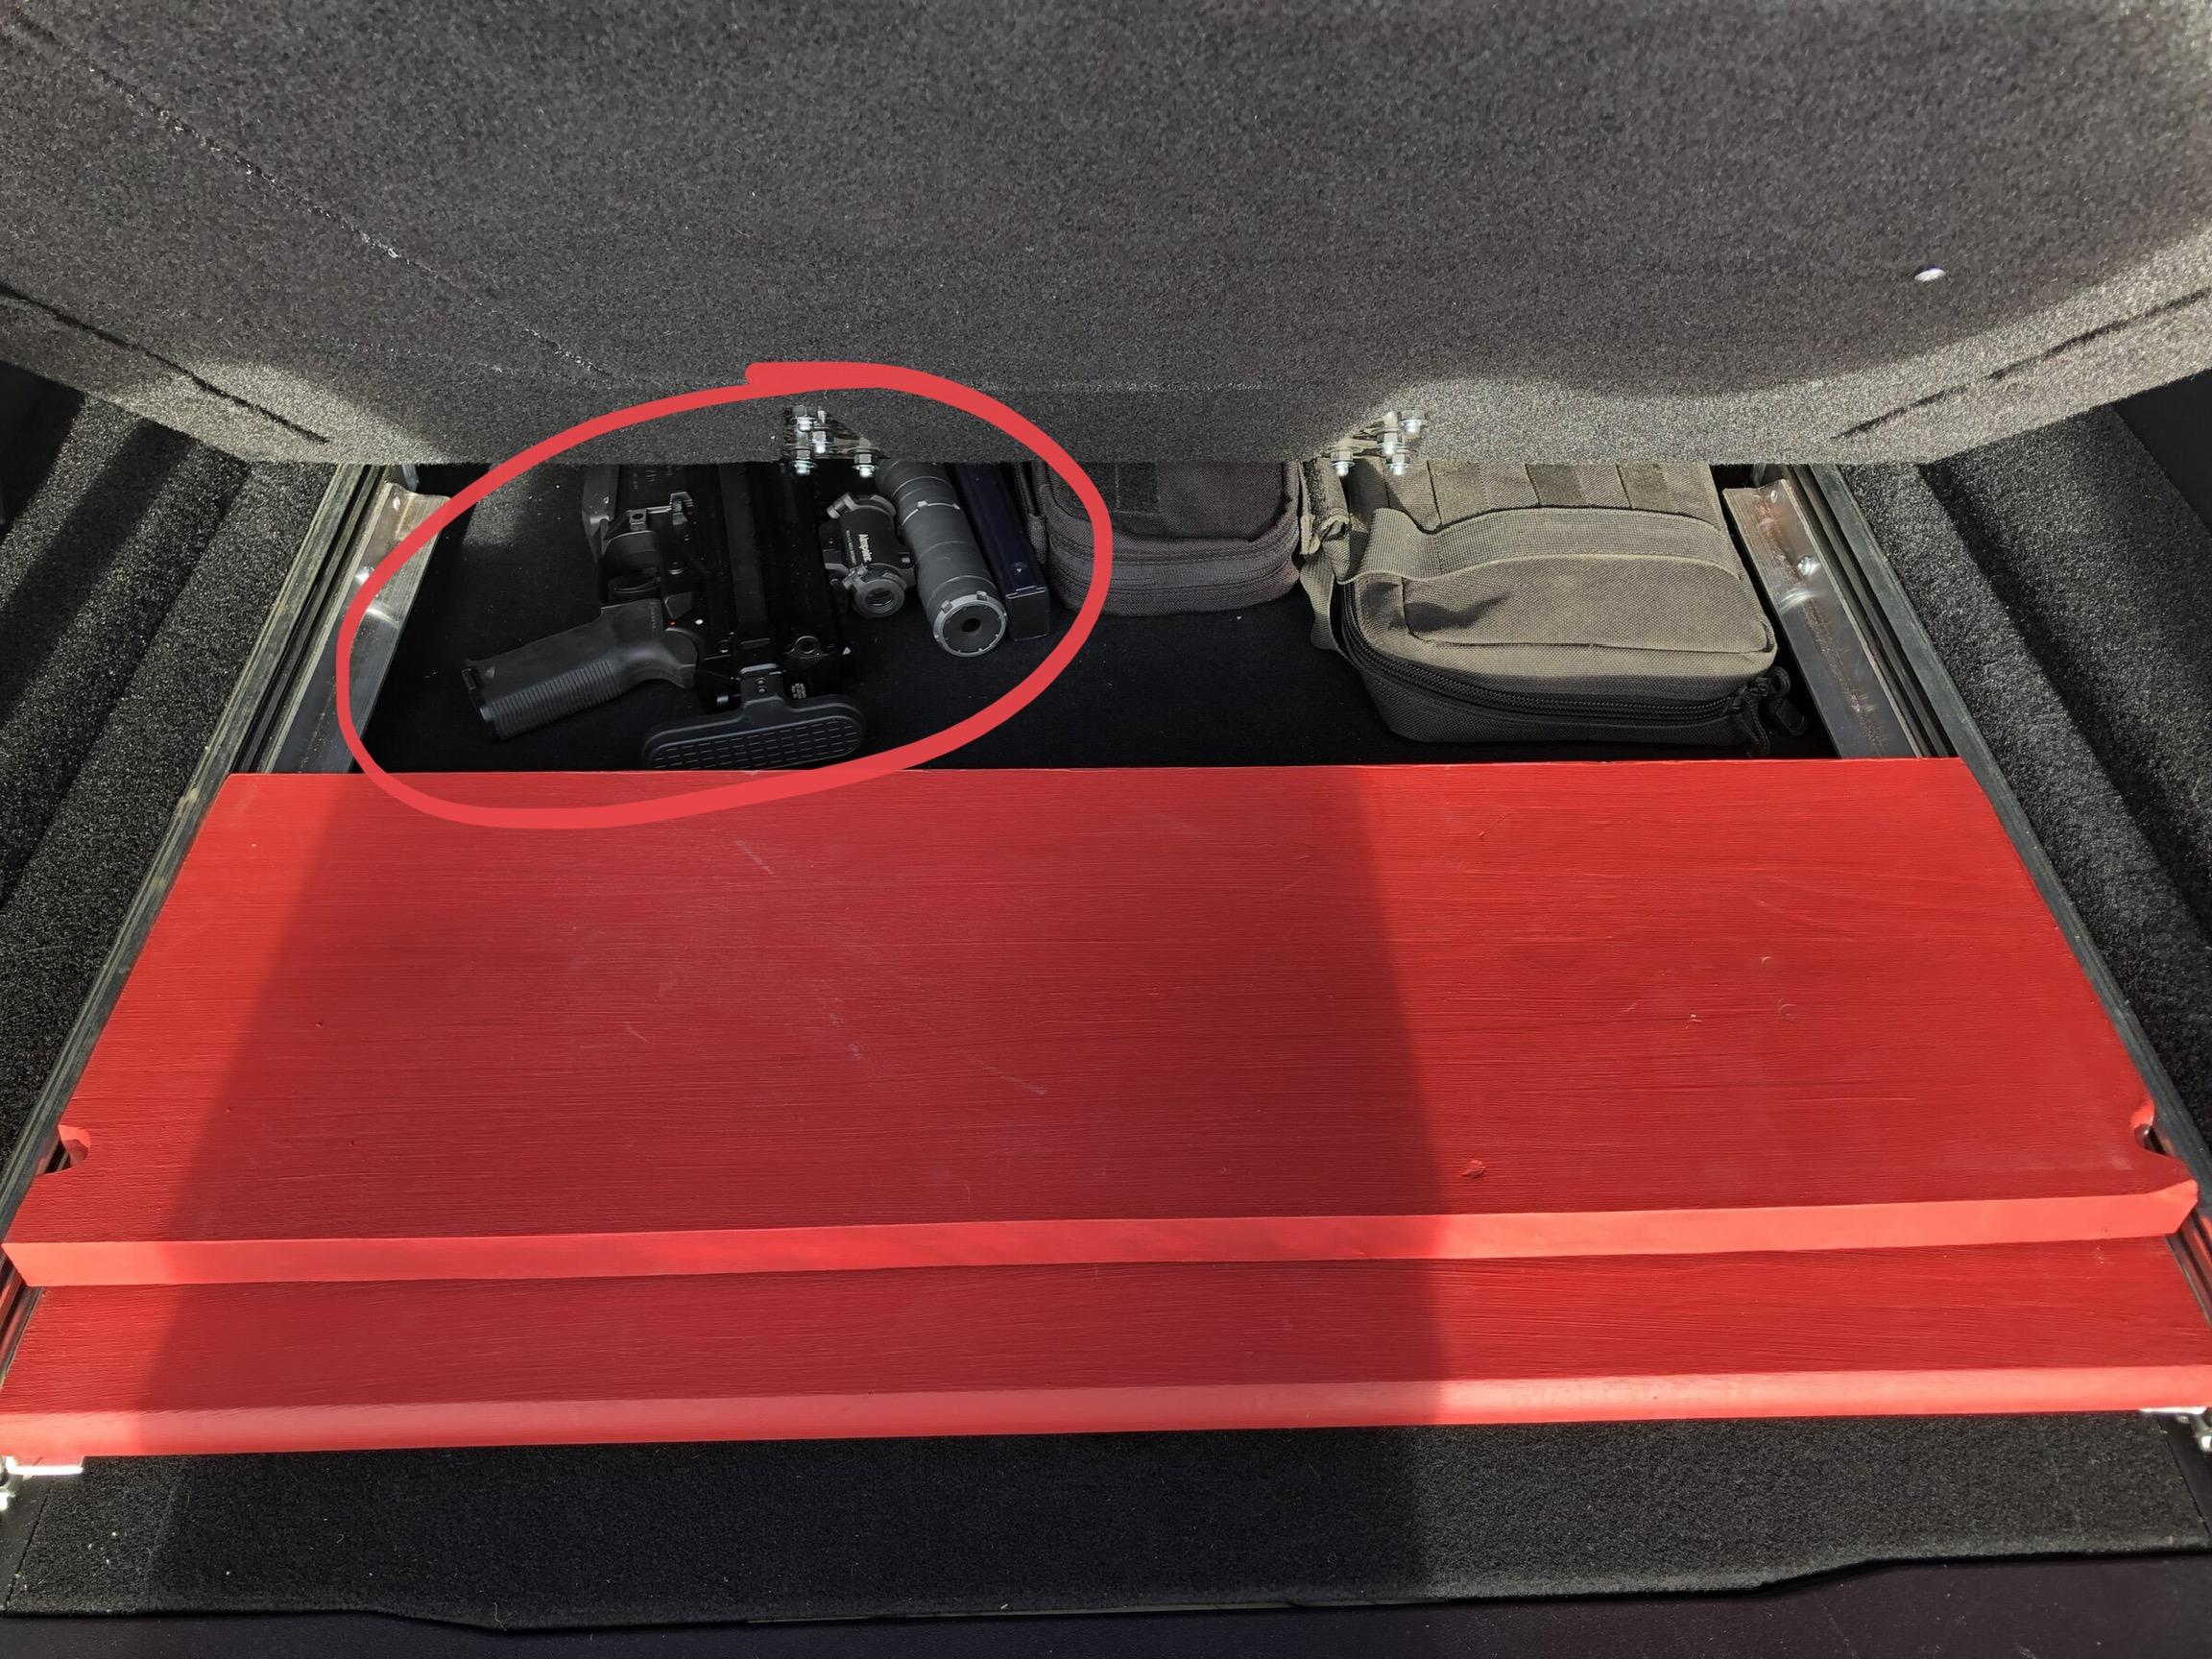
- This works pretty well as is. No need to add sliders unless you want View attachment 239423 View attachment 239426
- Install sliders. Make sure they don’t hit the rear door before using the 1/4” lag bolts. I shimmed up the sliders off the existing floor with a few big washers to clear the rear plastic trim piece. Also, there are several holes in the slider to choose from to mount. I test fit a lag at several locations to make sure the hex head would clear slide mechanisms. There are a few holes it will not. I also pre-drilled the 4x4’s for the 1/4” lags. No washers used View attachment 239427
- Figure out what you want to use for a slider shelf/table. I used some stair treads as they are thick, cheap, and can screw into the edge easier than plywood. I then cut down the aluminum angle to fit the slider, figured where the #12 machine bolts would fit and clear slide mechanisms, drilled the aluminum, and bolted it on the sliders.
- My shelf ended up being 30” wide, with the 30” hinge added in the middle.
- The shelf was notched underneath to fit around those #12 machine screws. I’m going to add a few more to sturdy up some more.
- Can add a few short wood screws to hard mount the shelf to the aluminum
In the future, I may switch my sliding table to an aluminum one. I’m thinking 1/4” thick with all four edges turned down, and can then eliminate the current aluminum angle altogether. I’m going to ask at the local metal fab shop if they can do that. I’d like to still hinge the 2 pieces as it’s very nice option to have.


I think that is one of those cordless hole punchers. Very handy.I like your style, sir. I’d ditch those covers on the T2. I always run the IO covers.


Someone will come out with a nicer and/or easily produced version soon enough. Not saying this isn’t easy, but it’s a bit crude compared to what actual shops will come up with. The one Ford makes is pretty sweet, except I assume you lose that bit of valuable space behind the shelf when slid in. If someone had some metal fab skills, sky is the limit really.Carryon- patent that beautiful sliding tailgate cargo floor, you could probably sell 150,000 to us Bronco and future Bronco owners

Exactly. I really thought hard about the Line X type of finish. I’ve had good results with the Raptor Liner DIY stuff. It’s held up great on my toolbox on my truck, but it’s too cold to mess with it outside or in my garage for several months. If I ever convert the top and shelf to aluminum, I’d definitely go for it.Awesome. Saving this thread for future reference. I absolutely could not picture access to the factory storage. I’m better now. I’d probably have to Line X mine to go with the rubber interior, but that’s the cool part is there’s options.
What a dick. The original poster of this thread takes the time to post his solution to a problem that can help like 80 percent of owners with a level load floor, and a slide out shelf, and it matches the interior, and the jack is accessible, and this guy wants to call it crude? Why don’t you invent something and . . .Someone will come out with a nicer and/or easily produced version soon enough. Not saying this isn’t easy, but it’s a bit crude compared to what actual shops will come up with. . .