
- First Name
- Craig
- Joined
- Oct 13, 2022
- Threads
- 7
- Messages
- 95
- Reaction score
- 169
- Location
- Northern Virginia
- Vehicle(s)
- Bronco, Raptor, Jeep Grand Cherokee
- Your Bronco Model
- Wildtrak
- Thread starter
- #1
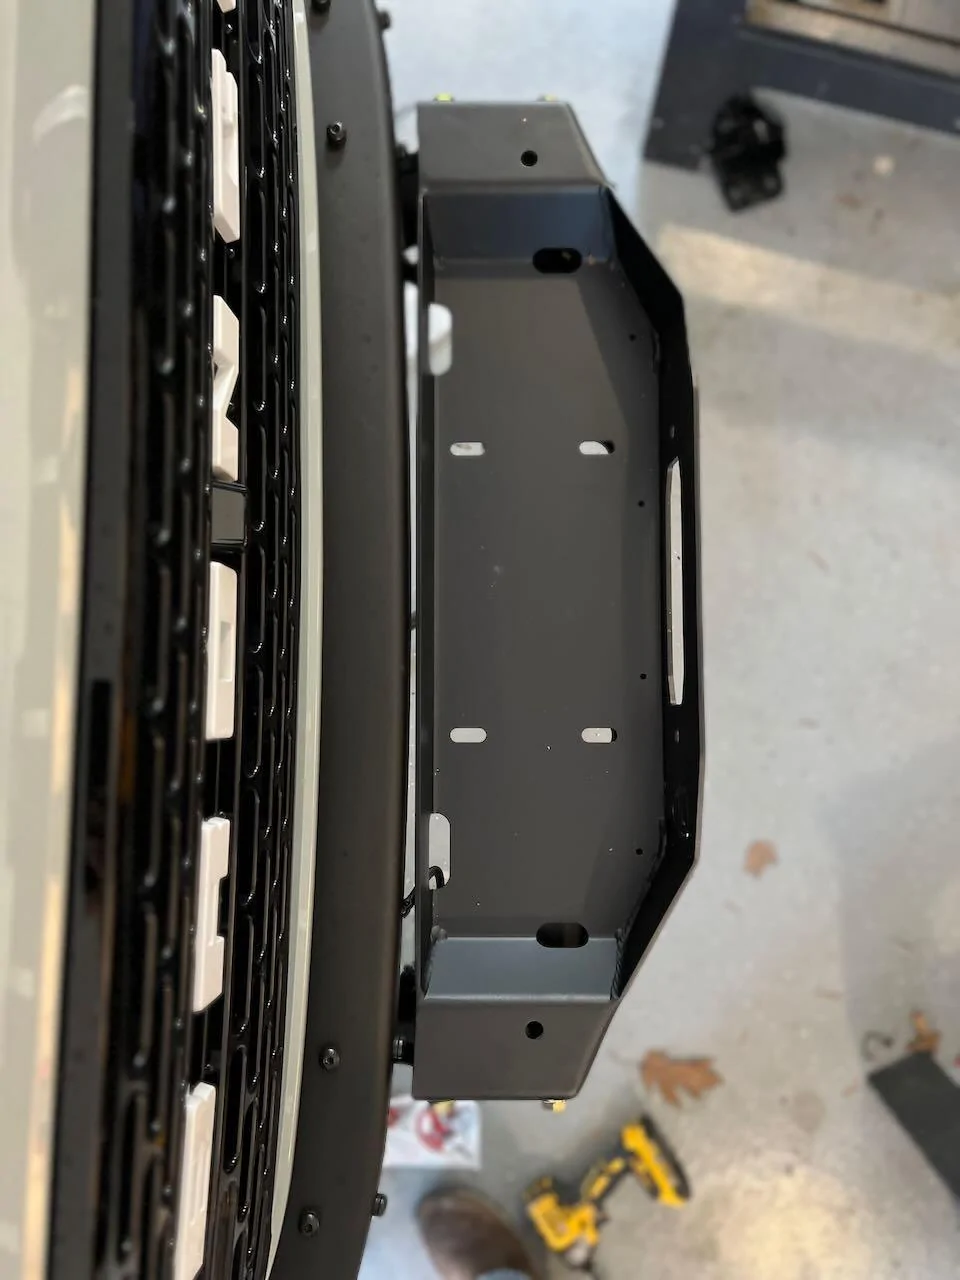
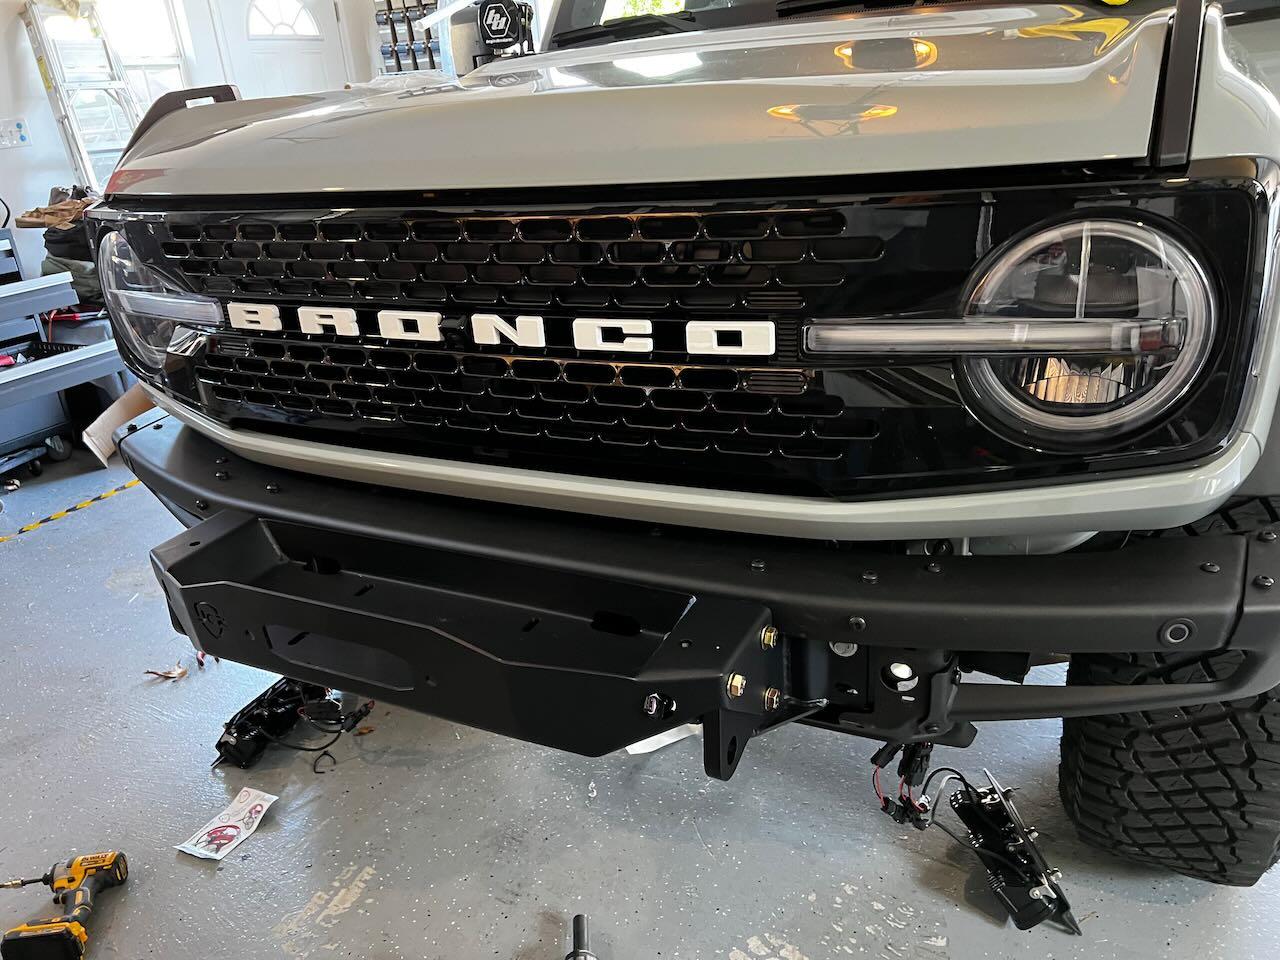
Hey Guys and Gals. Put the @JcrOffroad winch plate on and thought I'd pass along the experience. The JCR plate works with both the Modular and Capable bumpers. Very nice fit. The Rough Country was a top contender, certainly less expensive but the differences in quality, fit, and finish are clearly visible. The RC is also lighter but again, the JCR is just a better made product, all things considered. I ordered both and immediately returned the RC. If cost is high on your list, there is nothing wrong with the RC and both will give you a very functional platform for a winch.
Big question on the mounts, does it interfere with the ACC? NO. JCR shows it as ACC compatible and they are right. When installed per their instructions, there is no interference. Admittedly, I was worried. Looks like the bottom of the plate and the top of the ACC box overlap. They do not, and given the beam pattern of the ACC, it just works!
Install was a breeze and rather than duplicate the instructions here, just watch the JCR video here: JCR Winch Plate Install. That said a couple install tips to help make things easier. I can't say enough for JCR and this product. If you take your time and have an extra set of hands, this is a 2 on a 5 scale install.
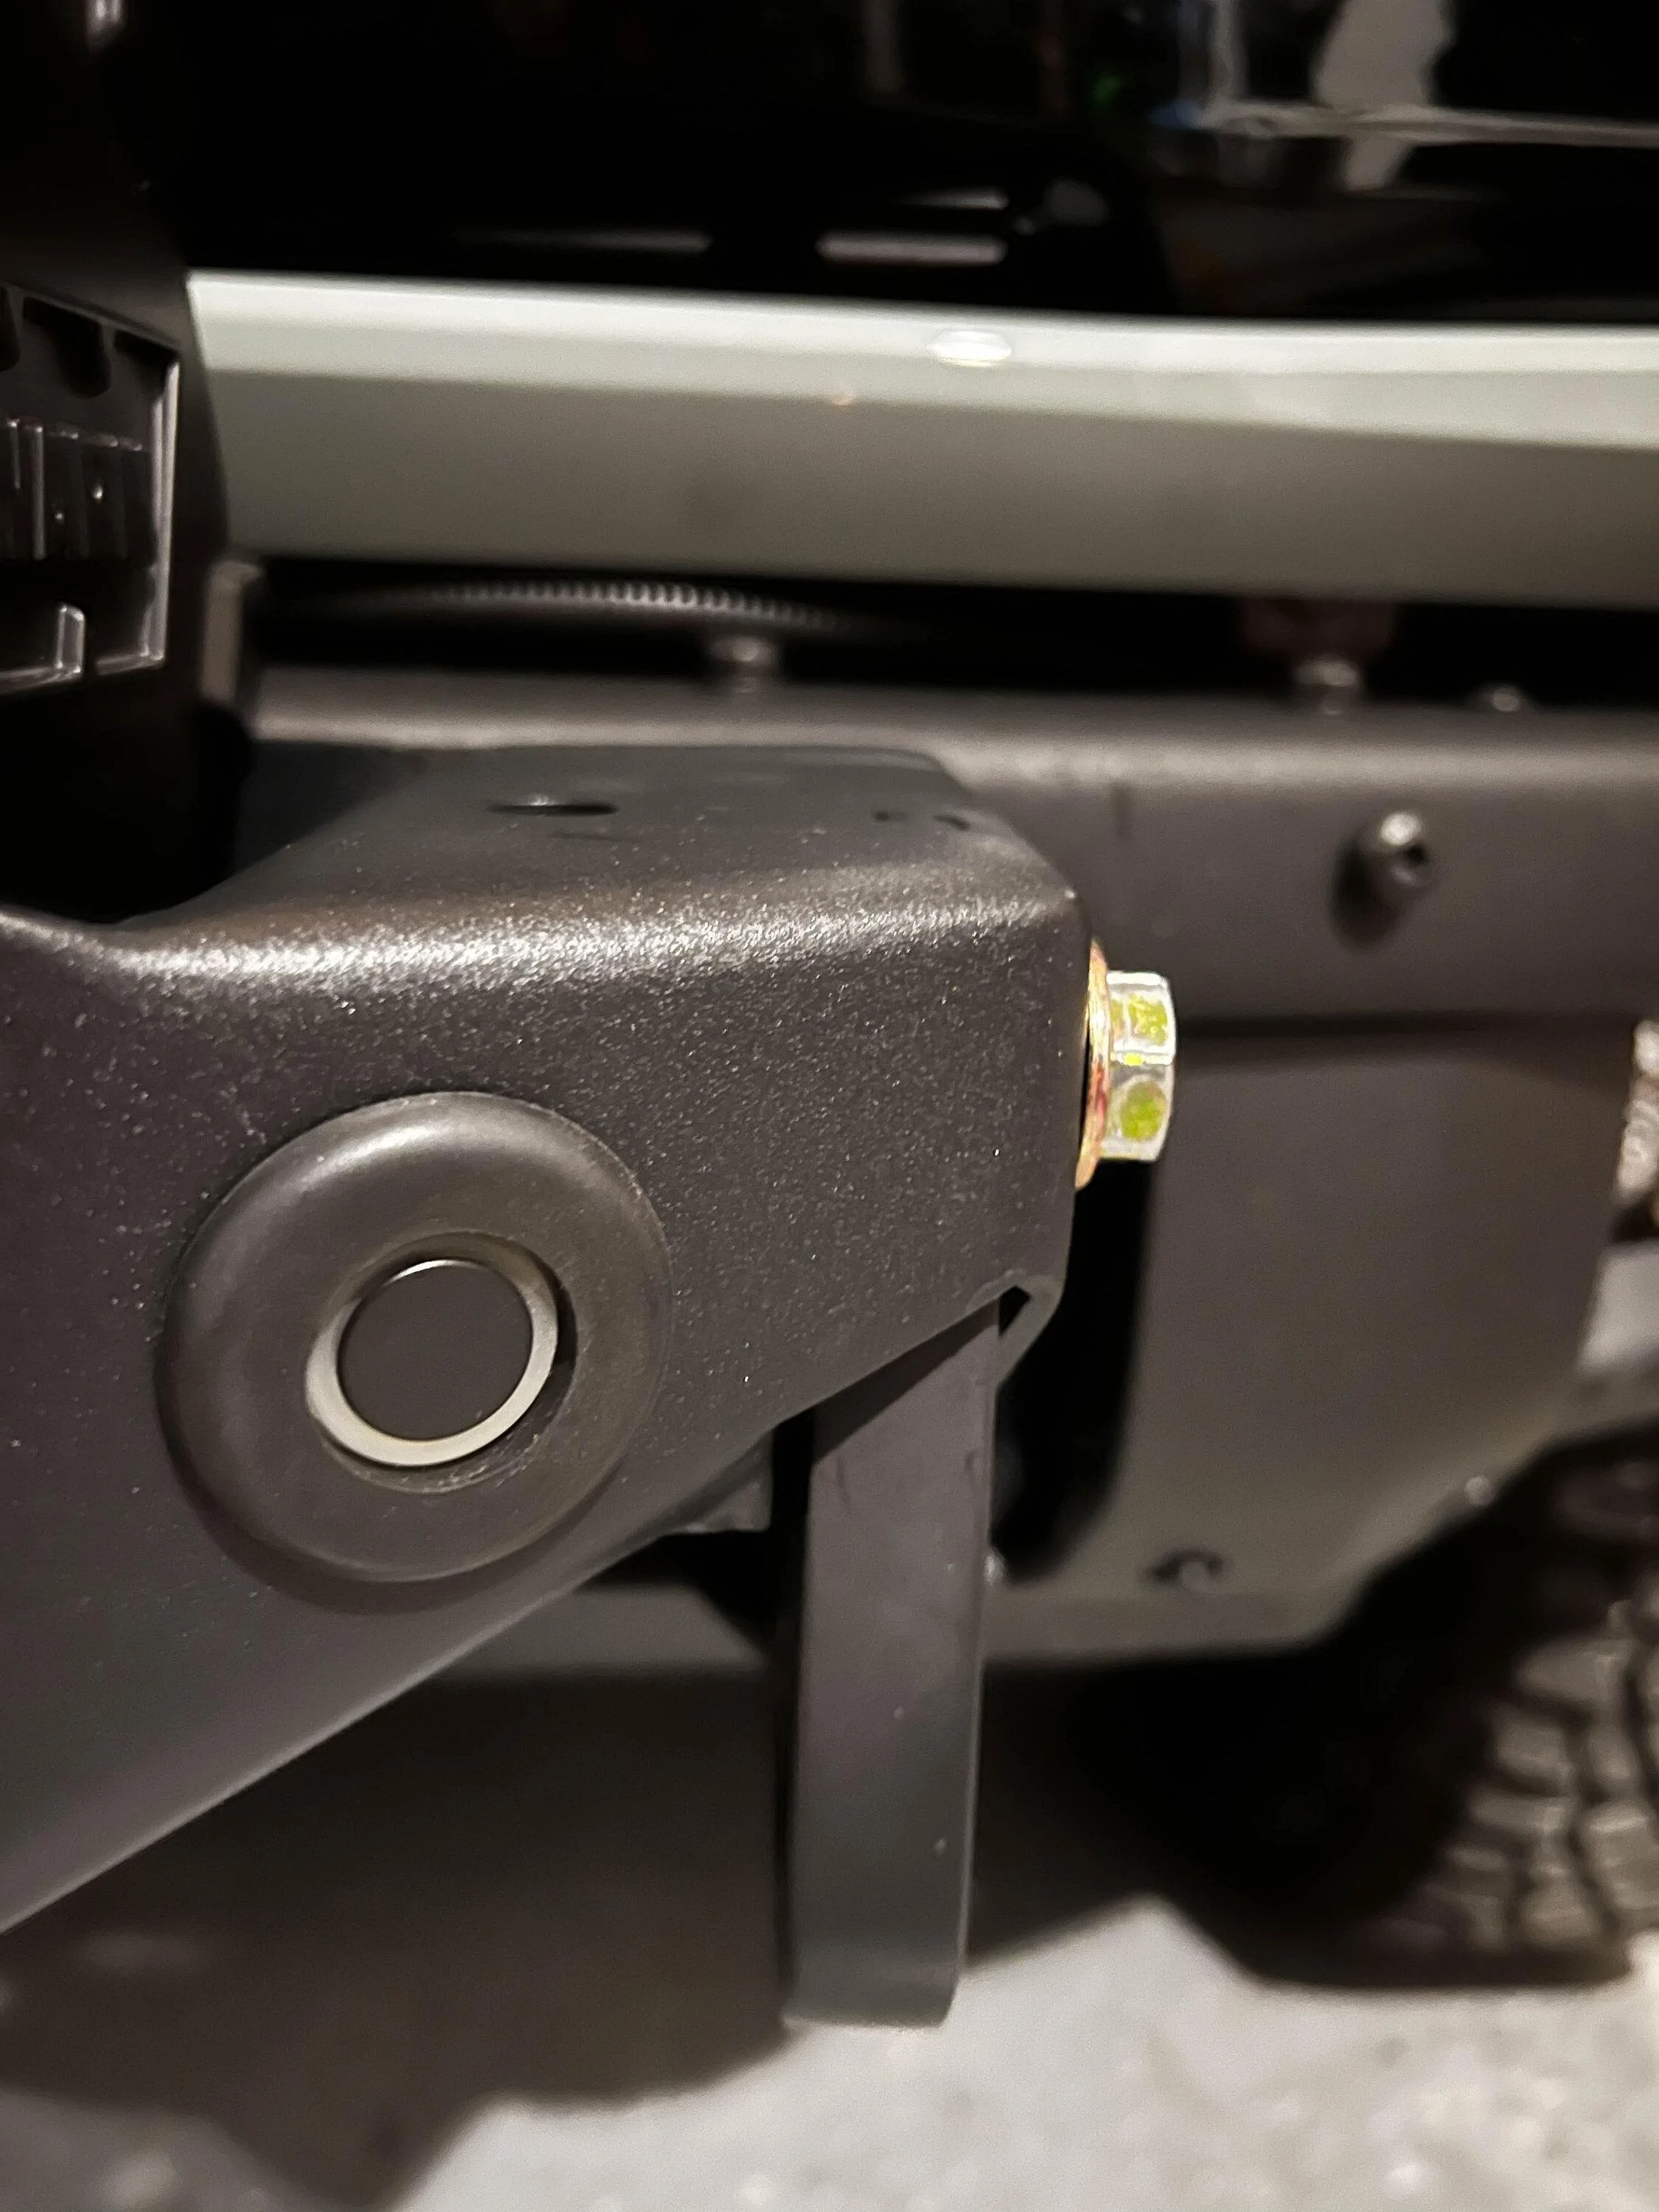
If you have parking sensors, their method of extending the wiring works, but it is a lot of effort once you have the bumper apart, the wiring out of its harness, etc. The video just doesn't do it justice. I spent a lot of time and decided to make two 10" extensions of my own. This way, with the bumper off, you simply poke the two sensors through the old hole, connect the extension and move them to their new home. JCR provides some very nice rubber inserts that when paired with the sensors, make for a really functional and good looking install.

Also, don't forget to disconnect, then reconnect the main parking sensor harness just under the drivers side headlight. It's easy to do, but if you forget to reconnect it, you might spend 35 minutes or more wondering why you have a dash parking sensor error message. Just saying, don't forget.
Supporting the bumper during removal and reinstall is important. Have an extra set of hands, jack stands, floor jack, etc. I used all three and a table or something else to set the bumper on.

There was a delay on the camera kit. So, being impatient, I installed the plate before I received the kit. This proved fine. There is ample room to take off the grill and work with the camera wiring and washer fluid tube.
Again, their kit was first-rate and really well made. I will say for those of you considering installing the relo kit, it makes a lot of difference. I strongly recommend it for retaining a very OEM-like install and camera functionality. It is not a difficult install, again, watch their video and take your time.
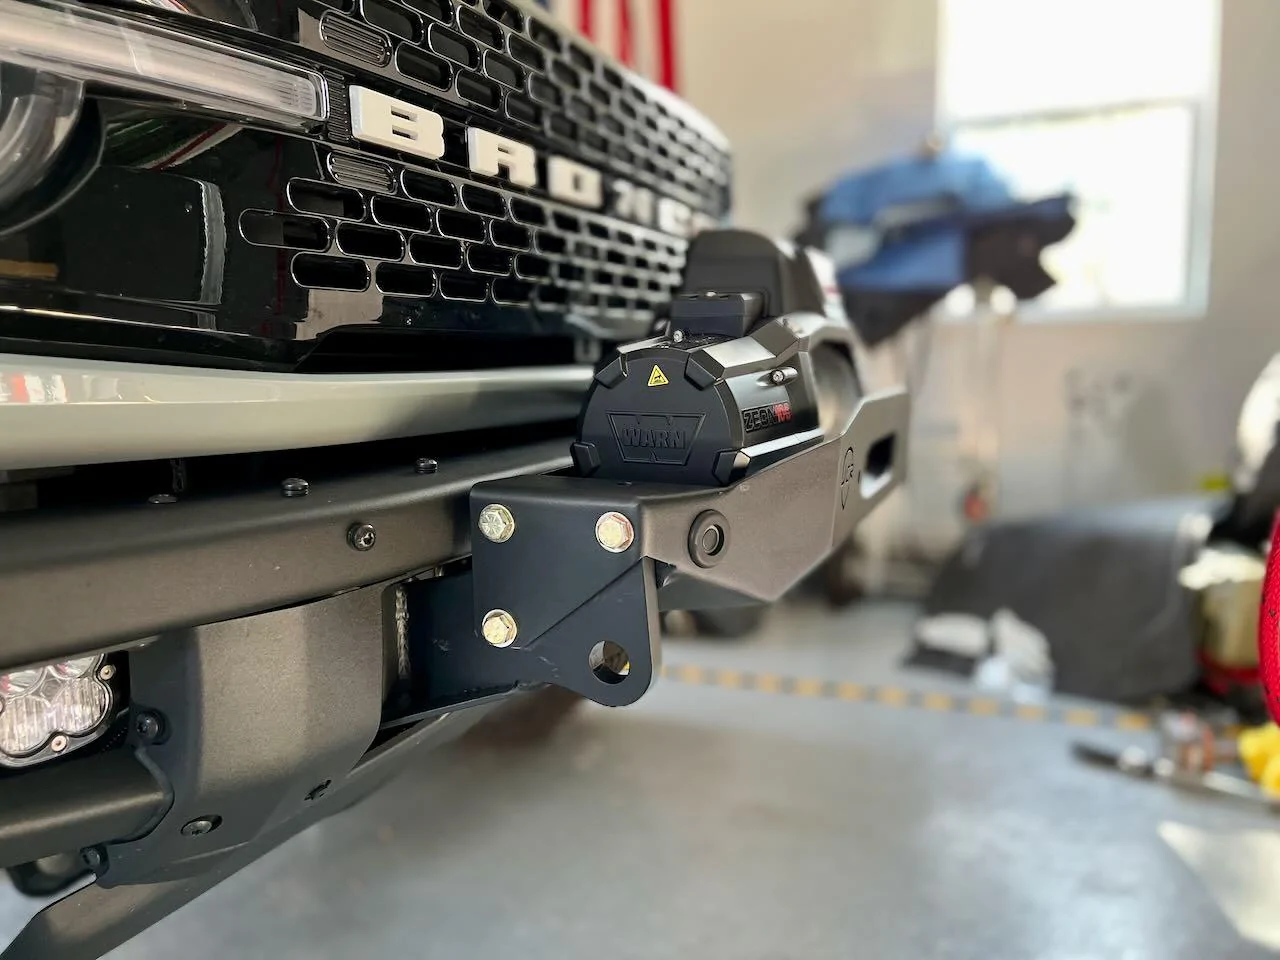
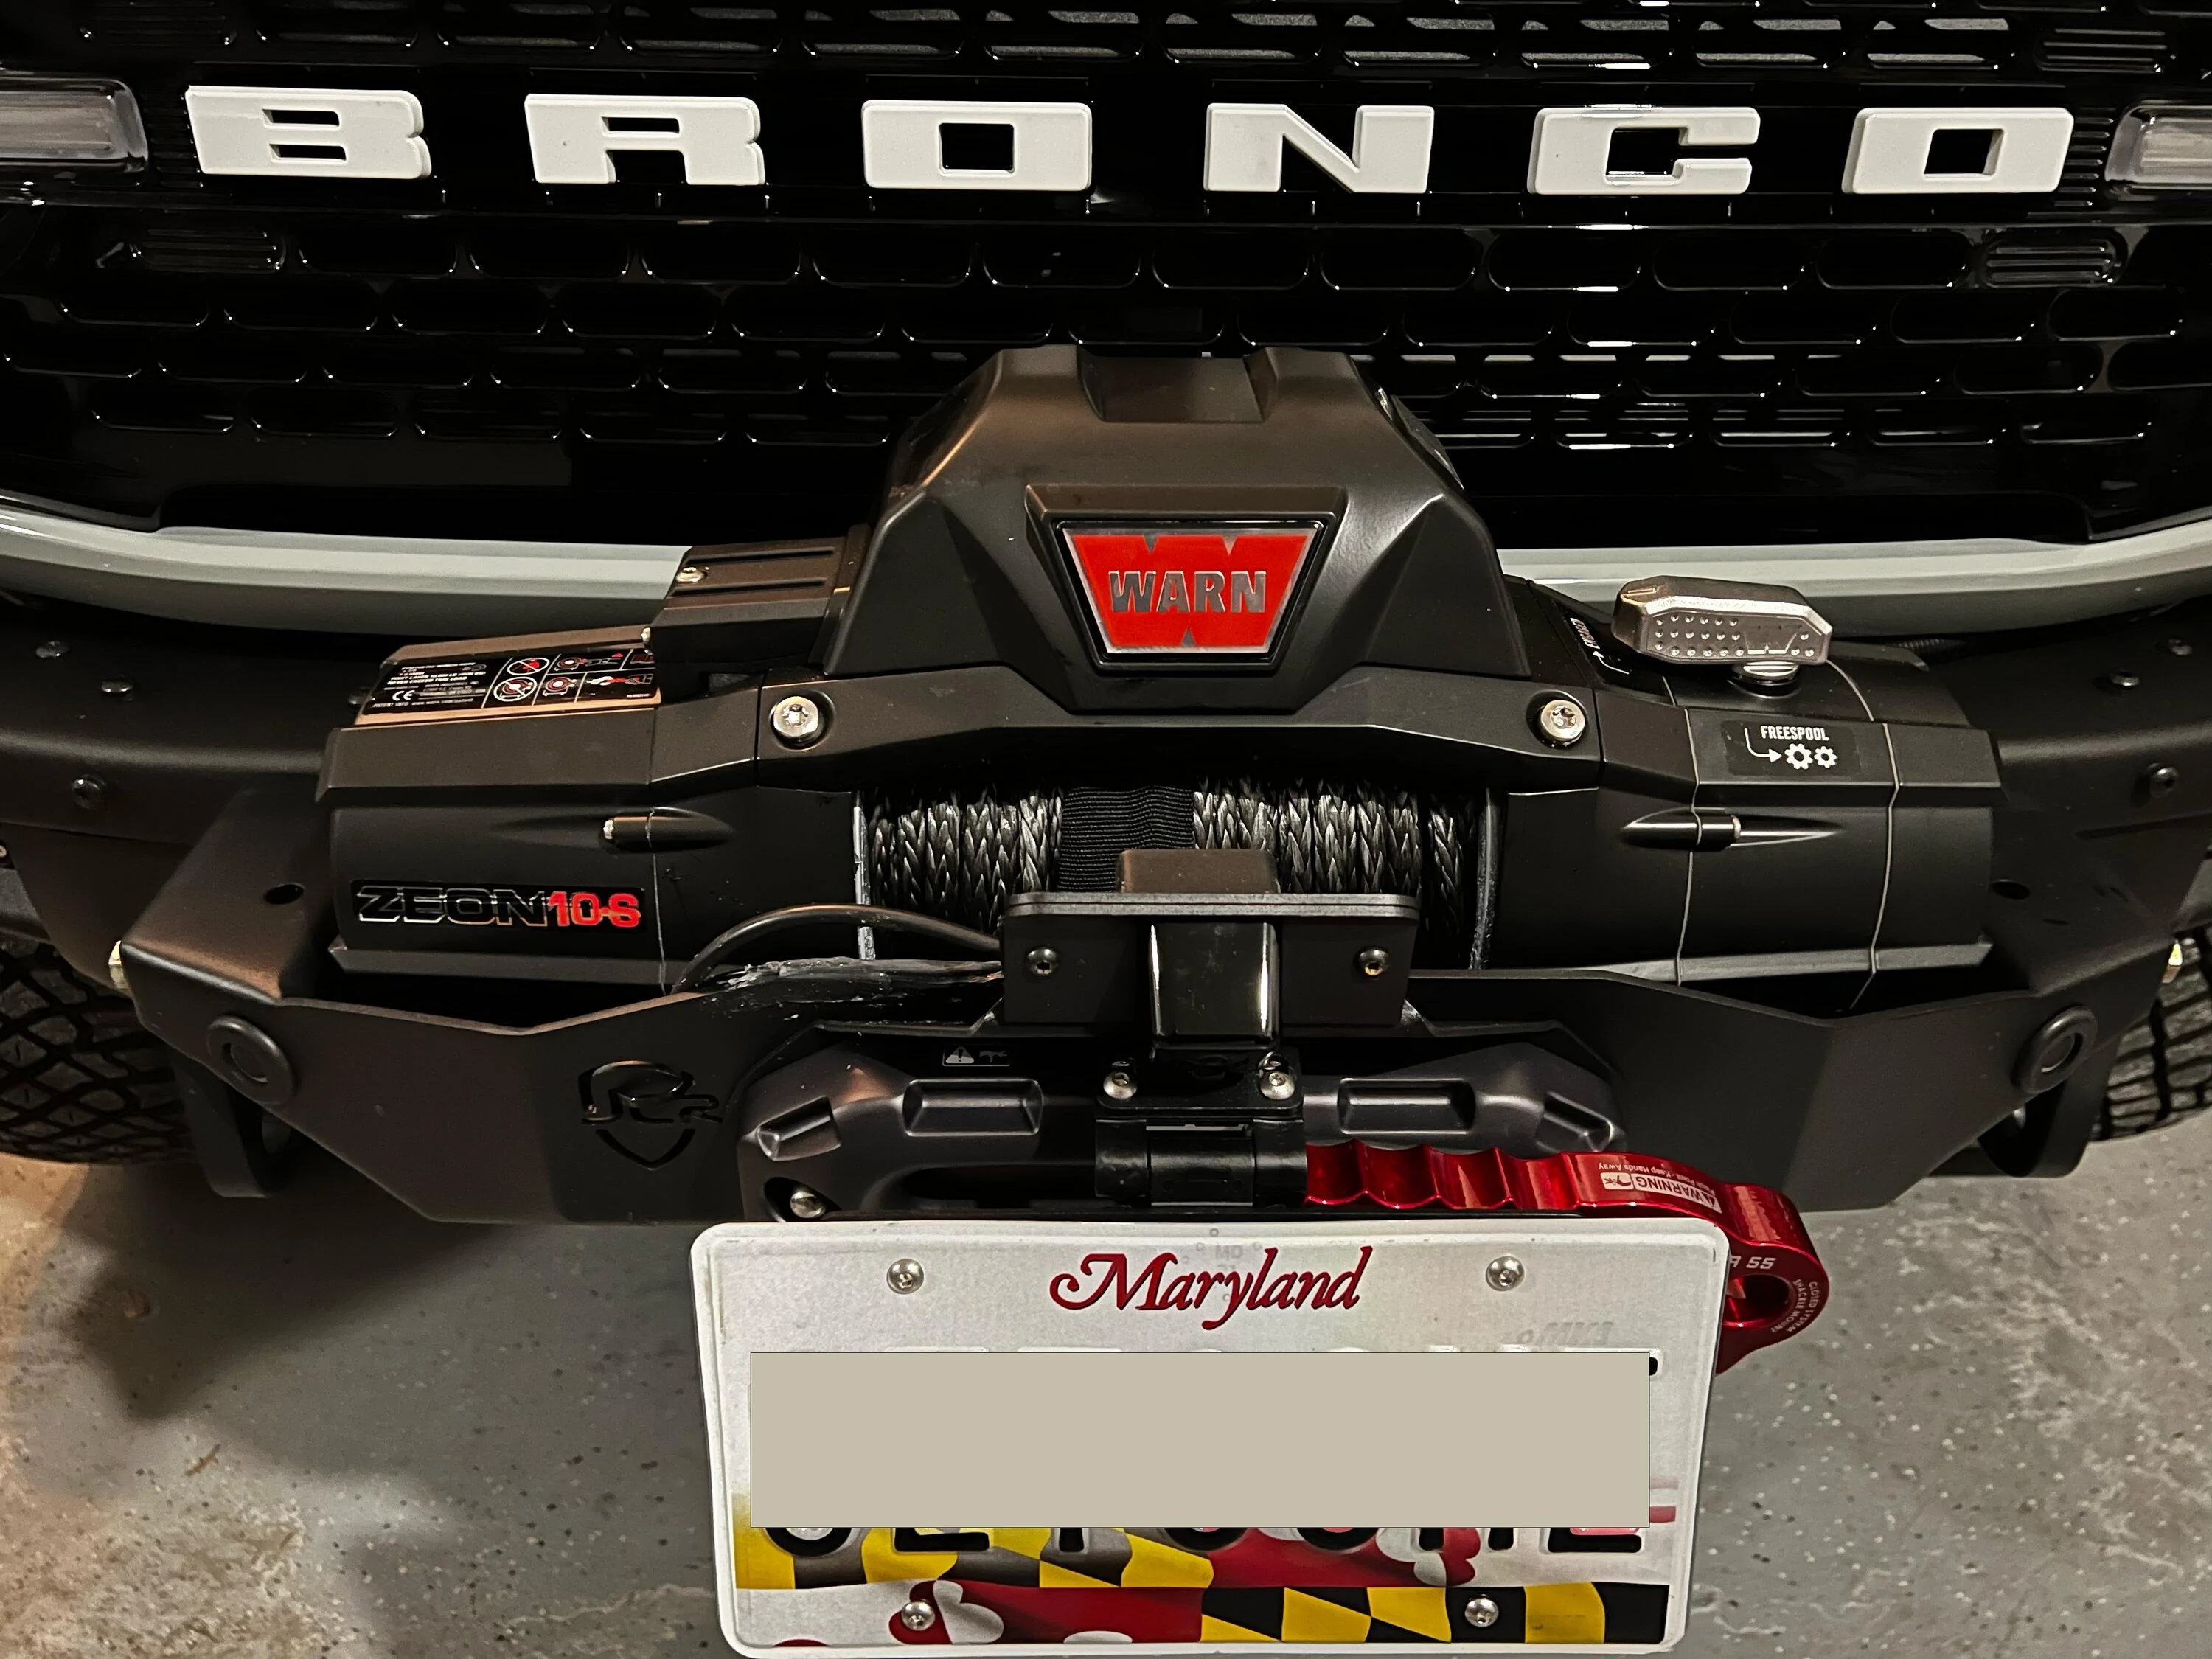
The relo bracket and license plate holder really finish off the install. I don't regret the extra money for the kit and the fold up bracket keeps the unwanted attention off the Horse, if your state requires a front plate. Actual mileage will vary.

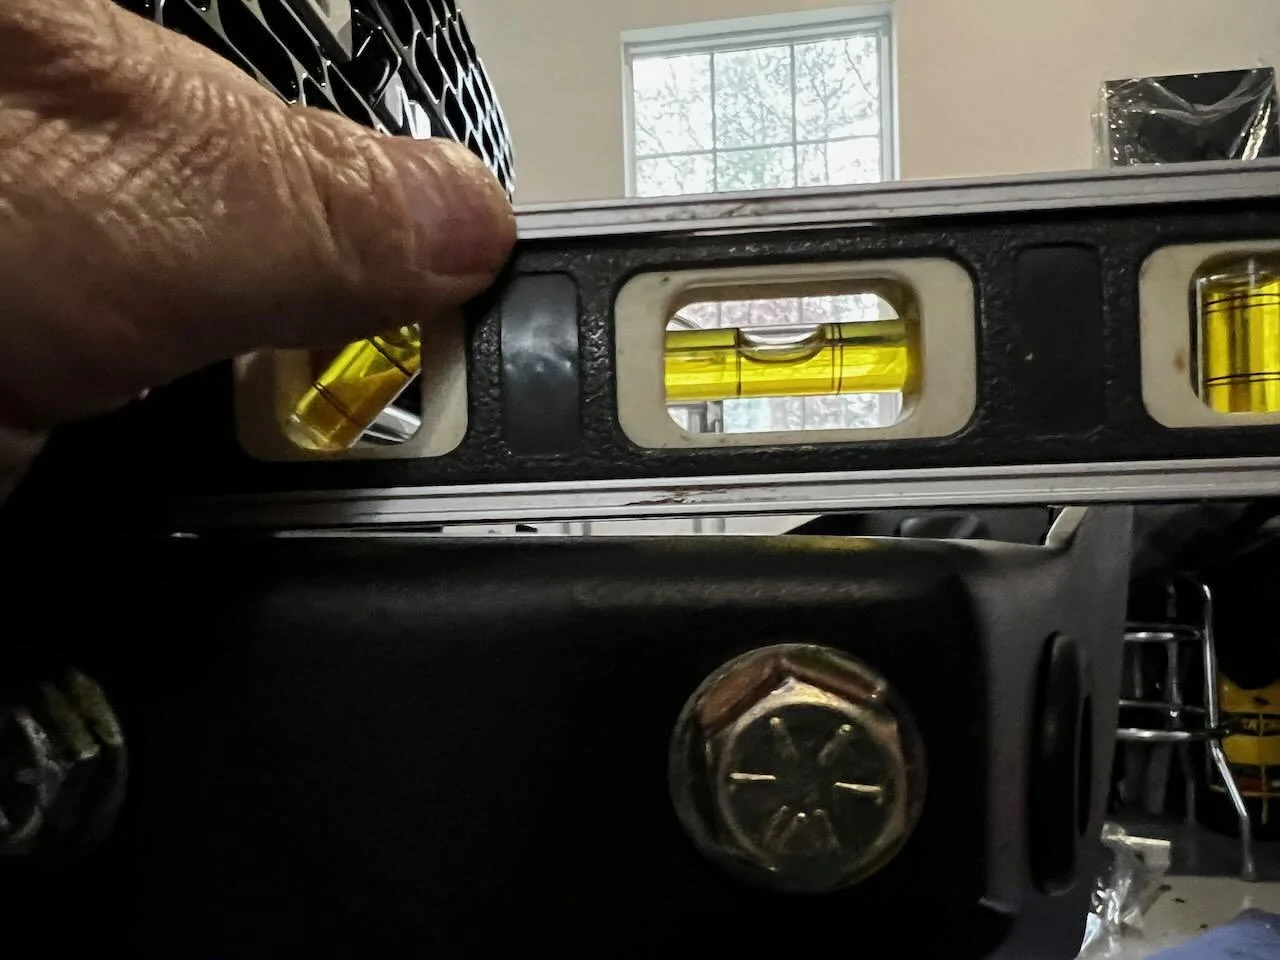
One last tip. It's important to support the plate/bumper when installing. It's heavy stuff and will pull downward left unsupported. I kept a level on it while I tightened bolts. I found the best results from tightening the top, outside bolts on each frame mount, then the inners, and finally the lowers. Note, JCR does not required this step but after talking to them, seemed like the best way to ensure a level plate. A slight 'rake' is ok, but you want your pull to be a straight as possible (I don't know why my thumb looks reptilian).

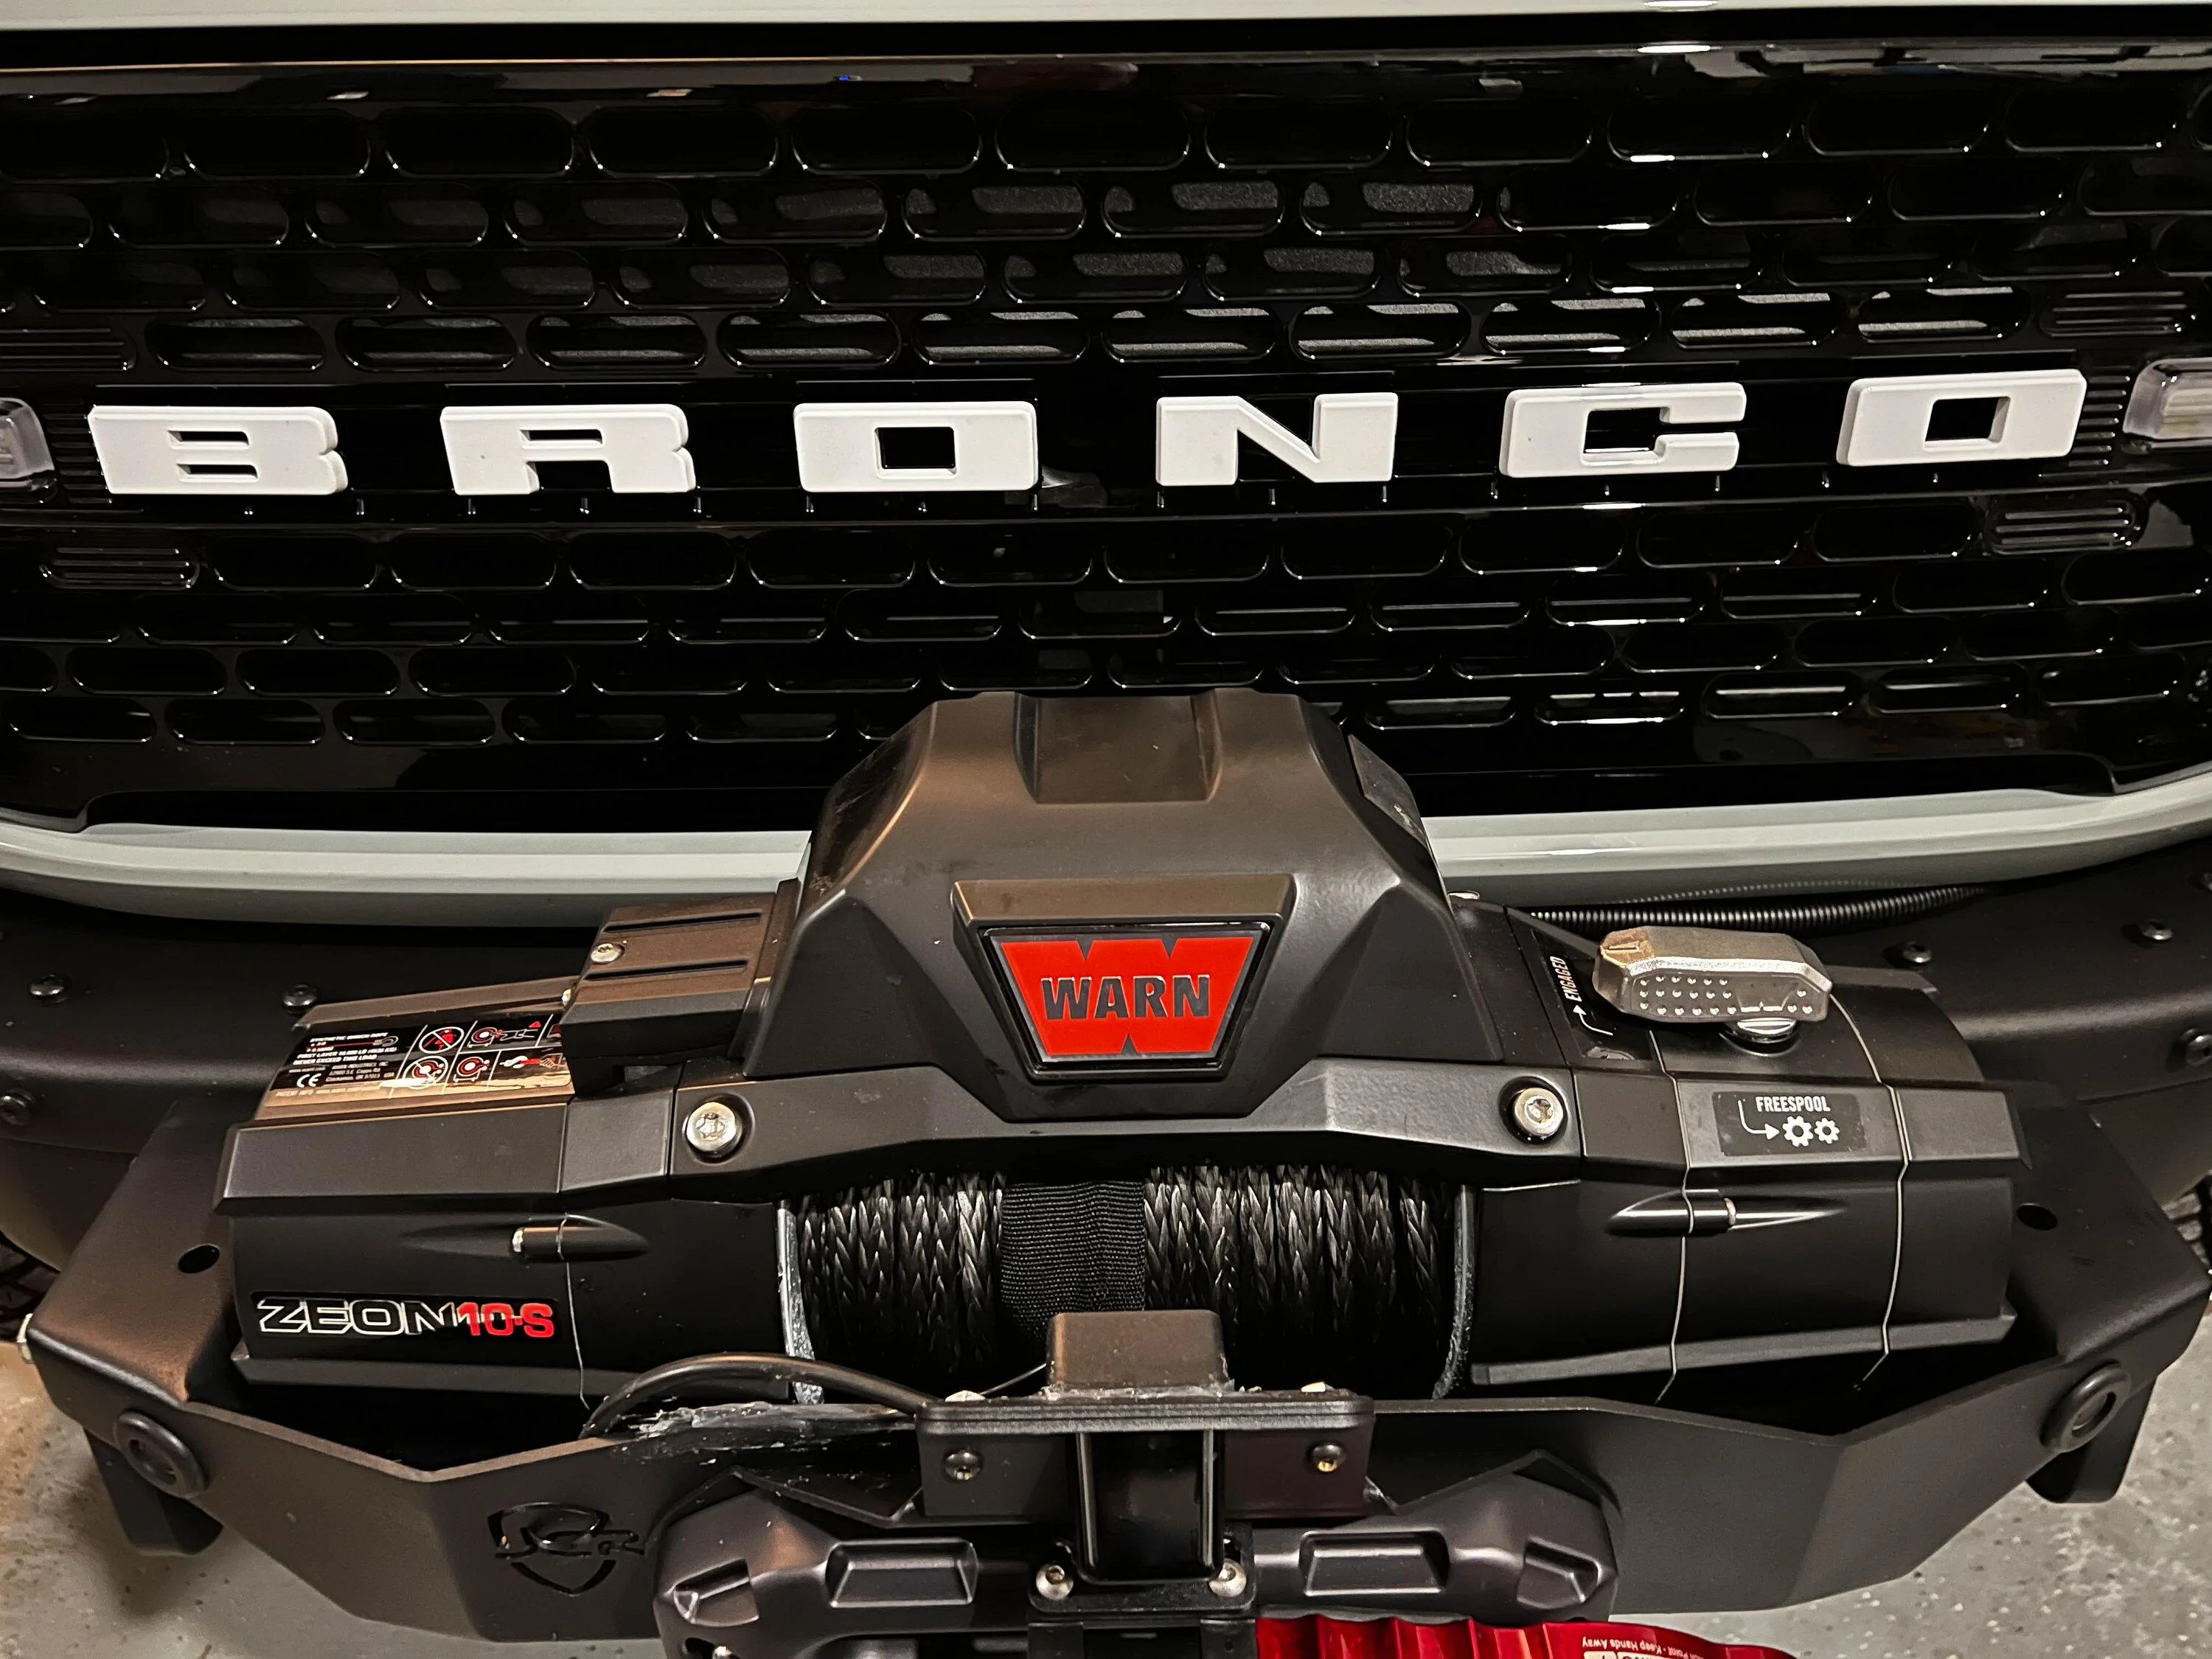
After that, drop in your winch and camera kit...
The hardest part of this was installing the synthetic line and the booger of a wedge that you have to thread into the drum. If I had to do it over, I might install the line first, then feed it into the plate and fairlead. That would be easier than the piano wire, needle nose plier routine.
I added a little silicone around the camera bracket, I'll clean that up with a razor later. There is a gap between the camera cover and plate. No reason to not seal it up.
Folding license plate bracket is great. Easy to install, just sandwich it between the back of the fairlead and the camera bracket.
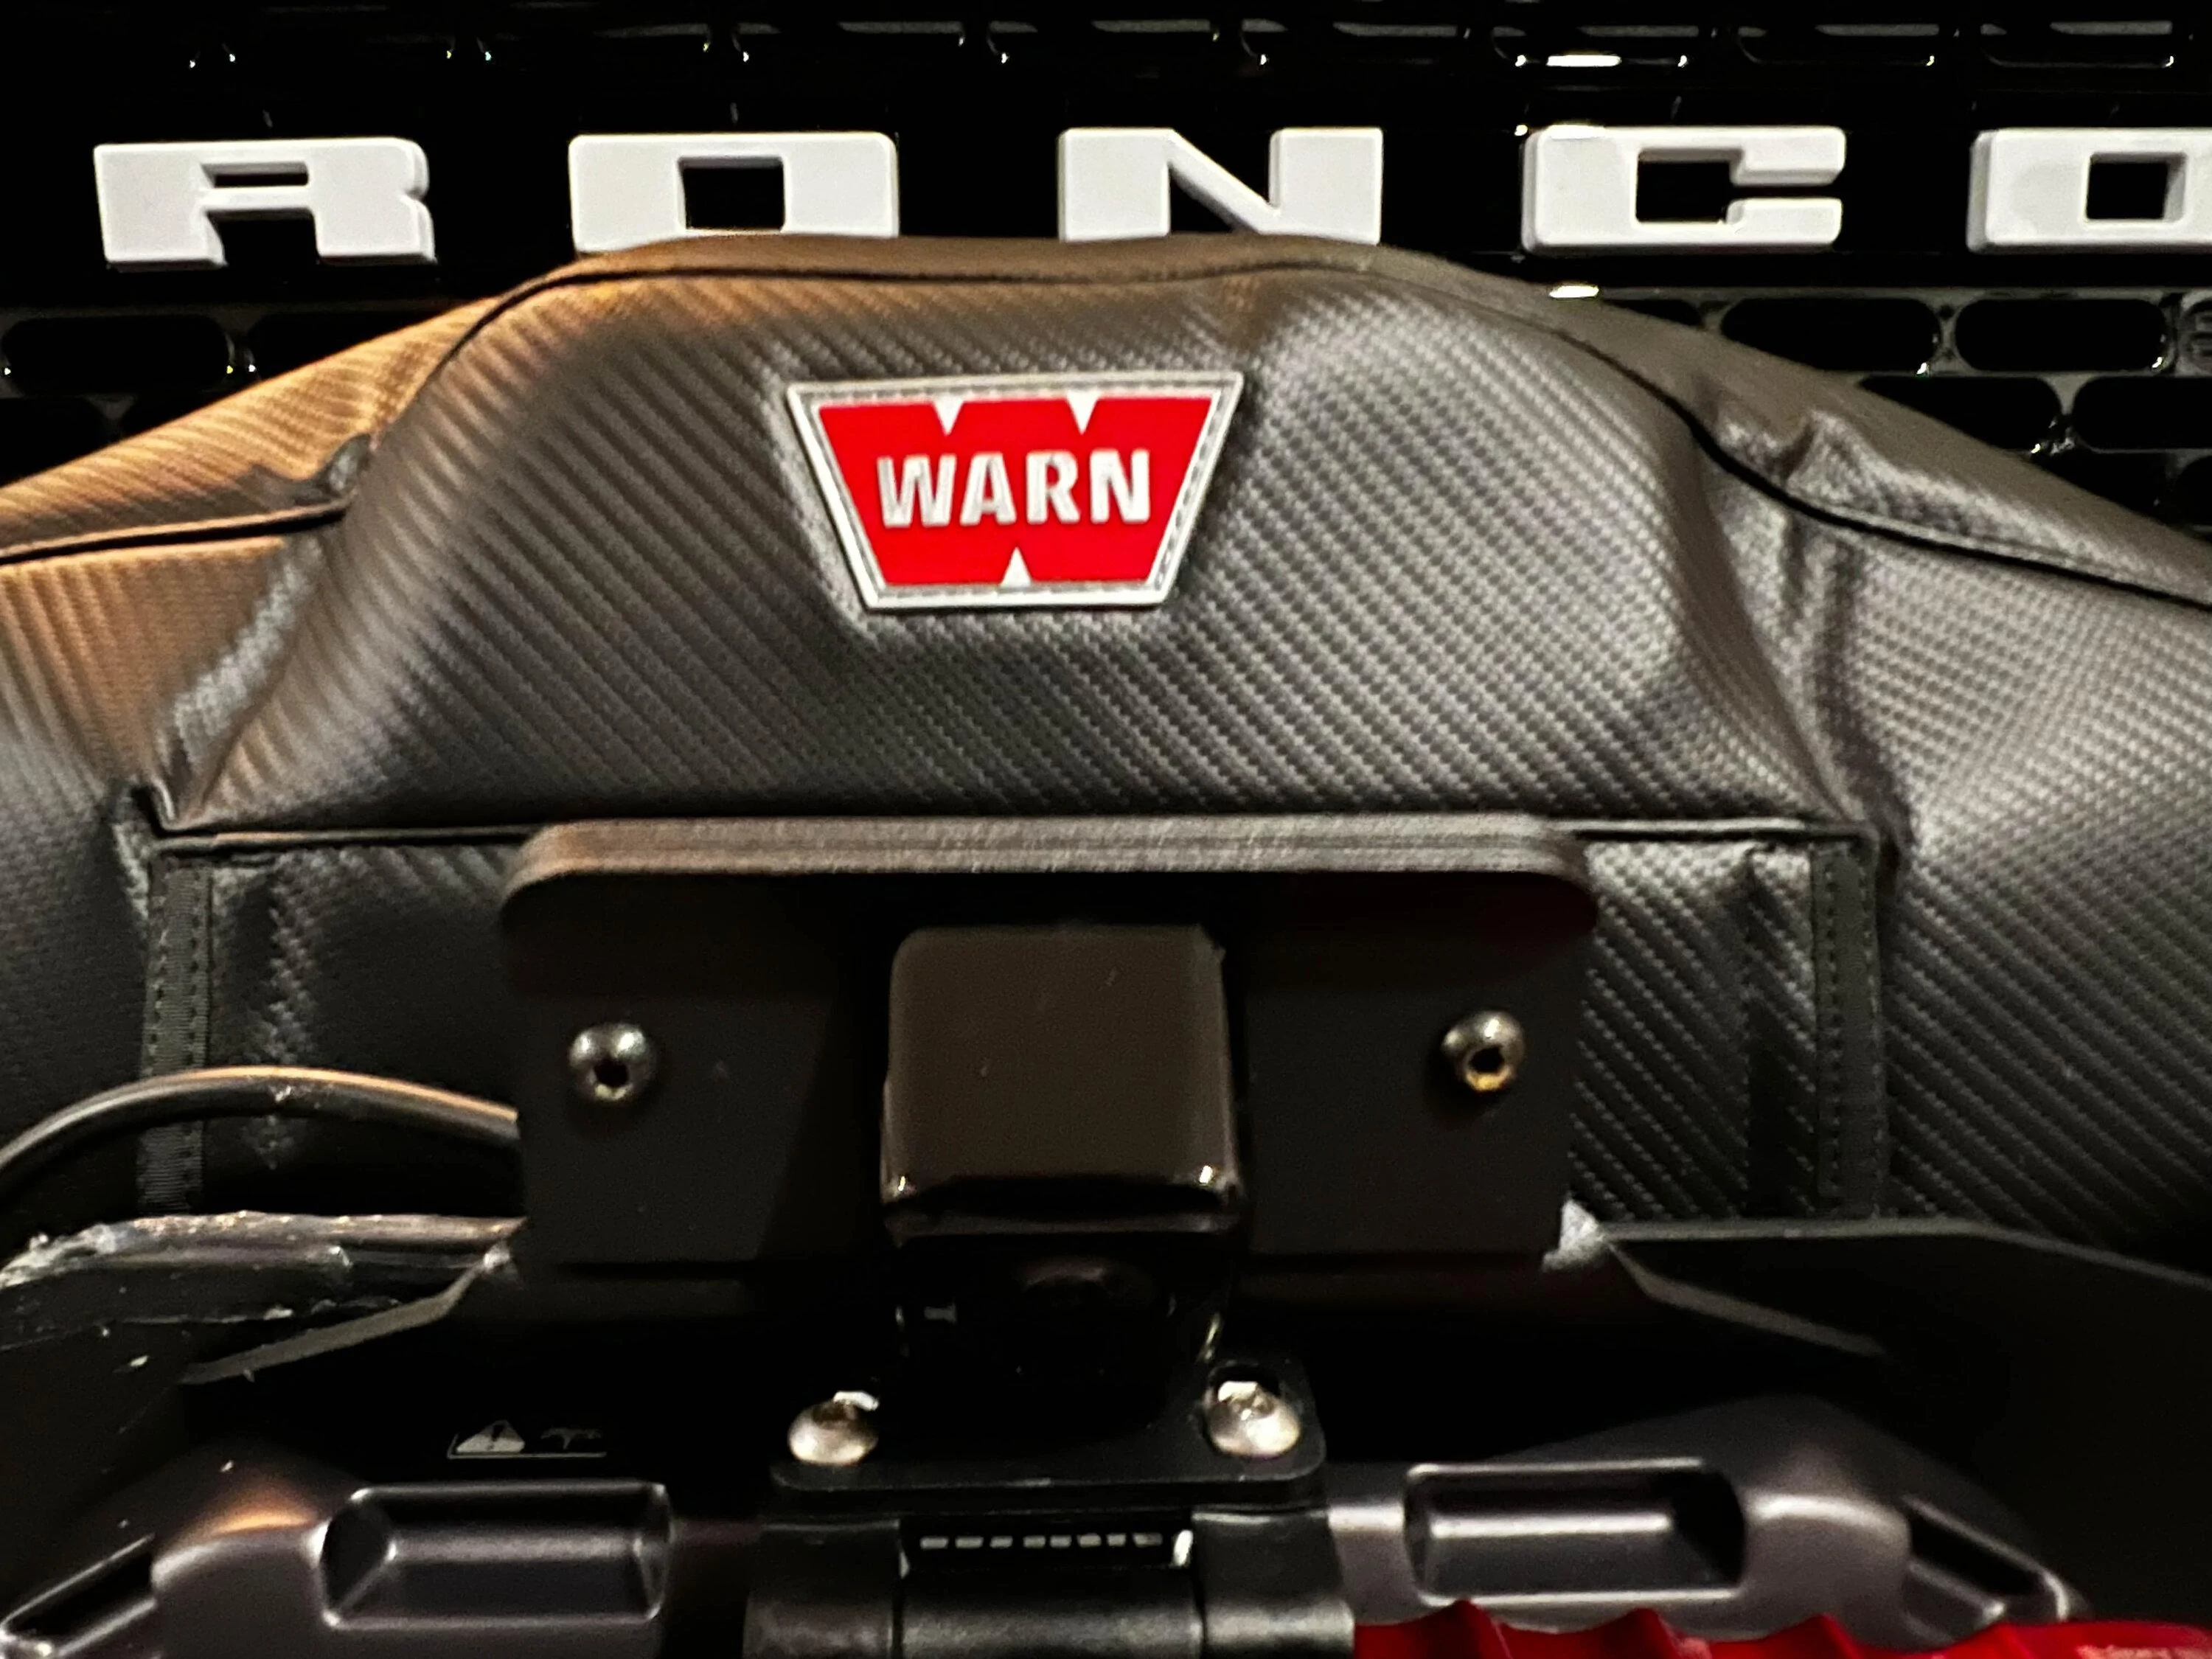
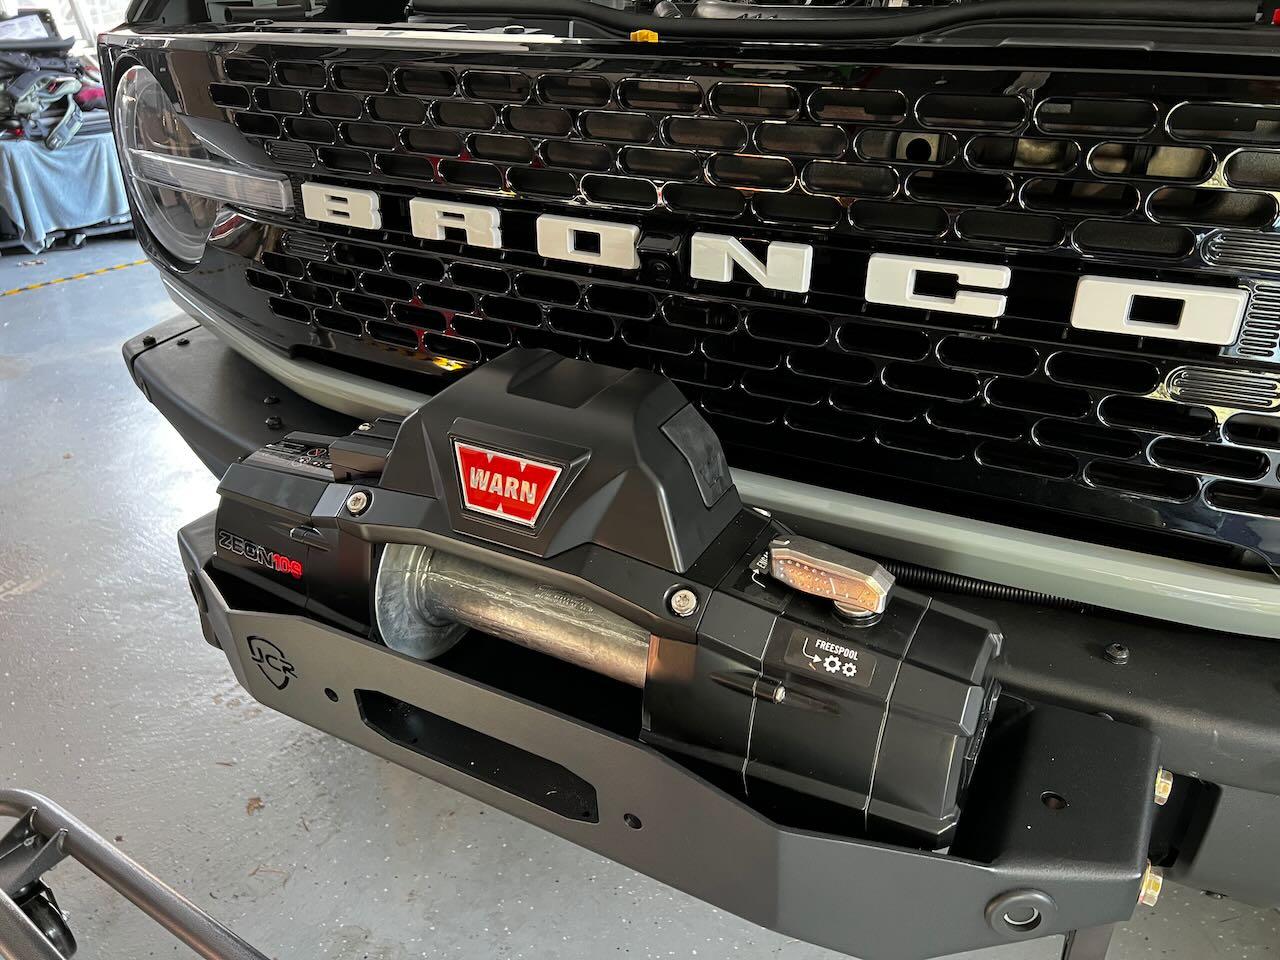
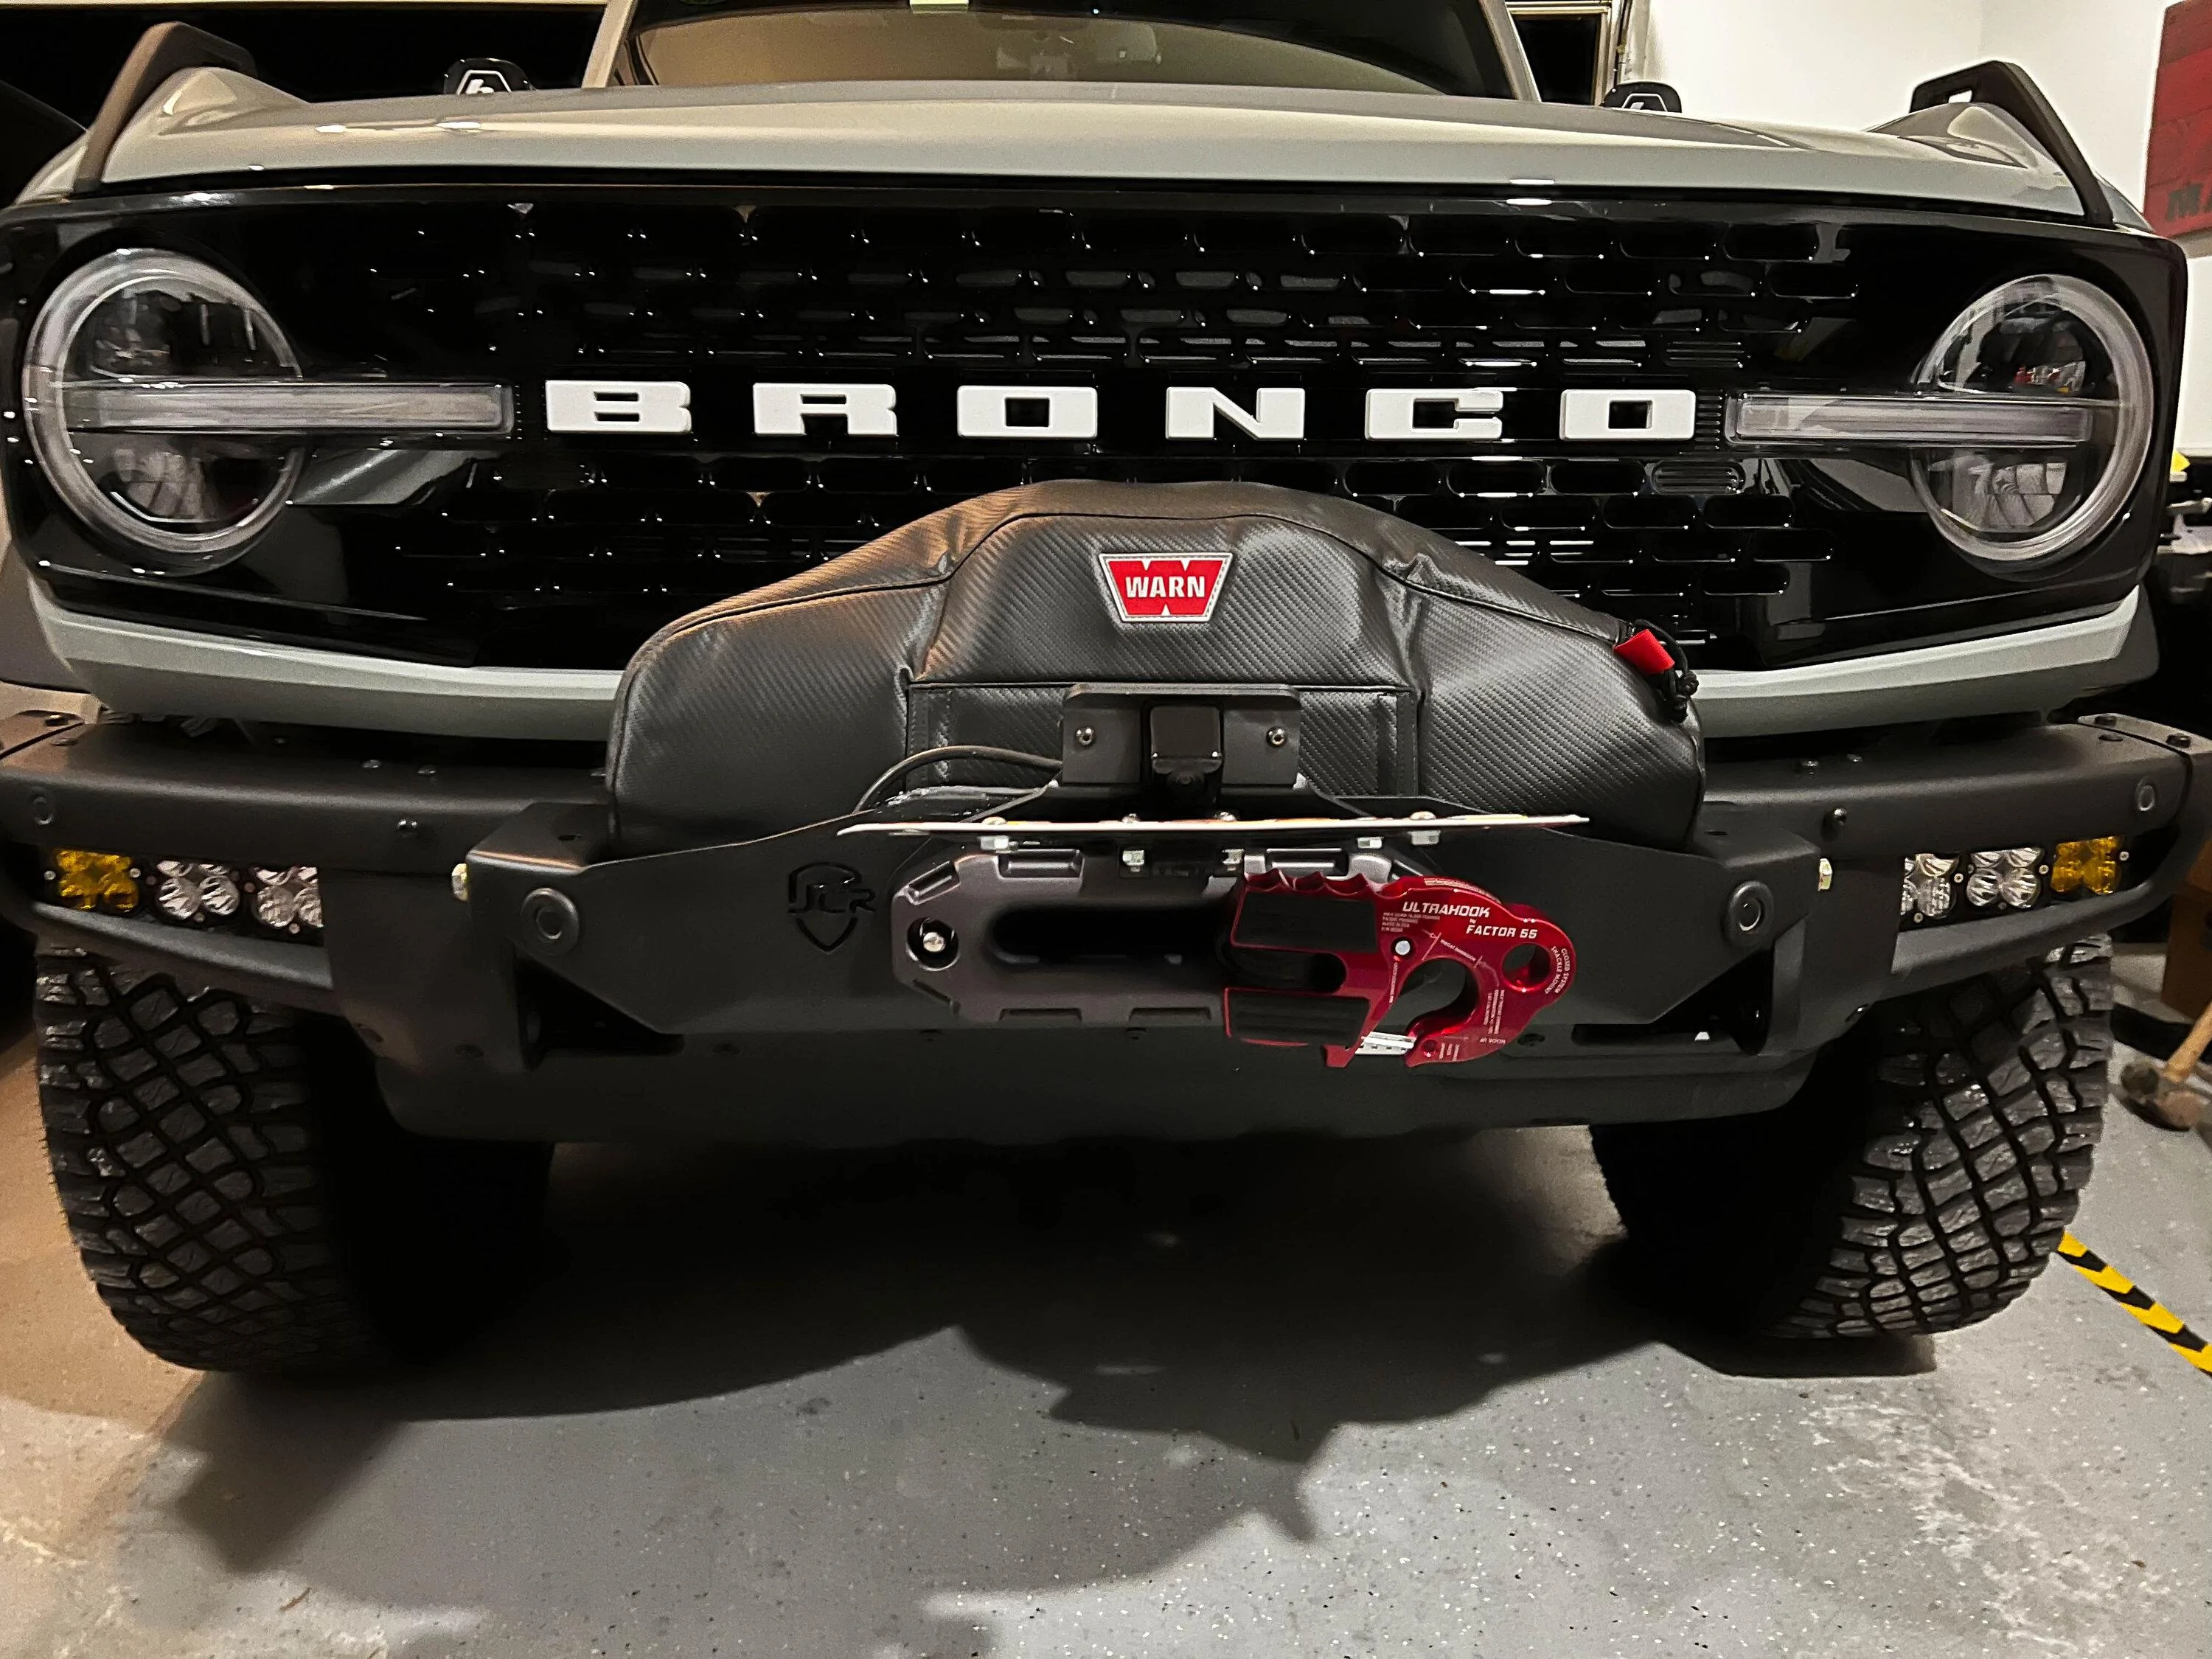
I learned over the years that covering the winch will add years to its service life, especially the synthetic line. So I went all-in on the Warn brand cover. Glad I did. Great fit, breathable mesh in the back, easy to access the clutch without removing the cover. Very well done. //I'm always torn on the 'should you blur the tag' question. Hell, I drive by hundreds or people a day. Does it matter? But I digress.
So, all in, here she is. Loaded under tension, took her out and spooled in while connected to another vehicle on a nearly straight line. Couldn't be happier with the JCR products, their instructions, and the guys answering the phones. Great experience all around! Hope this helps someone.
Craig
//Next up, Eibach coilover swap!
Big question on the mounts, does it interfere with the ACC? NO. JCR shows it as ACC compatible and they are right. When installed per their instructions, there is no interference. Admittedly, I was worried. Looks like the bottom of the plate and the top of the ACC box overlap. They do not, and given the beam pattern of the ACC, it just works!
Install was a breeze and rather than duplicate the instructions here, just watch the JCR video here: JCR Winch Plate Install. That said a couple install tips to help make things easier. I can't say enough for JCR and this product. If you take your time and have an extra set of hands, this is a 2 on a 5 scale install.
If you have parking sensors, their method of extending the wiring works, but it is a lot of effort once you have the bumper apart, the wiring out of its harness, etc. The video just doesn't do it justice. I spent a lot of time and decided to make two 10" extensions of my own. This way, with the bumper off, you simply poke the two sensors through the old hole, connect the extension and move them to their new home. JCR provides some very nice rubber inserts that when paired with the sensors, make for a really functional and good looking install.
Also, don't forget to disconnect, then reconnect the main parking sensor harness just under the drivers side headlight. It's easy to do, but if you forget to reconnect it, you might spend 35 minutes or more wondering why you have a dash parking sensor error message. Just saying, don't forget.
Supporting the bumper during removal and reinstall is important. Have an extra set of hands, jack stands, floor jack, etc. I used all three and a table or something else to set the bumper on.
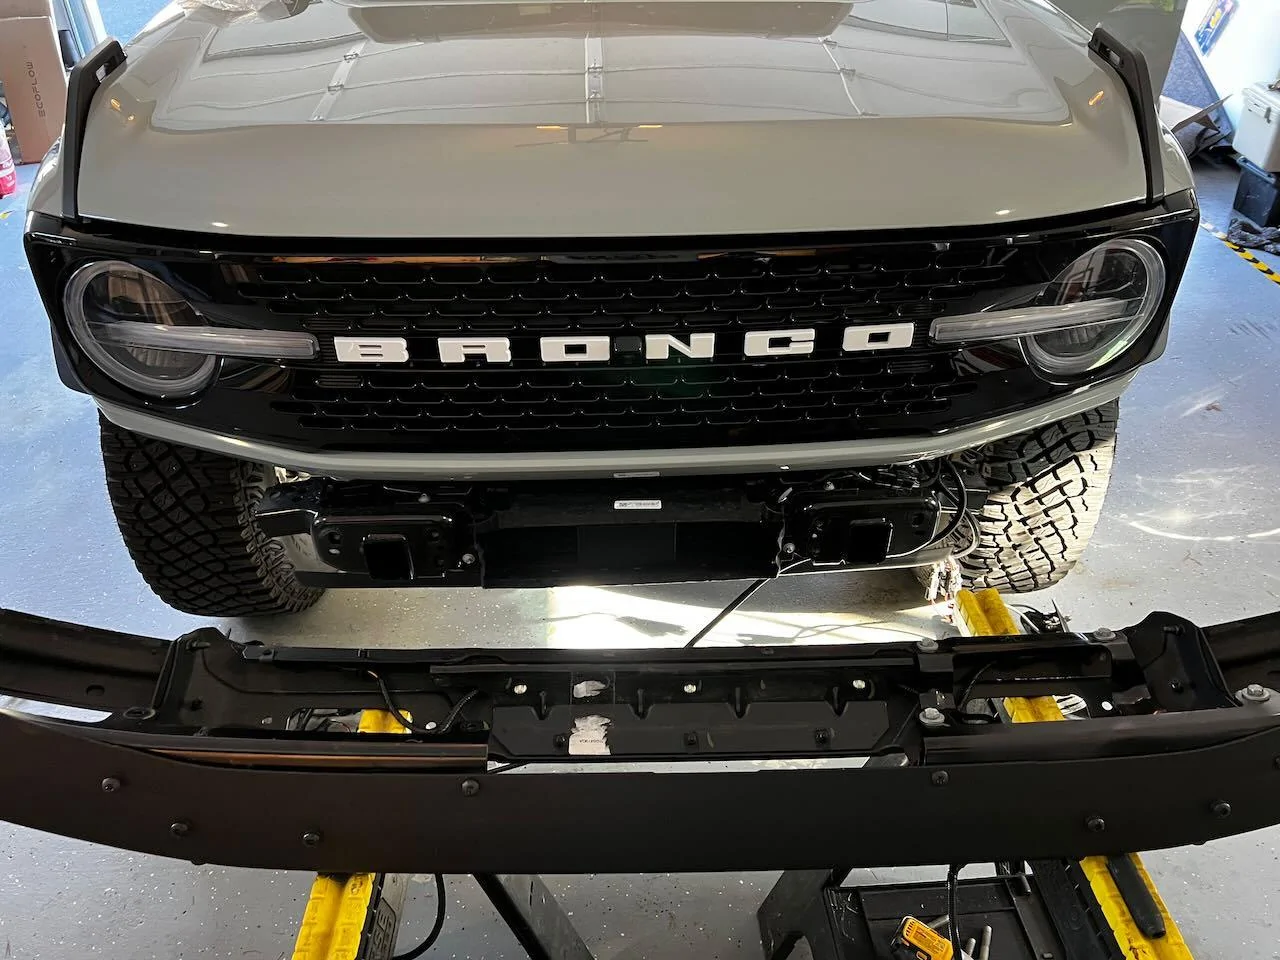
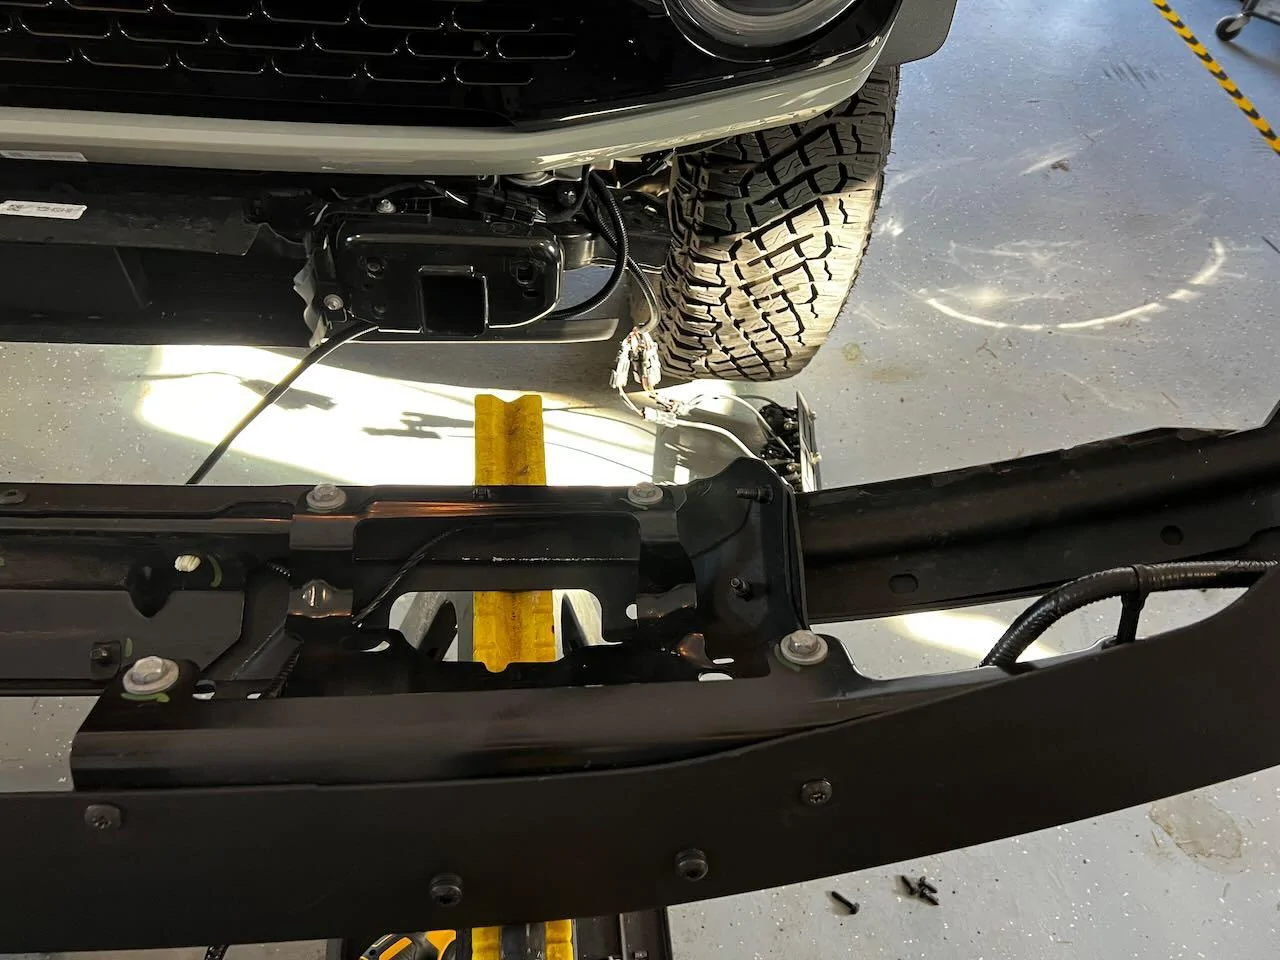
There was a delay on the camera kit. So, being impatient, I installed the plate before I received the kit. This proved fine. There is ample room to take off the grill and work with the camera wiring and washer fluid tube.
Again, their kit was first-rate and really well made. I will say for those of you considering installing the relo kit, it makes a lot of difference. I strongly recommend it for retaining a very OEM-like install and camera functionality. It is not a difficult install, again, watch their video and take your time.
The relo bracket and license plate holder really finish off the install. I don't regret the extra money for the kit and the fold up bracket keeps the unwanted attention off the Horse, if your state requires a front plate. Actual mileage will vary.
One last tip. It's important to support the plate/bumper when installing. It's heavy stuff and will pull downward left unsupported. I kept a level on it while I tightened bolts. I found the best results from tightening the top, outside bolts on each frame mount, then the inners, and finally the lowers. Note, JCR does not required this step but after talking to them, seemed like the best way to ensure a level plate. A slight 'rake' is ok, but you want your pull to be a straight as possible (I don't know why my thumb looks reptilian).
After that, drop in your winch and camera kit...
The hardest part of this was installing the synthetic line and the booger of a wedge that you have to thread into the drum. If I had to do it over, I might install the line first, then feed it into the plate and fairlead. That would be easier than the piano wire, needle nose plier routine.
I added a little silicone around the camera bracket, I'll clean that up with a razor later. There is a gap between the camera cover and plate. No reason to not seal it up.
Folding license plate bracket is great. Easy to install, just sandwich it between the back of the fairlead and the camera bracket.
I learned over the years that covering the winch will add years to its service life, especially the synthetic line. So I went all-in on the Warn brand cover. Glad I did. Great fit, breathable mesh in the back, easy to access the clutch without removing the cover. Very well done. //I'm always torn on the 'should you blur the tag' question. Hell, I drive by hundreds or people a day. Does it matter? But I digress.
So, all in, here she is. Loaded under tension, took her out and spooled in while connected to another vehicle on a nearly straight line. Couldn't be happier with the JCR products, their instructions, and the guys answering the phones. Great experience all around! Hope this helps someone.
Craig
//Next up, Eibach coilover swap!
Sponsored
Last edited:


