
Sponsored

Project X lights installed!

popo_patty

Big Bend
Well-Known Member
First Name
Caleb
Joined
Nov 14, 2021
Threads
61
Messages
1,545
Reaction score
5,150
Location
Sacramento
Vehicle(s)
2021 Bronco/1996 Jeep XJ/1957 FC-150
Your Bronco Model
Big Bend
Clubs
 
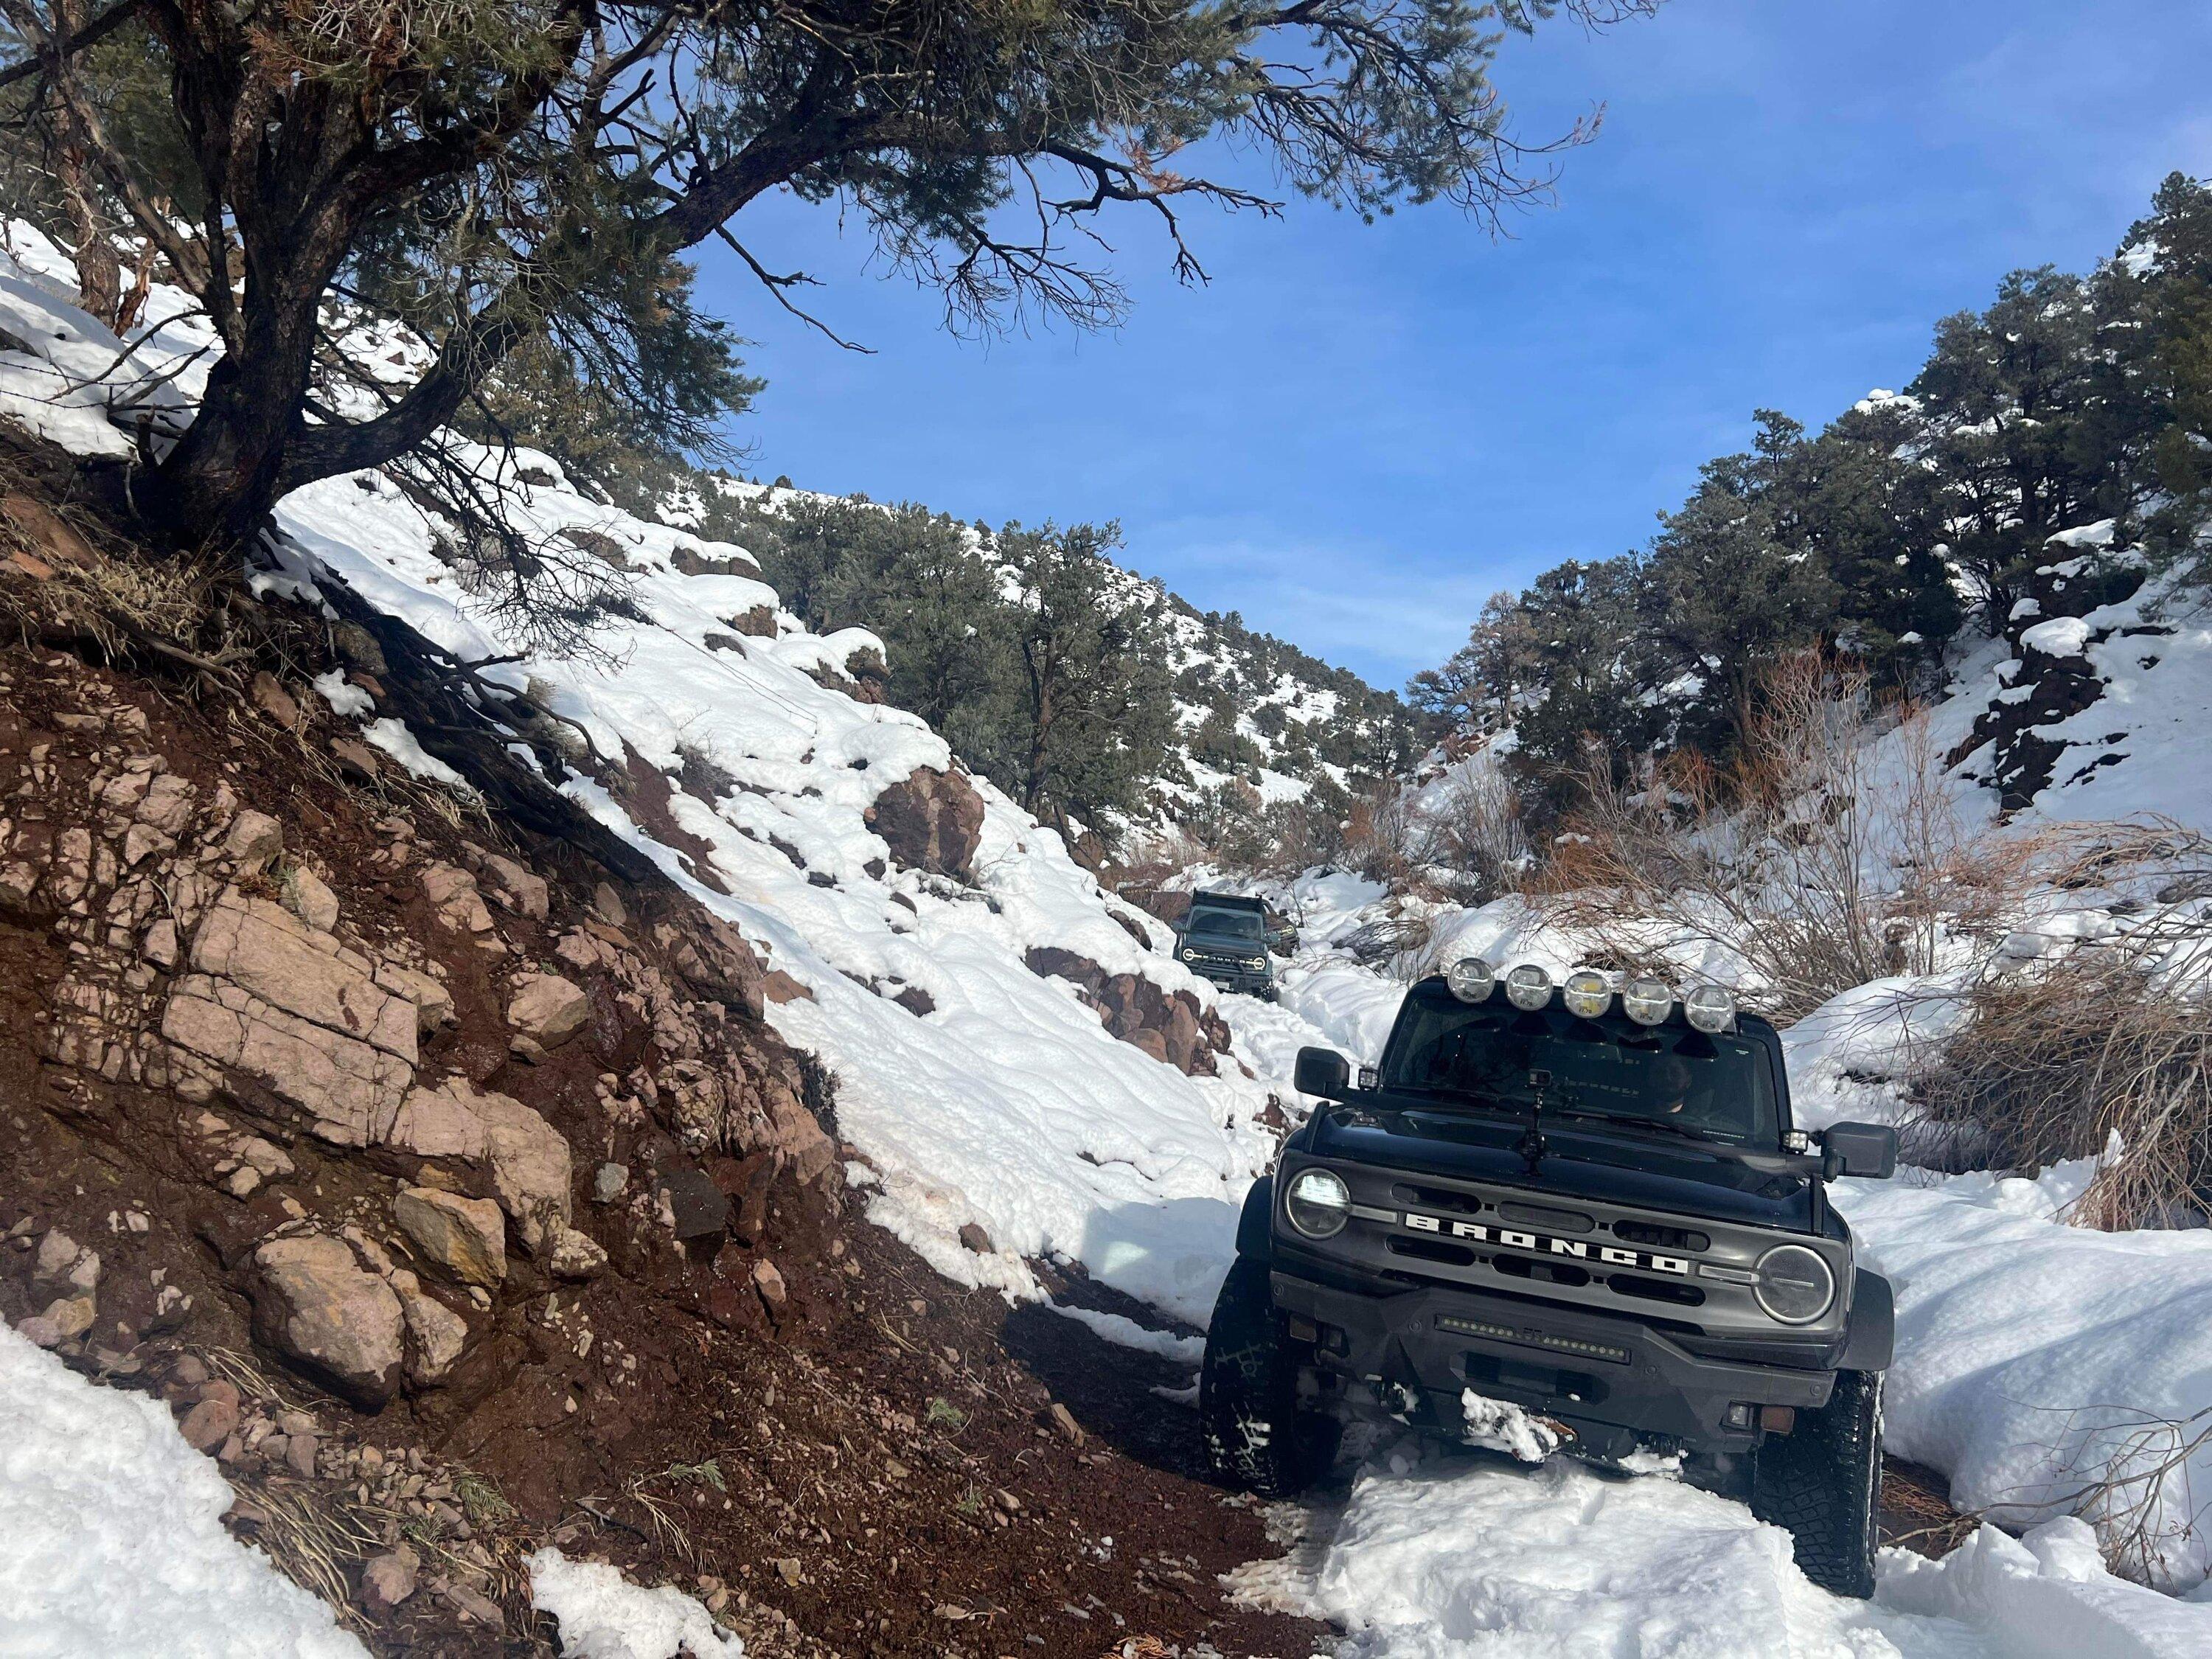
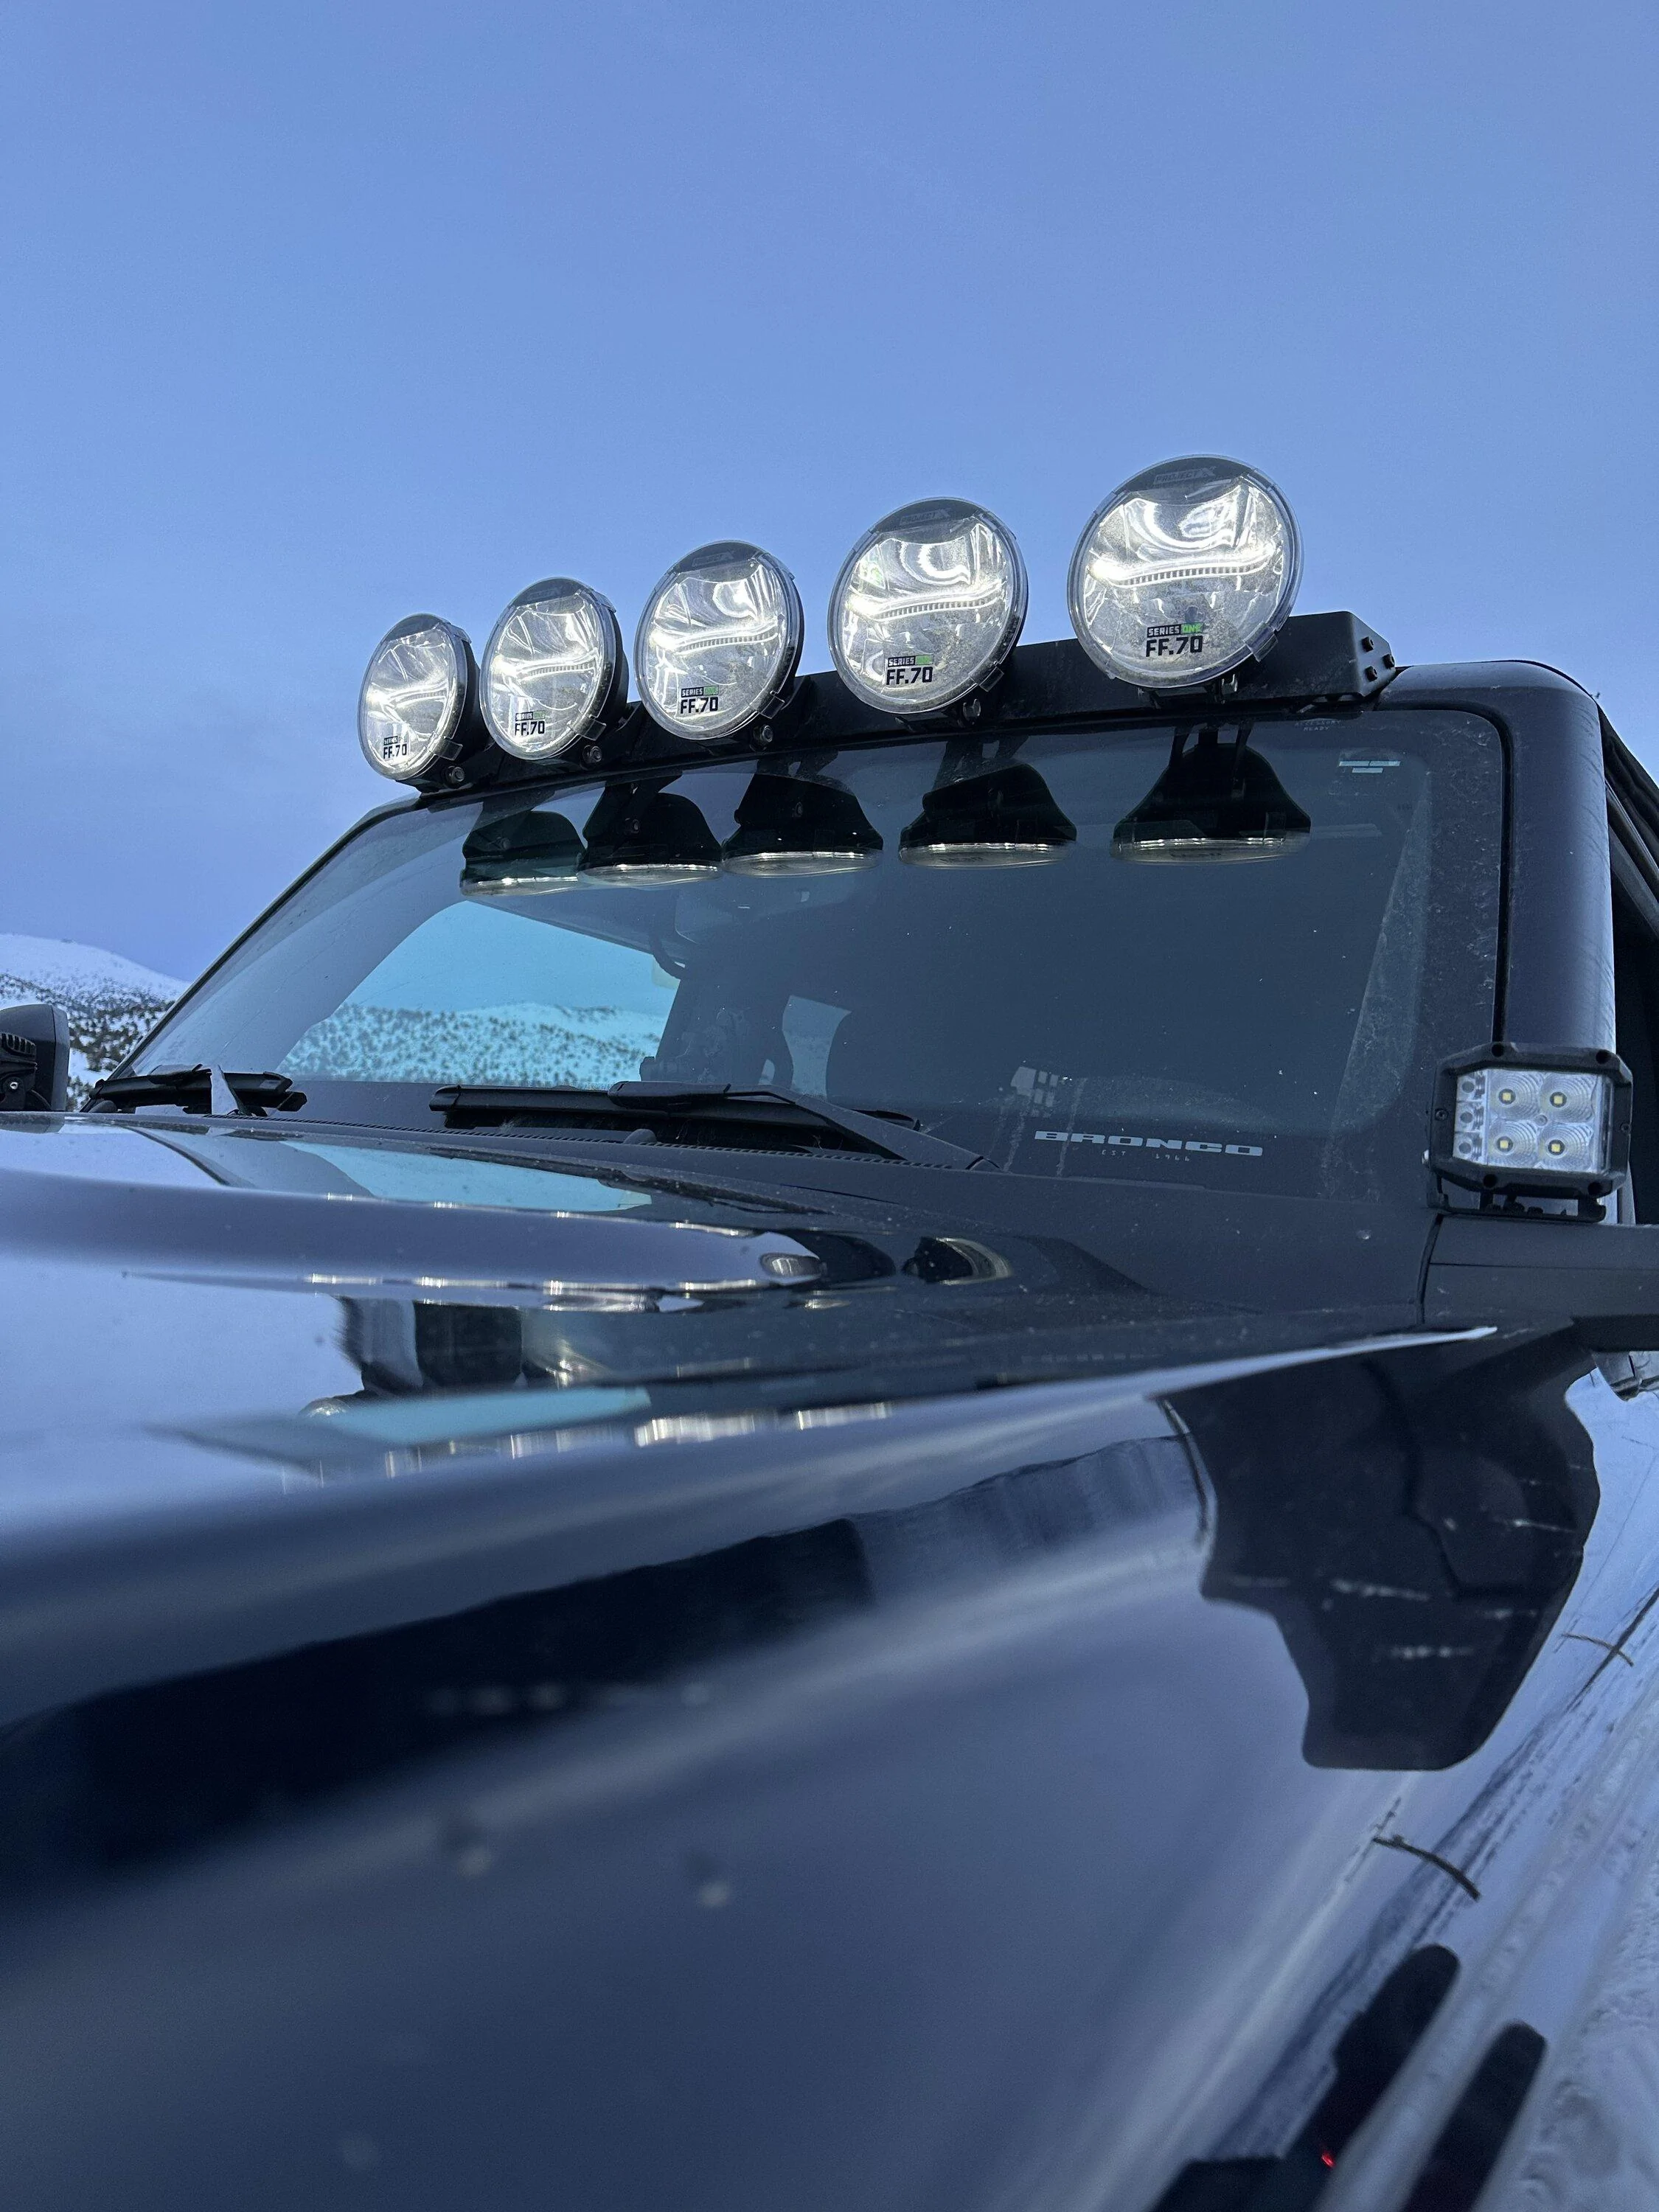
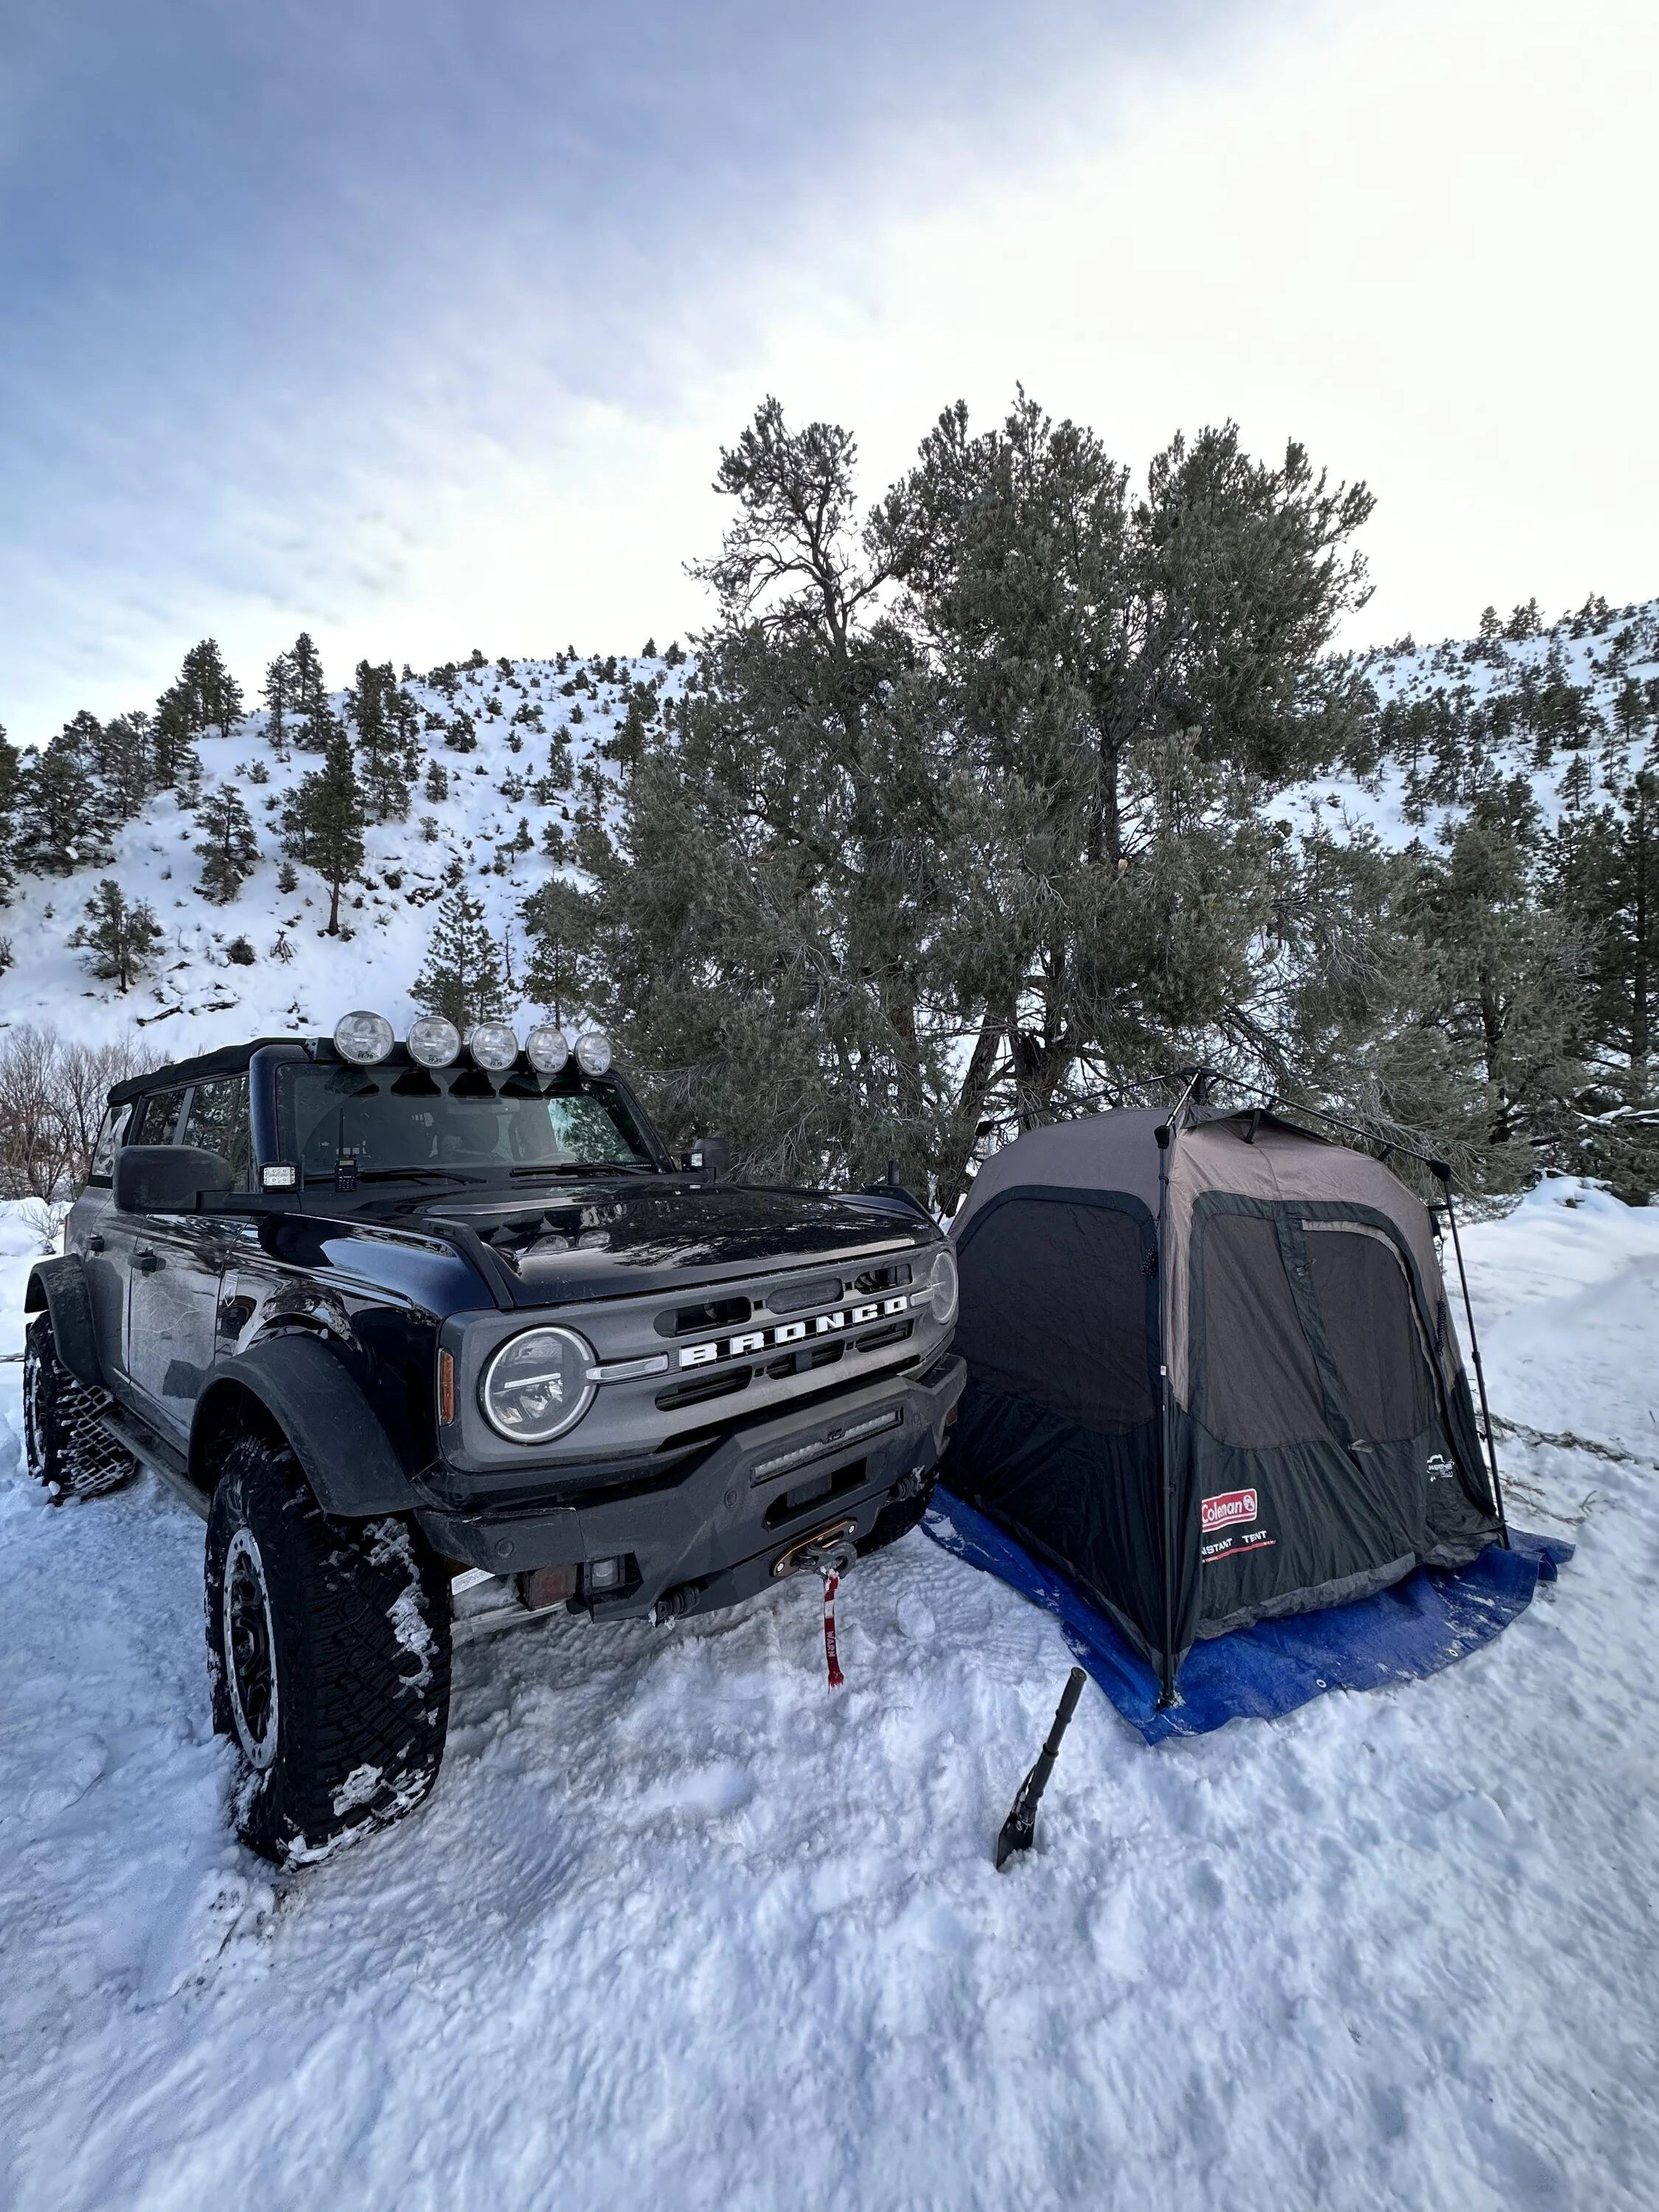
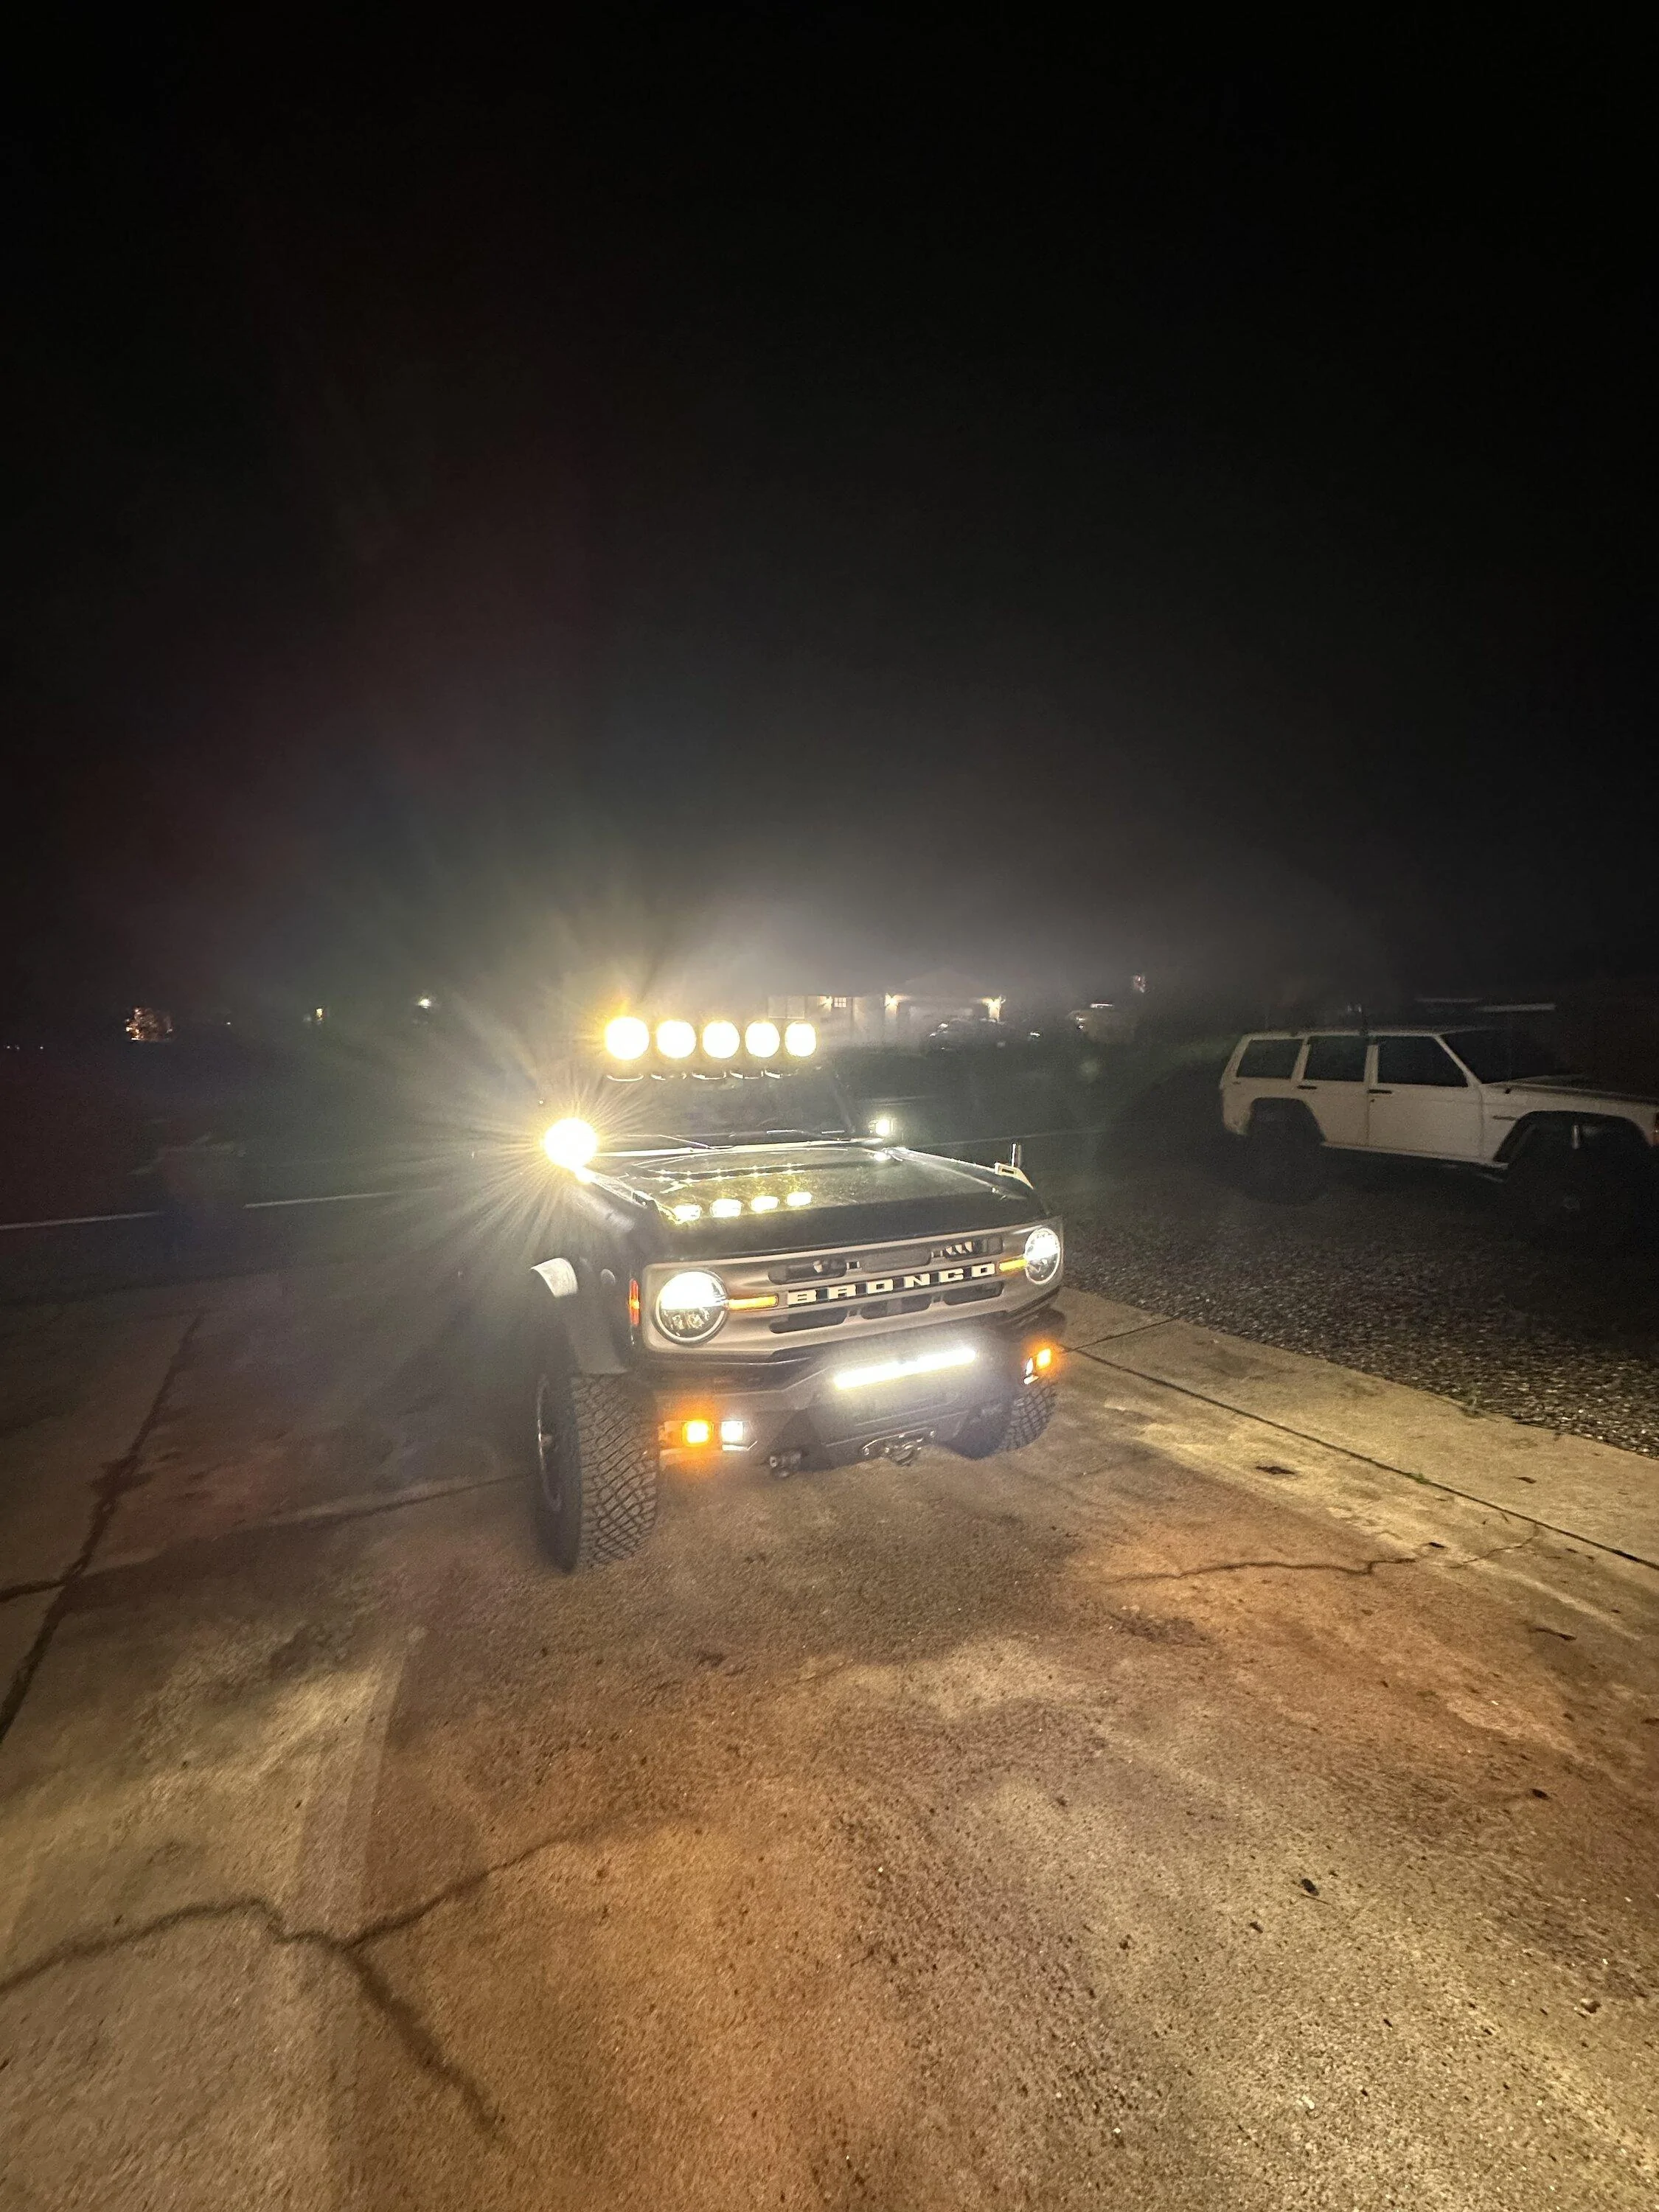
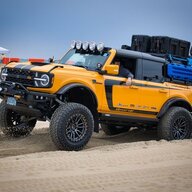
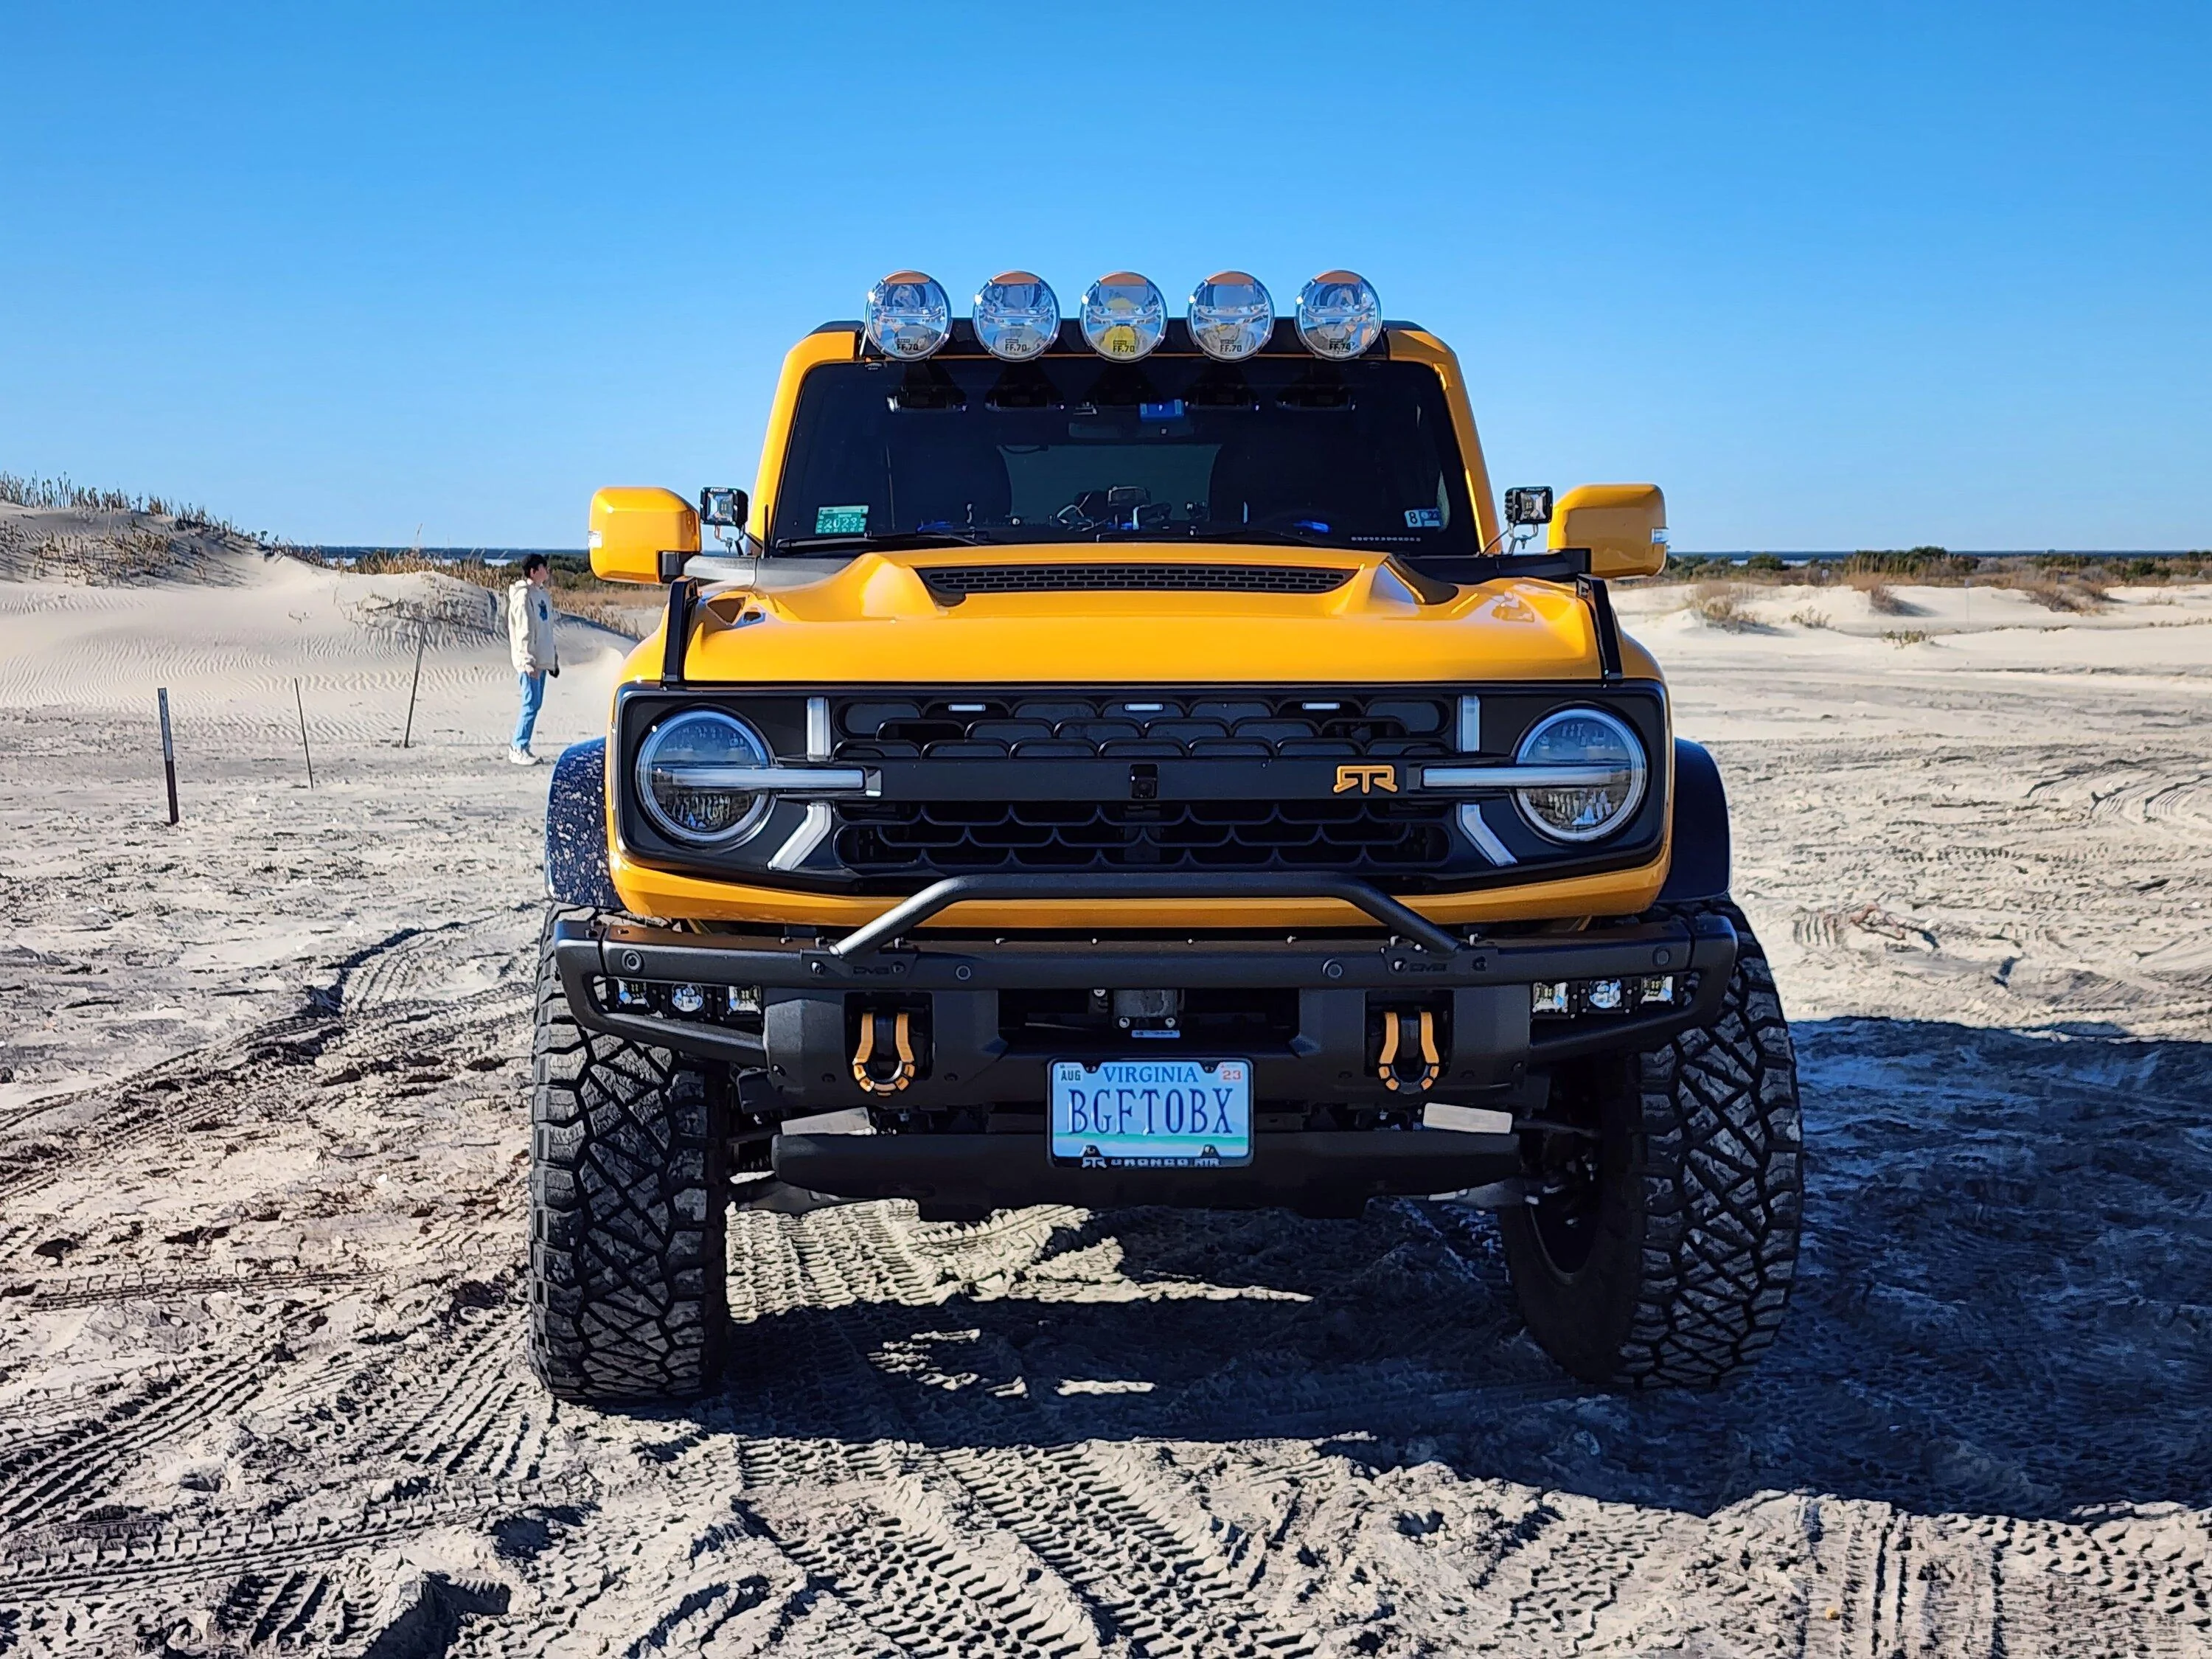
Hey there y’all! I recently ordered the Project X FF.70 spots along with the RTR bar for mounting the lights. I have a video in the works on the install and for those curious, I drilled the hole for the wiring and added silicone. Just drove through this crazy winter storm and no leaking!

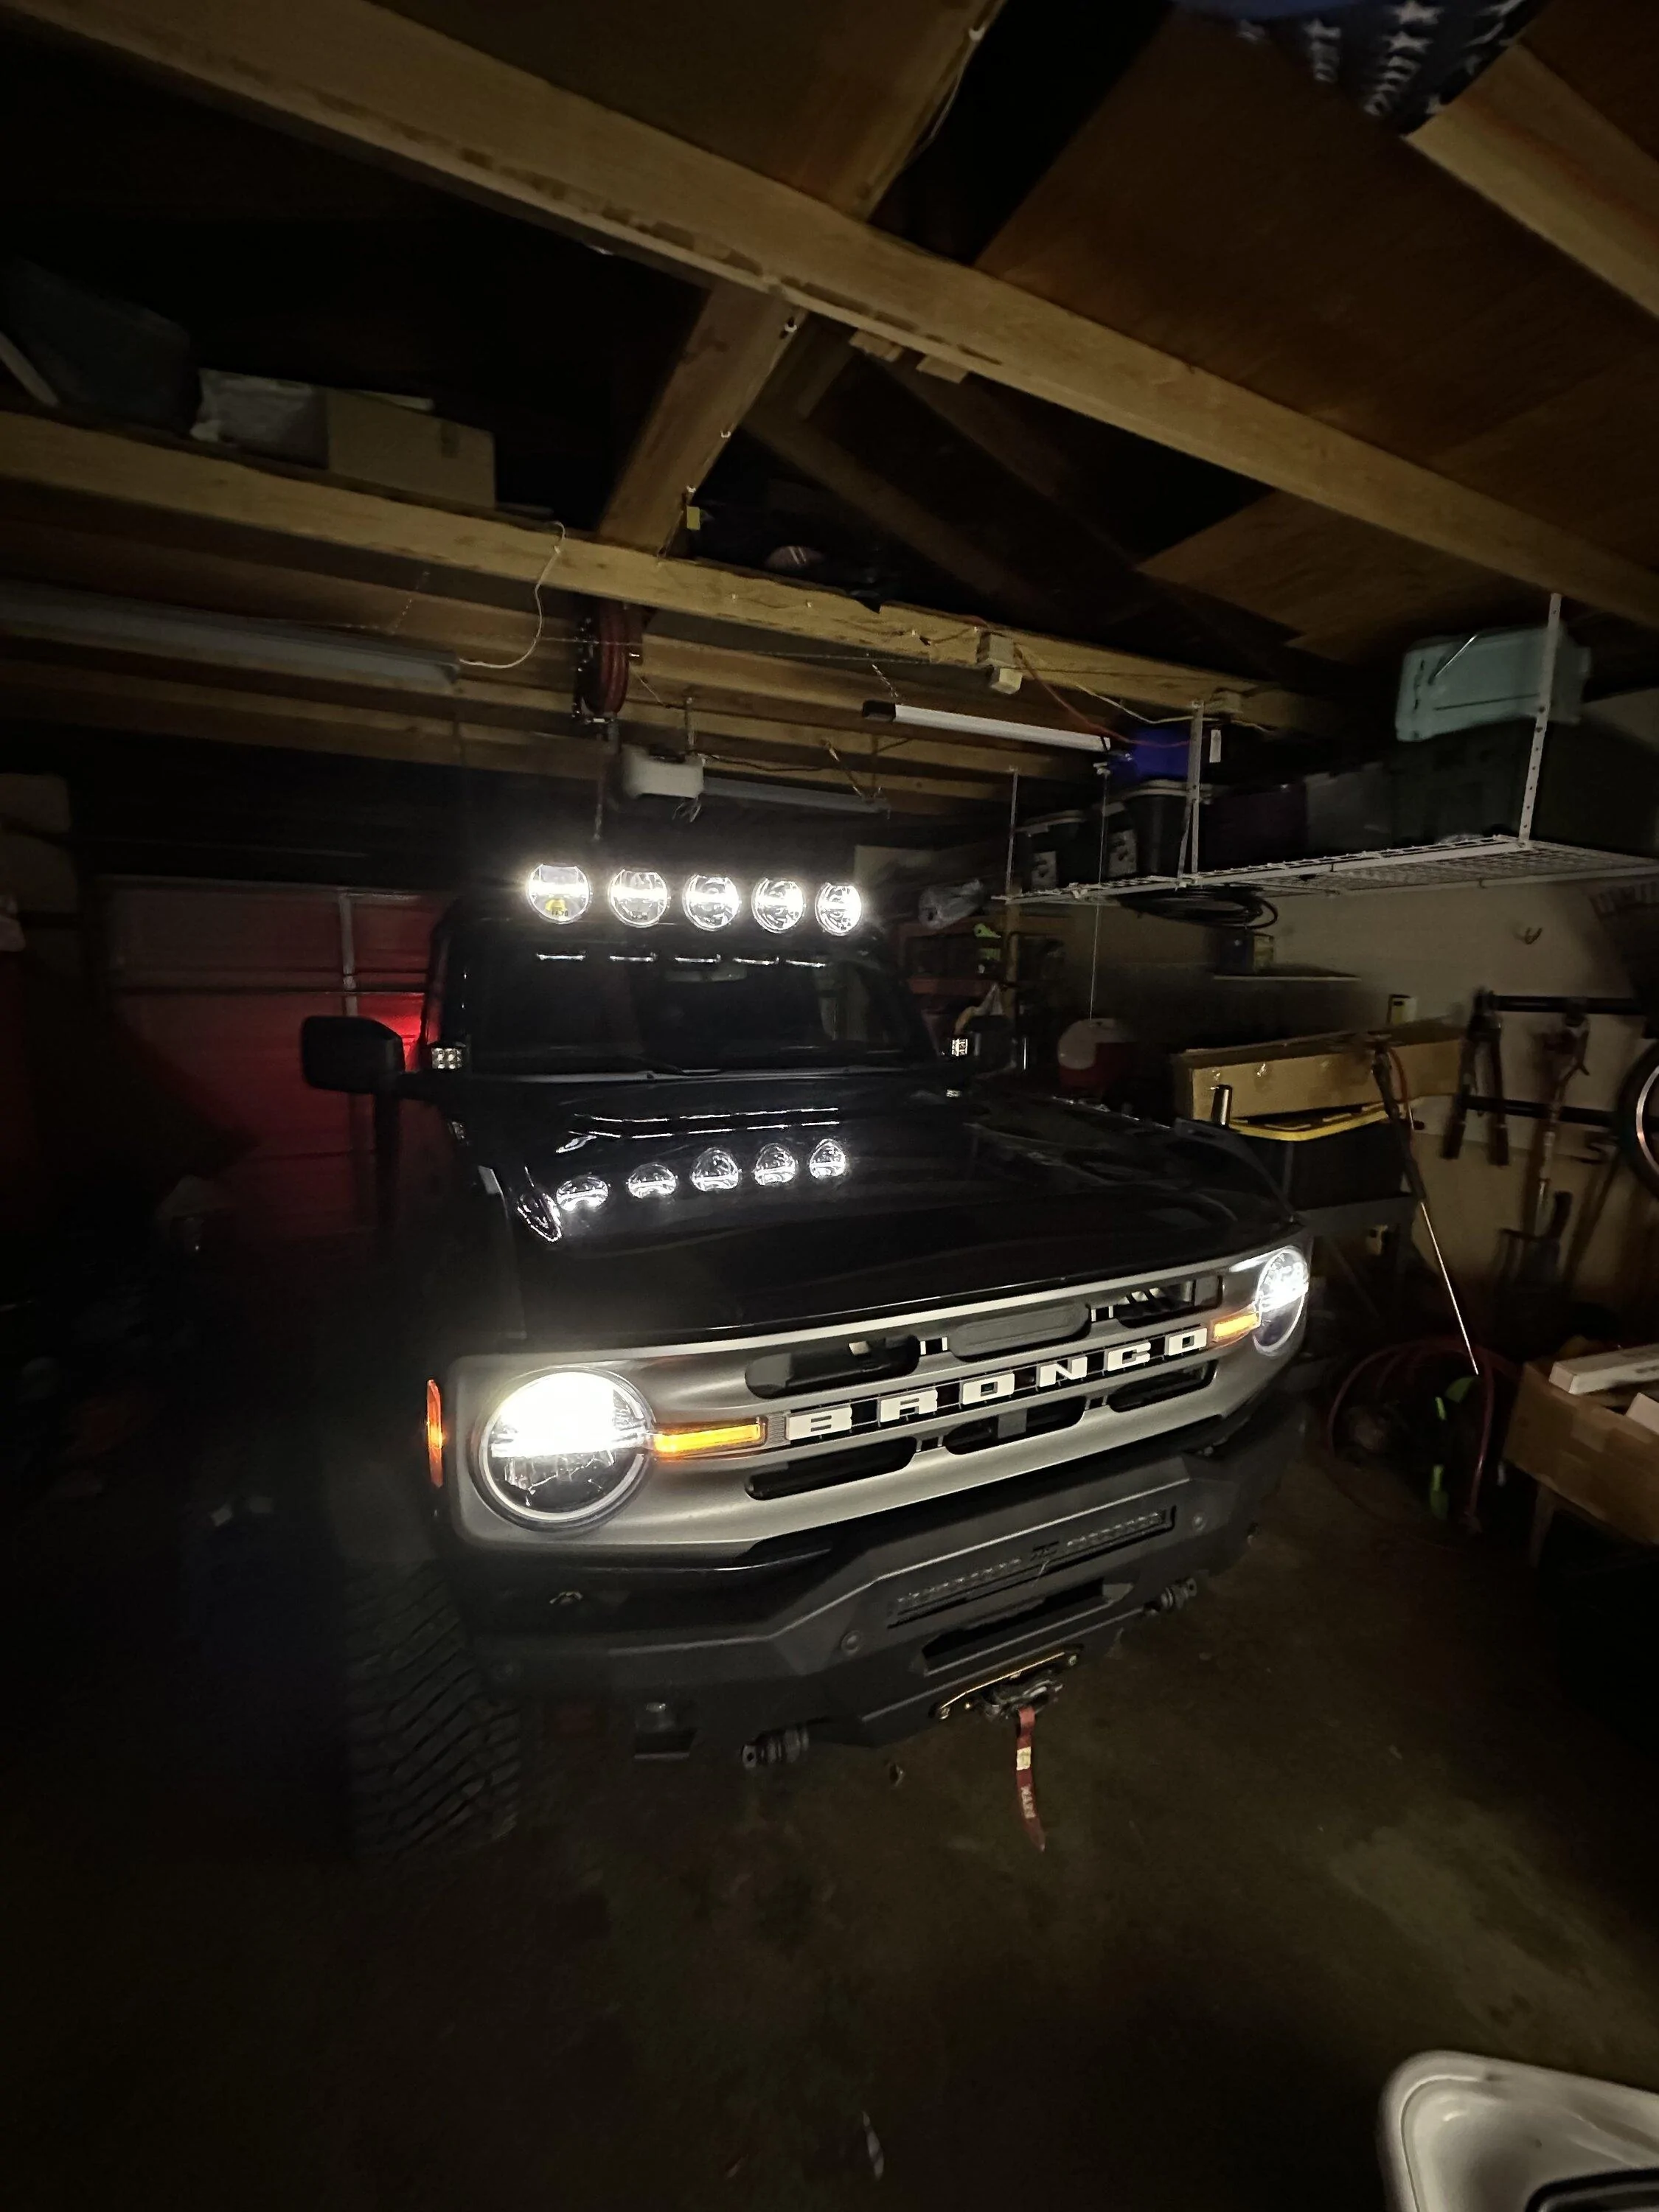
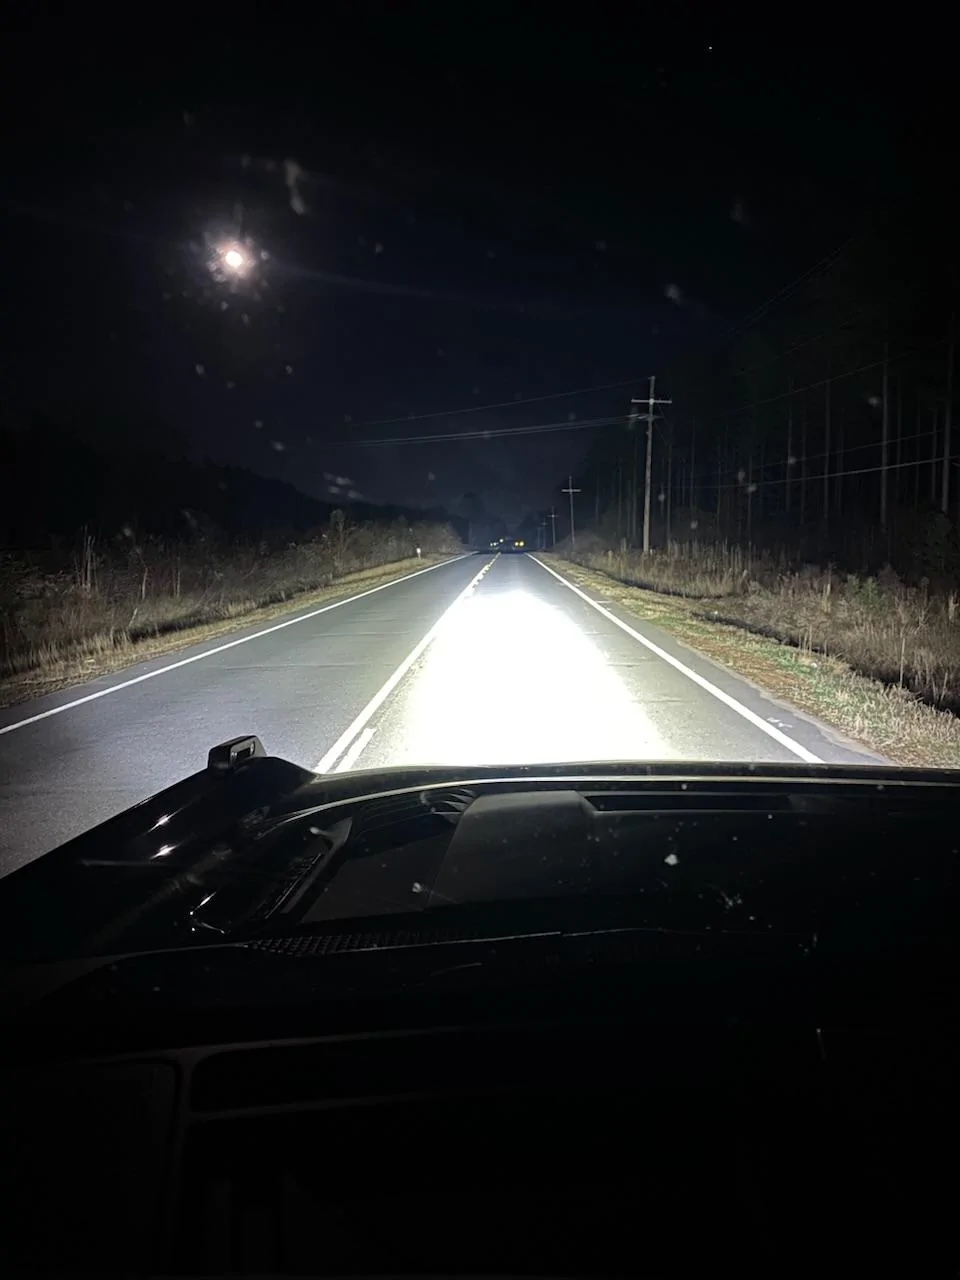
Overall my thoughts are very positive, they look killer and get compliments everywhere I go, the install was easy, the light output is AMAZING. Even with the spots instead of floods, it’s a wide beam of light that goes hecka far out there.

I have the soft top and there is a noticiable sound increase from wind noise and soft top flapping (86 vs 82 decibels). It’s worse above 70 mph but is manageable for an off-roader like me who can sacrifice a little comfort for the benefit of light when off-roading at night (which I do often). I have heard you can fix some of the flapping issue by running Ford’s hood cover, lip thing which changes the aerodynamics and lessens the noise.

The RTR did come with some powder coat issues but when I reached out they informed me they are fixing this for future orders. Their customer service is super easy to work with.
Overall I am super pleased with the light.

I’ll also note that the RTR light at package comes with just the spots but if you purchase the light bar separately, you can then purchase any of their lights with my code and throw those on the bar instead.

Ford Bronco Project X lights installed! 9C534601-B3F4-40AD-BF50-86BC2F97CE2A


Ford Bronco Project X lights installed! 25FE2719-EDFA-4DFB-8904-1D3A999F41F4


Ford Bronco Project X lights installed! 0C61F939-B8CE-434E-B3FD-5C265732AB5B


Ford Bronco Project X lights installed! E2232446-53DC-4455-A126-3A6ED8C56656
Sponsored

 
Last edited by a moderator:
OP
OP
popo_patty

popo_patty

Big Bend
Well-Known Member
First Name
Caleb
Joined
Nov 14, 2021
Threads
61
Messages
1,545
Reaction score
5,150
Location
Sacramento
Vehicle(s)
2021 Bronco/1996 Jeep XJ/1957 FC-150
Your Bronco Model
Big Bend
Clubs
 
I’ll throw up some photos of the light difference soon. I tried to take some pictures but my camera auto adjusts for light and the night mode ruins the shot of the difference they actually make. For now just trust me, it’s huge.
 
OP
OP
popo_patty

popo_patty

Big Bend
Well-Known Member
First Name
Caleb
Joined
Nov 14, 2021
Threads
61
Messages
1,545
Reaction score
5,150
Location
Sacramento
Vehicle(s)
2021 Bronco/1996 Jeep XJ/1957 FC-150
Your Bronco Model
Big Bend
Clubs
 
My discount code and affiliate links were removed because forum sponsors consider it unfair to their product lines. Sorry y’all. DM me on my IG (same name) if you want the goods.
I found it strange since RTR is a forum sponsor and the lights are used by them… I get it’s different companies but they do work together and design their product around Project X lights… so essentially if you buy their lights it helps RTR. IDK, maybe the forum powers that be will change their mind.
 
Last edited:

Merc4x4

Badlands
Well-Known Member
First Name
steve
Joined
Jul 8, 2020
Threads
10
Messages
2,064
Reaction score
4,005
Location
NJ
Vehicle(s)
2021 Bronco
Your Bronco Model
Badlands
Clubs
 
Love the old school look of those. Would love to put a pair on my bumper some day.
 

Sponsored

Johnny Rebel

Raptor
Well-Known Member
Joined
Jul 19, 2022
Threads
3
Messages
646
Reaction score
1,183
Location
LA
Vehicle(s)
2021 2D Big Bend, 2022 Bronco Raptor
Your Bronco Model
Raptor
Clubs
 
Love the old school look of those. Would love to put a pair on my bumper some day.
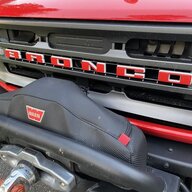
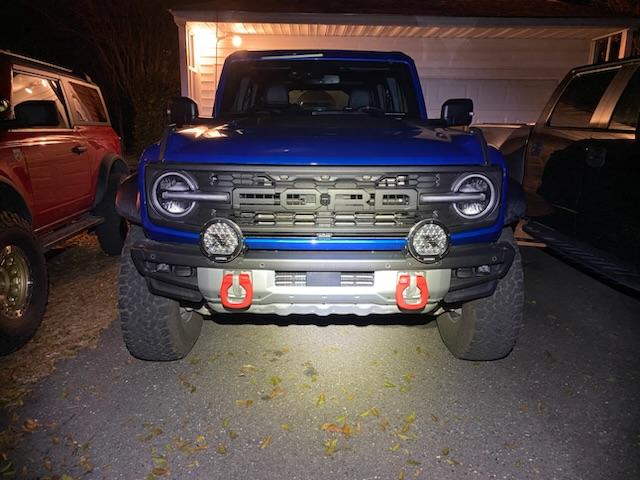
Finished mine up last night. They are awesome lights. I’ve only got 2 and they’re BRIGHT. Can only image what OP’s look like at night!

Ford Bronco Project X lights installed! 8FF3AB60-CA22-49B9-8755-F61AF7631D02
Ford Bronco Project X lights installed! BB279790-7F4B-4112-A256-E598AECF9F33
 

Rspayde

Black Diamond
Well-Known Member
Joined
Jan 17, 2022
Threads
21
Messages
1,406
Reaction score
2,918
Location
North Ga
Vehicle(s)
2022 C/O Black Diamond
Your Bronco Model
Black Diamond
Clubs
 
Absolutely love mine.

20221229_133128.jpg
Man my cyber orange needs some work. The RTR Grille with the hood scoop looks TOUGH. If you ever want to sell those mirrors let me know!!
 
OP
OP
popo_patty

popo_patty

Big Bend
Well-Known Member
First Name
Caleb
Joined
Nov 14, 2021
Threads
61
Messages
1,545
Reaction score
5,150
Location
Sacramento
Vehicle(s)
2021 Bronco/1996 Jeep XJ/1957 FC-150
Your Bronco Model
Big Bend
Clubs
 
So I installed the ford hood deflector and it cut down on most of the soft top flapping noise created by the light bar! Before I had to bring my radio volume up more then I used too to make up for the flapping noise and now I can return the volume to its normal levels. There is still wind noise as it doesn’t cancel out wind lol but it’s not bad. The soft top barely flaps now and only vibrates a little which it did before the install anyway.
I’d say it improved the noise and flapping by 60-70%. Still louder then before the lightbar install but much more bearable. Quick fix for $89 or use your points!
 

Sponsored

swampdawg

Wildtrak
Member
First Name
Trae
Joined
Jan 8, 2023
Threads
5
Messages
23
Reaction score
16
Location
Louisiana
Vehicle(s)
Bronco
Your Bronco Model
Wildtrak
Clubs
 
I've seen the hole being drilled underneath the lightbar brackets. For the life of me, I can't see how the bracket would sit flush and not eventually rub through the wires. Where did your wires come out? Under the bracket or off to the side? I've got the Diode Dynamics with the harness from 4x4lights
 

swampdawg

Wildtrak
Member
First Name
Trae
Joined
Jan 8, 2023
Threads
5
Messages
23
Reaction score
16
Location
Louisiana
Vehicle(s)
Bronco
Your Bronco Model
Wildtrak
Clubs
 
I finished the DD SS5 Crosslink install. The most challenging part was figuring out where and how to run the wires to the engine compartment. I have the up-fitter switches in the Bronco, but everyone, including the manufacturer, is saying that the upfitter wire in that area (all areas) is too small a gauge to carry the electrical load of this light bar properly. I had to figure out how to get the wires to the needed spot the cleanest and the least invasively. Drilling was the LAST option I was considering, but I knew that the possibility was there. On either side of the windshield, there is a little channel that, with enough time and patience, you can use a plastic interior removal tool to push the wires into that channel. I found it easier to start at the top where there is a larger gap. It seems relatively easier to start there and work your way down. It's slow but very doable. The other thing I found is as you get closer to the bottom of the windshield, the wires have probably twisted up, and if you don't let the harness twist around, then you'll end up with a bundle that won't give and is almost like a knot that won't fit. You have to let the harness twist around. As you get to the bottom, undo the A-pillar torks bolt and the antennae and pull the plastic up to give yourself more room to maneuver. The last challenge will also make the install cleaner go all the way to the bottom where there is a gap, like at the top. The a-pillar plastic has an opening under the lip to run wires to the a-pillar accessory-ready spot. After that, the remaining hooking of the wiring is a piece of cake!

Also, as an aside, I ran the backlighting power through a separate power circuit through an "add a circuit" to the under-hood fuse box. I did not want to use a separate up-fitter switch to change the backlighting. When I powered up the lightbar, two lights had different colors. I must have flicked the power switch to the light bar a thousand times before I figured out what I was doing wrong. You have to pull all power to the backlighting, not just switch the power on and off three times fast. You have to interrupt the power to the backlighting either through a switch or, in my case, I had a fuse that I could pull and rapidly touch the fuse back to the power. After I figured that out, the rest of the programming was easy.

I hope this will help others tackle this themselves who may be struggling to figure out what they are doing wrong.

Good Luck! If I can do it, you can do it.
 
OP
OP
popo_patty

popo_patty

Big Bend
Well-Known Member
First Name
Caleb
Joined
Nov 14, 2021
Threads
61
Messages
1,545
Reaction score
5,150
Location
Sacramento
Vehicle(s)
2021 Bronco/1996 Jeep XJ/1957 FC-150
Your Bronco Model
Big Bend
Clubs
 
I've seen the hole being drilled underneath the lightbar brackets. For the life of me, I can't see how the bracket would sit flush and not eventually rub through the wires. Where did your wires come out? Under the bracket or off to the side? I've got the Diode Dynamics with the harness from 4x4lights
Yea it’s weird for sure but somehow it fit just fine and doesn’t seem to rub at all.
 
OP
OP
popo_patty

popo_patty

Big Bend
Well-Known Member
First Name
Caleb
Joined
Nov 14, 2021
Threads
61
Messages
1,545
Reaction score
5,150
Location
Sacramento
Vehicle(s)
2021 Bronco/1996 Jeep XJ/1957 FC-150
Your Bronco Model
Big Bend
Clubs
 
I finished the DD SS5 Crosslink install. The most challenging part was figuring out where and how to run the wires to the engine compartment. I have the up-fitter switches in the Bronco, but everyone, including the manufacturer, is saying that the upfitter wire in that area (all areas) is too small a gauge to carry the electrical load of this light bar properly. I had to figure out how to get the wires to the needed spot the cleanest and the least invasively. Drilling was the LAST option I was considering, but I knew that the possibility was there. On either side of the windshield, there is a little channel that, with enough time and patience, you can use a plastic interior removal tool to push the wires into that channel. I found it easier to start at the top where there is a larger gap. It seems relatively easier to start there and work your way down. It's slow but very doable. The other thing I found is as you get closer to the bottom of the windshield, the wires have probably twisted up, and if you don't let the harness twist around, then you'll end up with a bundle that won't give and is almost like a knot that won't fit. You have to let the harness twist around. As you get to the bottom, undo the A-pillar torks bolt and the antennae and pull the plastic up to give yourself more room to maneuver. The last challenge will also make the install cleaner go all the way to the bottom where there is a gap, like at the top. The a-pillar plastic has an opening under the lip to run wires to the a-pillar accessory-ready spot. After that, the remaining hooking of the wiring is a piece of cake!

Also, as an aside, I ran the backlighting power through a separate power circuit through an "add a circuit" to the under-hood fuse box. I did not want to use a separate up-fitter switch to change the backlighting. When I powered up the lightbar, two lights had different colors. I must have flicked the power switch to the light bar a thousand times before I figured out what I was doing wrong. You have to pull all power to the backlighting, not just switch the power on and off three times fast. You have to interrupt the power to the backlighting either through a switch or, in my case, I had a fuse that I could pull and rapidly touch the fuse back to the power. After I figured that out, the rest of the programming was easy.

I hope this will help others tackle this themselves who may be struggling to figure out what they are doing wrong.

Good Luck! If I can do it, you can do it.
Nice write up!
Sponsored


Top