Sponsored

Brian_B

Big Bend
Well-Known Member
First Name
Brian
Joined
Sep 14, 2023
Threads
60
Messages
8,230
Reaction score
14,569
Location
Central CA
Vehicle(s)
'23 BB 4dr 7MT, '22 BSport OBX, '87 B-II XL
Your Bronco Model
Big Bend
Clubs
 
The Mount cost more than the dish, I'm glad my DIY works so well.
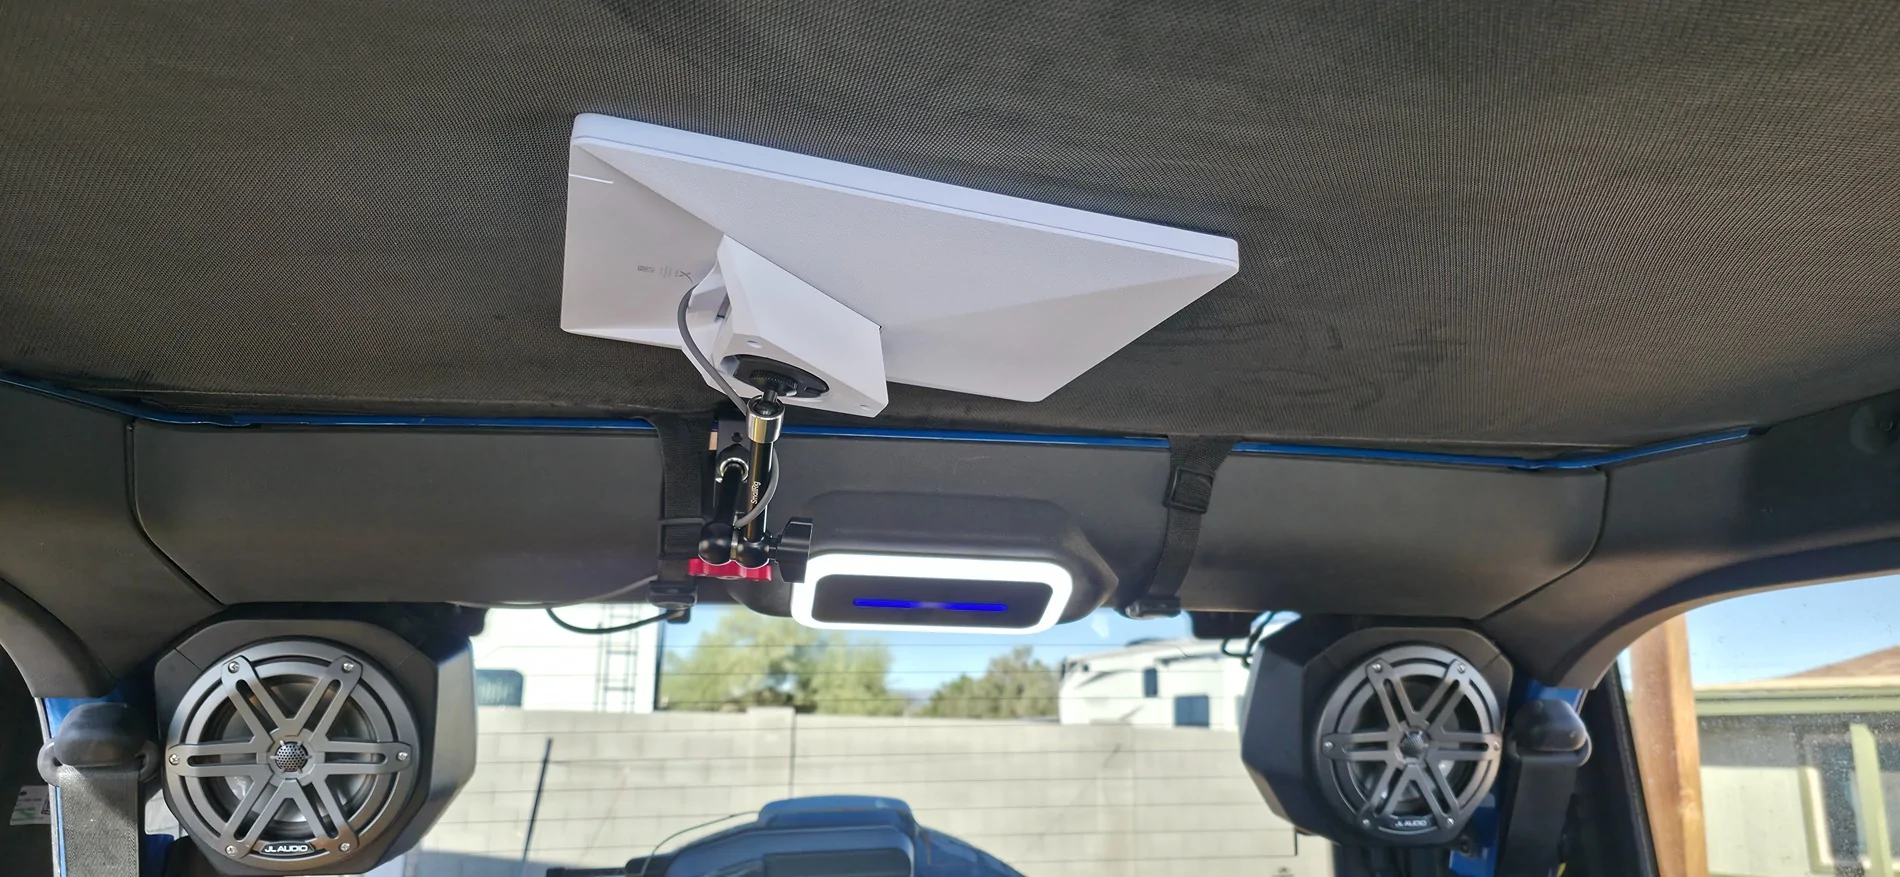
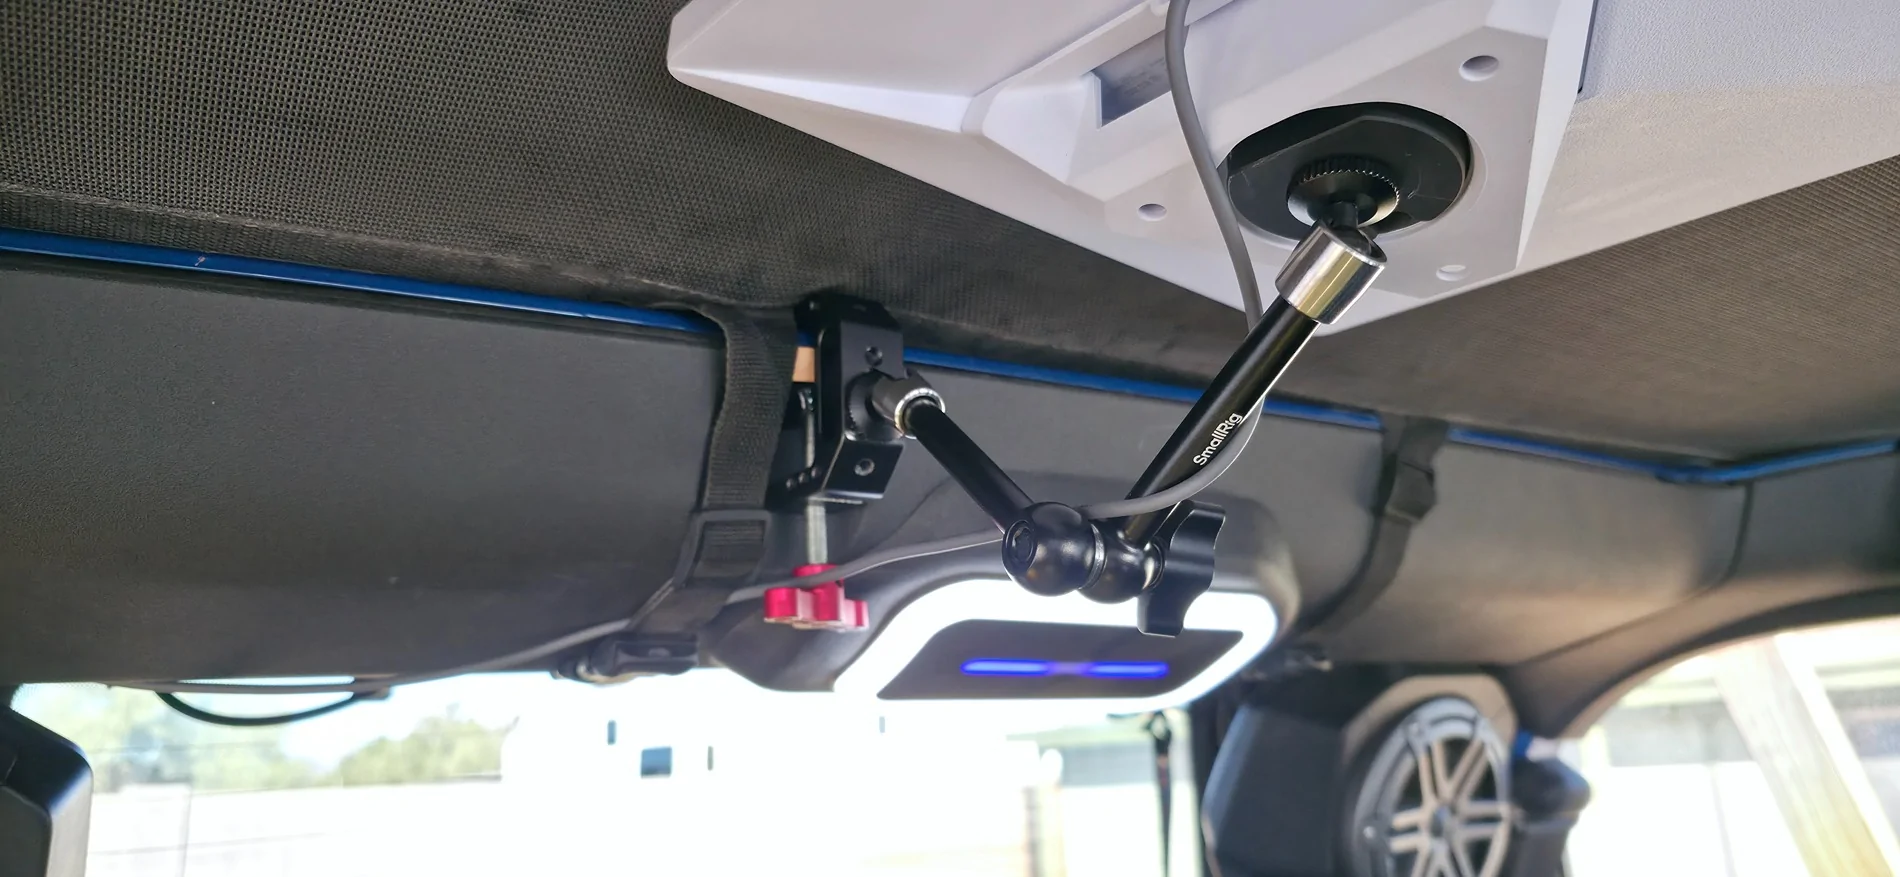
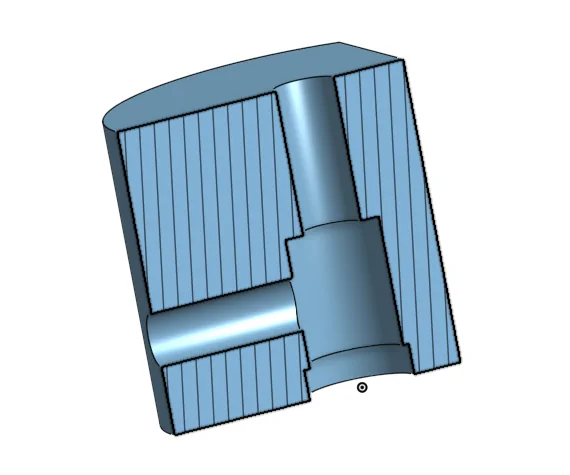
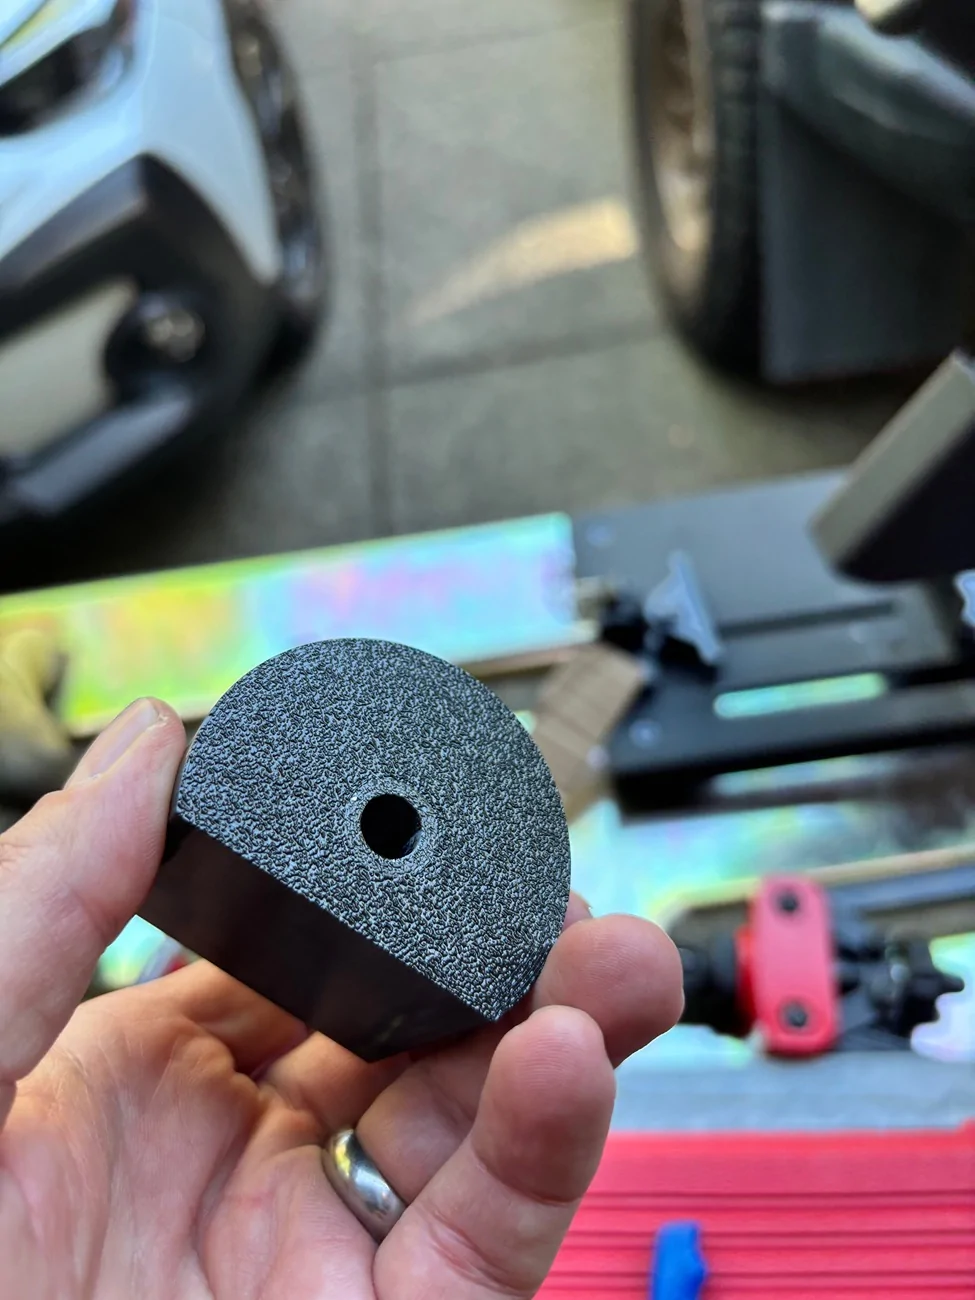
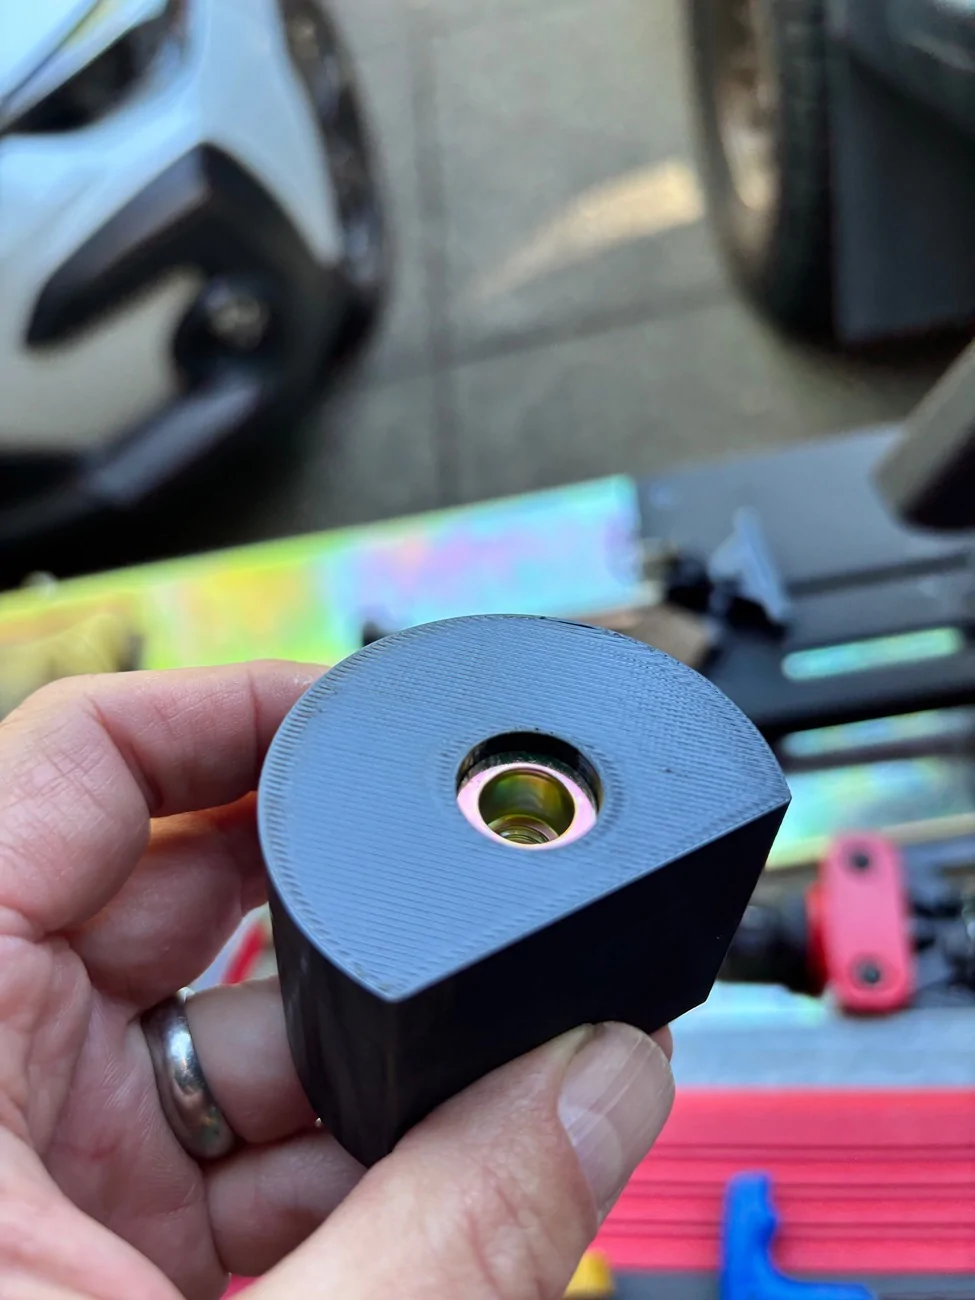
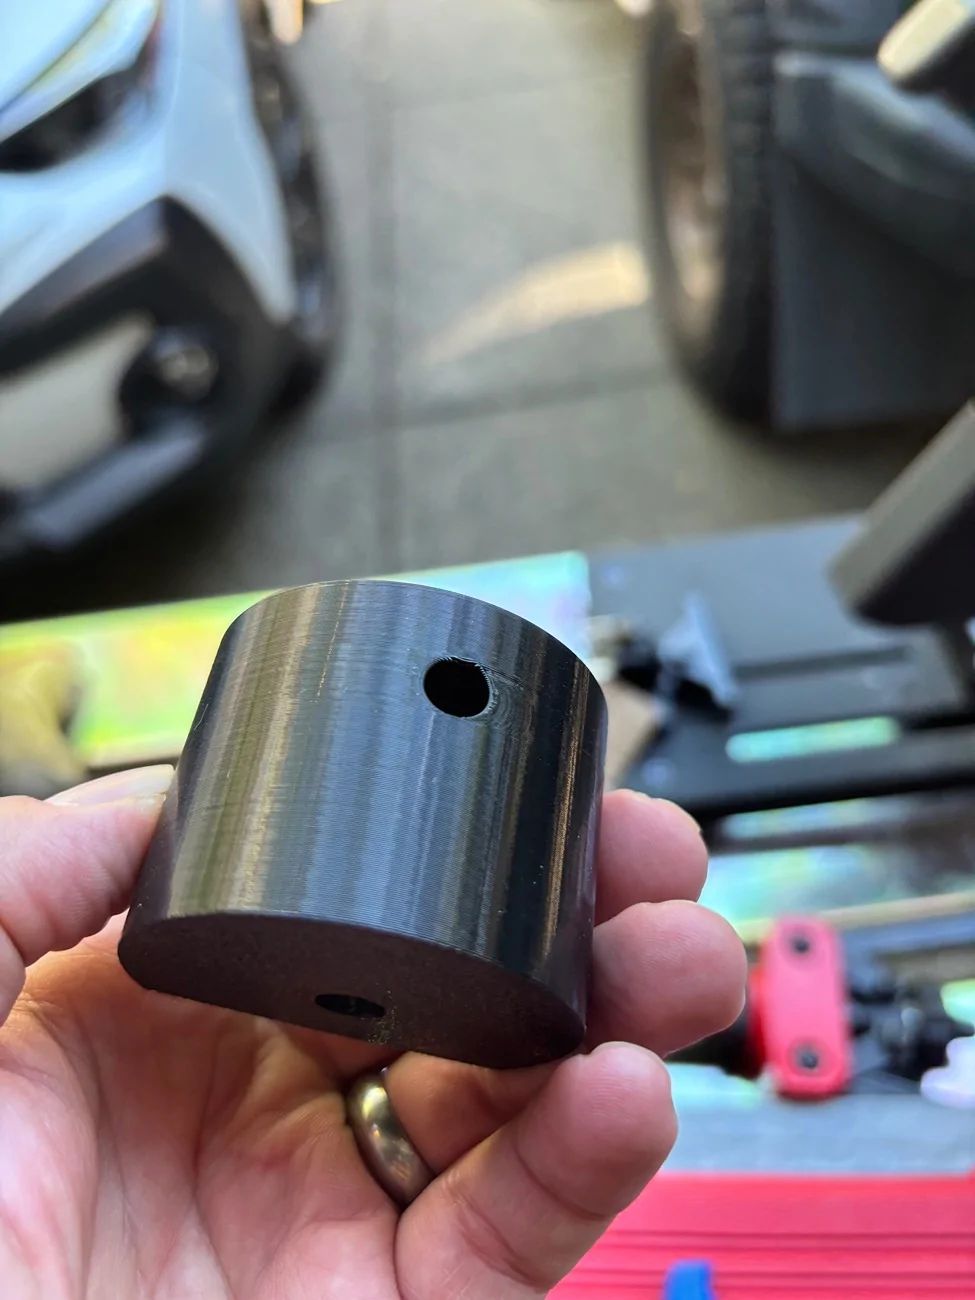
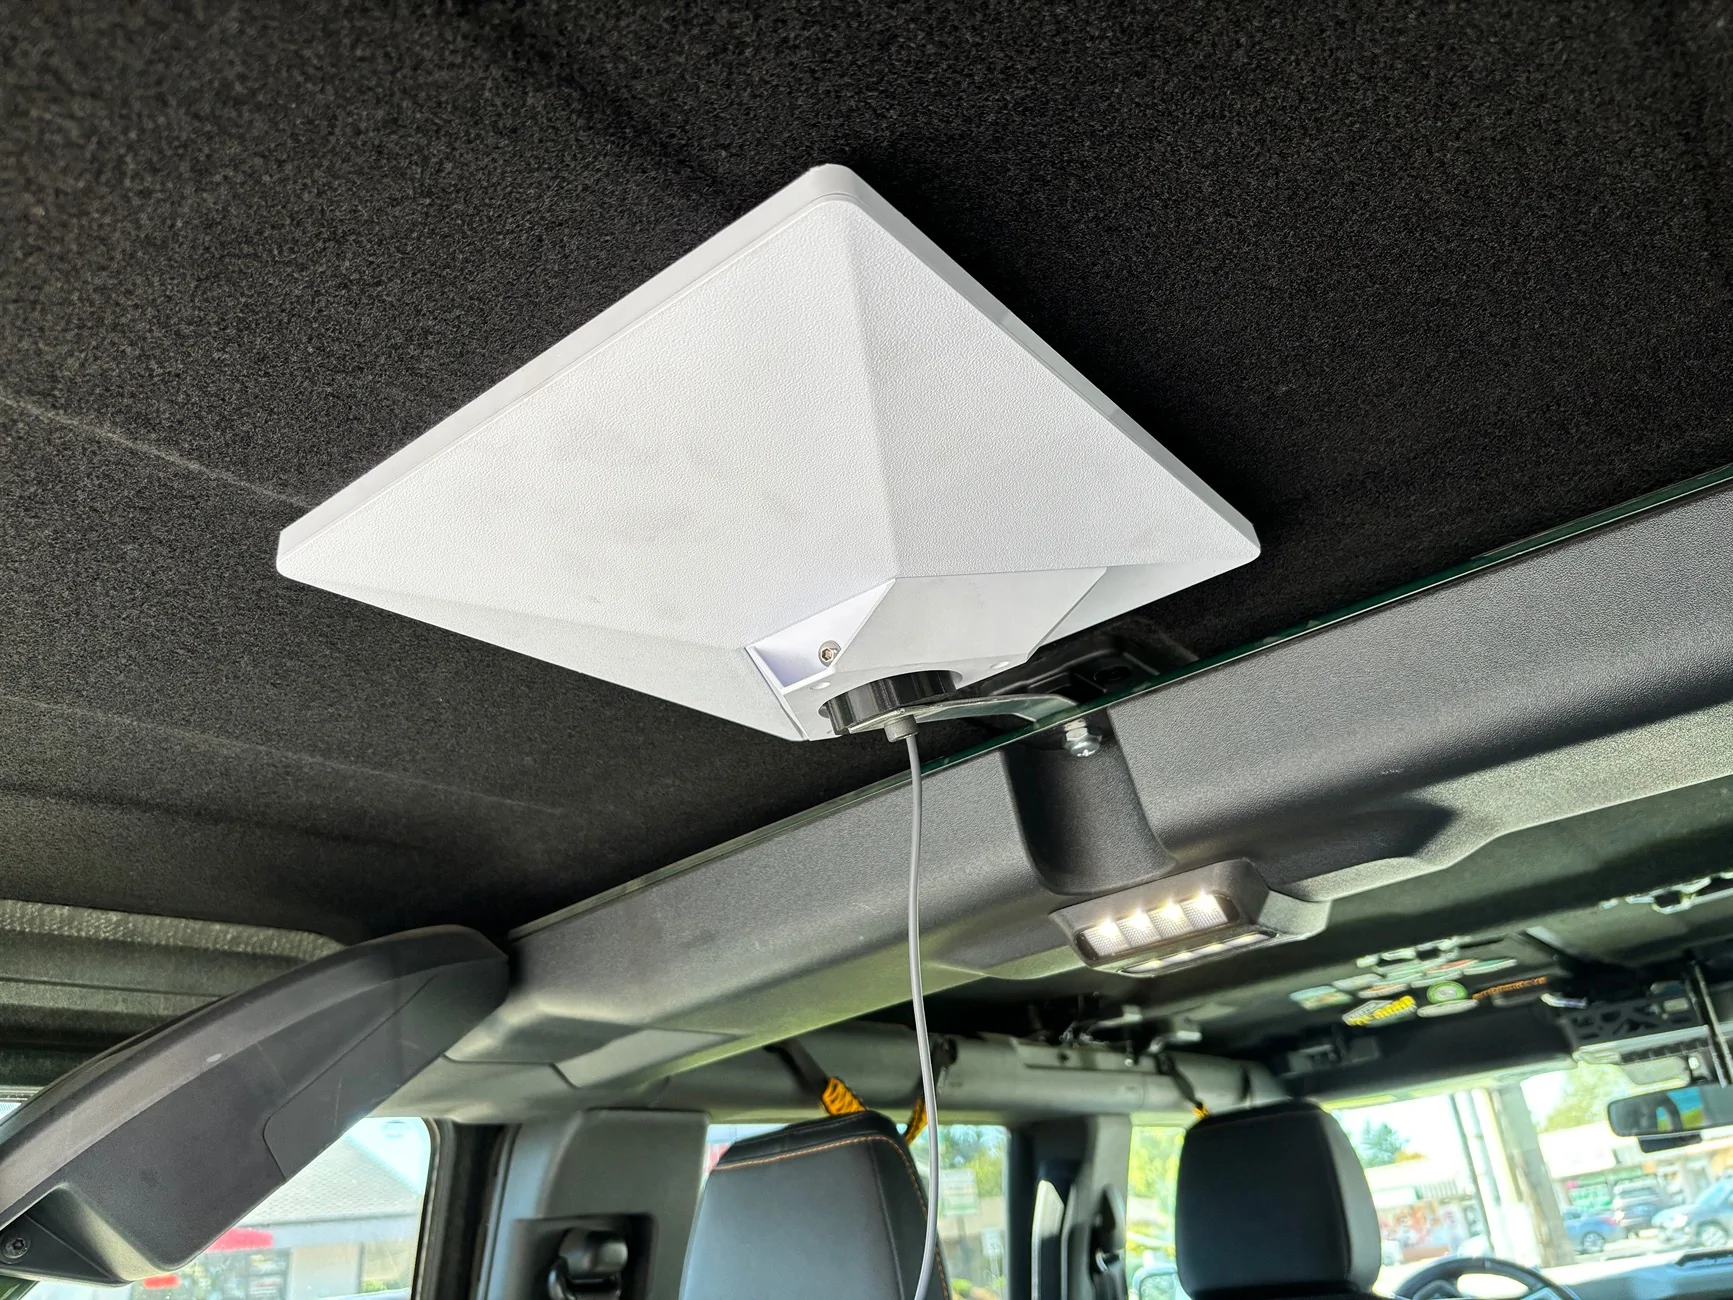
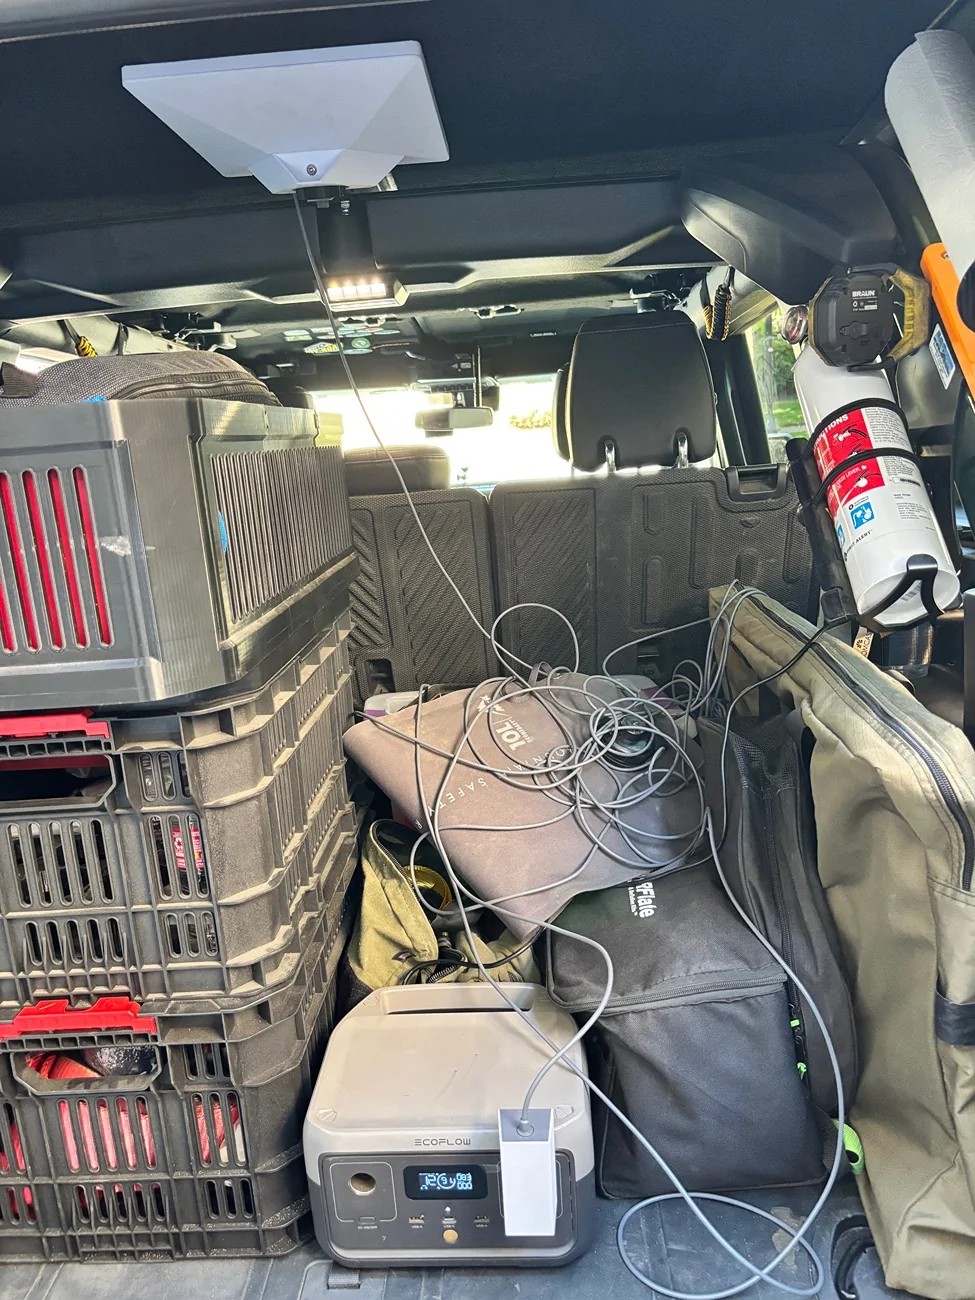
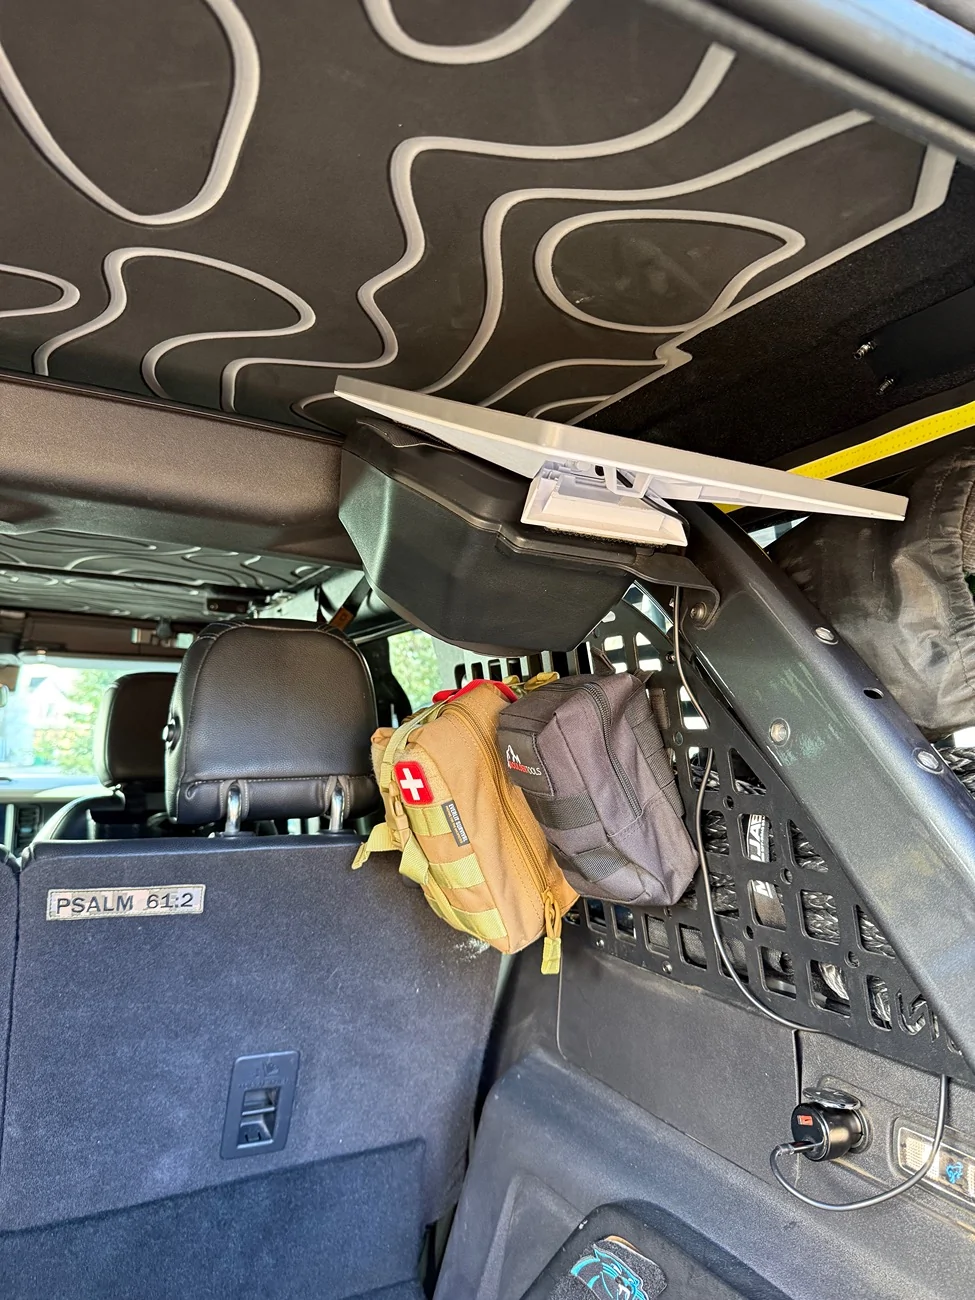
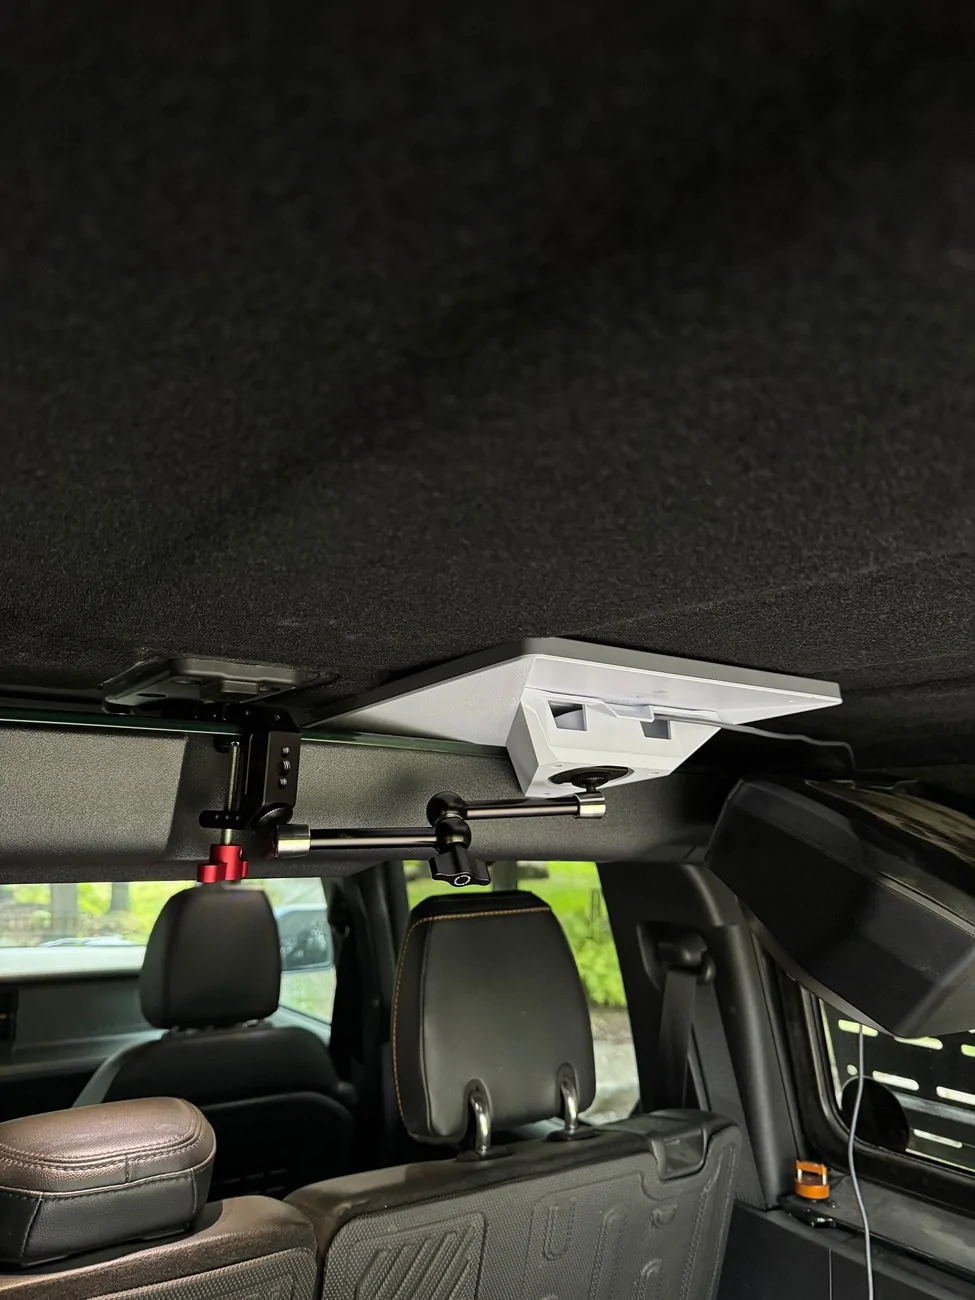
I won’t knock a DIY effort - I’ll just say the Revolink is the molle shelf and the bracket that mounts on top of the shelf. So kind of a twoferone deal. I’m all for DIY stuff, but in my case I was looking at rear shelves anyway
Sponsored


STX Bronco

Wildtrak
Well-Known Member
Joined
Jun 15, 2020
Threads
1
Messages
541
Reaction score
970
Location
South Texas
Vehicle(s)
F150 SuperCrew 22 Badlands
Your Bronco Model
Wildtrak
Clubs
 
I was able to get this to work in the 2 door. The Starlink also works through Jtops mesh as well.
1000011325.webp
1000011324.webp
I got the same thing and struggled to get it to hold up as well. I see you have a spacer in the clamp, I think I need to look at doing the same.
 

Kesker

Badlands
Well-Known Member
First Name
Kesker
Joined
Nov 6, 2024
Threads
16
Messages
151
Reaction score
132
Location
New York
Vehicle(s)
2024 Bronco Badlands
Your Bronco Model
Badlands
Clubs
 
I could not get it tight enough without the spacer. I used a piece of wood but I'm going to have my buddy 3d print something better. This feels really solid so far.
the 4dr I did not need a spacer, has not moved yet
 

Sponsored

STX Bronco

Wildtrak
Well-Known Member
Joined
Jun 15, 2020
Threads
1
Messages
541
Reaction score
970
Location
South Texas
Vehicle(s)
F150 SuperCrew 22 Badlands
Your Bronco Model
Wildtrak
Clubs
 
The problem I was running into was the red handle started hitting the plastic on the pillar before I could get it tight enough. The 2 door has a smaller flat area to work with.
Yep. I had the same issue and it let the arm sway. If you come up with something, pass along please.
 

BadlandBill

Badlands
Well-Known Member
First Name
Bill
Joined
Oct 3, 2024
Threads
4
Messages
57
Reaction score
37
Location
Colorado
Vehicle(s)
2024
Your Bronco Model
Badlands
Clubs
 
Does anyone know if it work under the new painted hard tops?
 

24.Badlands.Onyx

Badlands
New Member
First Name
RV
Joined
Dec 29, 2025
Threads
1
Messages
4
Reaction score
13
Location
Rocky Mountains
Vehicle(s)
'14 F-250; '08 Audi S4; '24 Bronco
Your Bronco Model
Badlands
This is my take on the excellent design by @RHeinz https://www.bronco6g.com/forum/threads/starlink-mini-installed-for-remote-camping.106167/

I'm not sure if this will be my final design but I had all of the components sitting around. Don't ask why I have spare 1in wide steel in my inventory. But I definitely keep a supply of rivnuts.

The first step was a mount, I think some people use a camera tripod mount, so 1/4-20? but since I could print my own mount, I did.

Screen Shot 2025-08-22 at 3.22.05 PM.webp
Screen Shot 2025-08-22 at 3.22.35 PM.webp
IMG_6574.webp
IMG_6572.webp
IMG_6573.webp


I inserted a M8 rivnut in the mount and then a shorter M6 as a set screw.

Then for the strap/bar I just drilled one end for the M8 and the other end for a M8 rivnut. The rivnut was too long so I cut it down and that was just enough to clear the roof bracket perfectly. I found a short M8 but it was too long so I used a large nut as a spacer. I will find a proper length or print a better spacer. If I remember to.

I calculated out the bend at 19.5˚ and went over to a friend's to use his vice. Of all the tools I have that's the one thing I don't.

First pull was exactly 19.5˚ but since I didn't account for the weight of the antenna I had to lessen the bend and now it presses the antenna nicely against the roof.

This whole thing works so well I'm not sure if I can improve it. Although I may still print out a frame just to protect the edges. And maybe add some M8 thumbscrews like @RHeinz did.

I could also design a frame that uses the bar but allows the antenna to slide out. But we'll see how often I need to do that.

IMG_6575.webp


I got the antenna registered and will try it out for real tomorrow as I head to the coast. I didn't test the speeds yet as I think the saturation in the metro area is pretty tough.


IMG_6576.webp


For now I will just plug the AC adapter into the Ecoflow (which will be plugged into the Bronco). I'm printing out a cord reel to take up the slack. I will look into a shorter cable. Not sure if it will be USB-C or 12v.

IMG_6571.webp
Hey Swoosh, I like the simple design for your mount! Would you be willing to share your print file for the insert that you made? I’m working on a mount for my mini. Thanks for posting this!
 

Sponsored
OP
OP
swooshdave

swooshdave

Badlands
Well-Known Member
Joined
Dec 15, 2020
Threads
102
Messages
4,847
Reaction score
9,122
Location
Portland, Oregon
Vehicle(s)
Mustang
Your Bronco Model
Badlands
Clubs
 

STX Bronco

Wildtrak
Well-Known Member
Joined
Jun 15, 2020
Threads
1
Messages
541
Reaction score
970
Location
South Texas
Vehicle(s)
F150 SuperCrew 22 Badlands
Your Bronco Model
Wildtrak
Clubs
 
I could not get it tight enough without the spacer. I used a piece of wood but I'm going to have my buddy 3d print something better. This feels really solid so far.
Did you ever come up with a printed spacer?
 
OP
OP
swooshdave

swooshdave

Badlands
Well-Known Member
Joined
Dec 15, 2020
Threads
102
Messages
4,847
Reaction score
9,122
Location
Portland, Oregon
Vehicle(s)
Mustang
Your Bronco Model
Badlands
Clubs
 
I got the battery pack for the Starlink so I will need to come up with a new mounting option. The battery has three 1/4 threaded inserts.


Top