


- Thread starter
- #1
I wanted to share some information for those looking to put their vehicle battery on maintenance (aka trickle), if your car sits more than it’s driven like mine. Of course you can do this the traditional way by connecting the alligator clips from the charger direct to the battery (read caution below on this method). However, like on most of my other vehicles, I wanted an easier approach and not have to connect direct to the battery (or install eyelet leads and run wires) or have to leave the hood open. My preference was to plug into a 12V source to accomplish this. It’s simple and can connect/disconnect quickly and easily. However, the 12V outlets (and USB) on the Bronco do not stay hot very long and have a default factory timeout of 4,500 sec (75 minutes). So you will need to address this limitation first.
Here’s what you need to charge/maintain your battery via the 12V outlet:
WARNING: CHARGING DIRECT TO BATTERY
Your battery allows you to jump or charge it by connecting directly to the factory 12V AGM 800 CCA battery under the hood. While you can JUMP the car by connecting direct to the positive and negative terminals, you SHOULD NOT connect direct to the NEGATIVE terminal when charging or maintaining. Your vehicle has a factory sensor that is attached to the negative terminal of the battery. This sensor monitors current/voltage/temperature of the battery. When charging or maintaining the battery by connecting direct to the battery, the negative charging cable needs to connect upstream of the sensor, further away from the negative terminal. Otherwise you will likely have issues with state of charge and proper charging. You can connect to a negative ground on the chassis or to the special tab (see photo below) coming off the sensor. It’s ok to connect the positive charging cable direct to the positive terminal.

Here are the steps to charge/maintain your battery via the 12V outlet.
NOTE: Be aware of what other components are plugged in and draining power from your 12V or USB connections before proceeding as leaving your power sources on longer could have a negative impact on your battery. I recommend unplugging everything when maintaining your vehicle on a trickle charge.
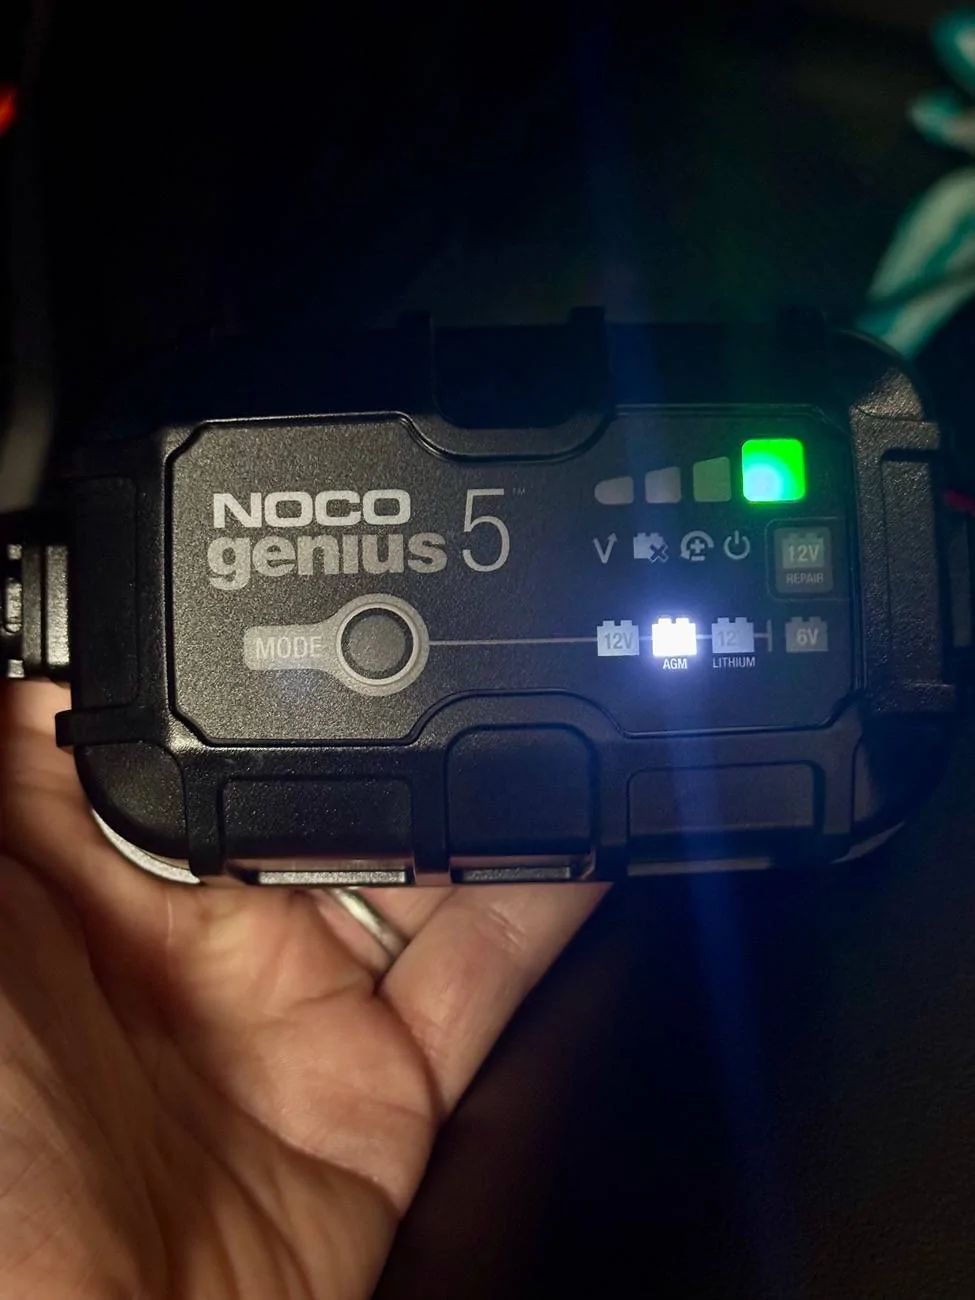
The GENIUS5 showing charging AGM battery:

The GENIUS5 showing fully charged battery:
The GENIUS5 showing battery in maintain mode:
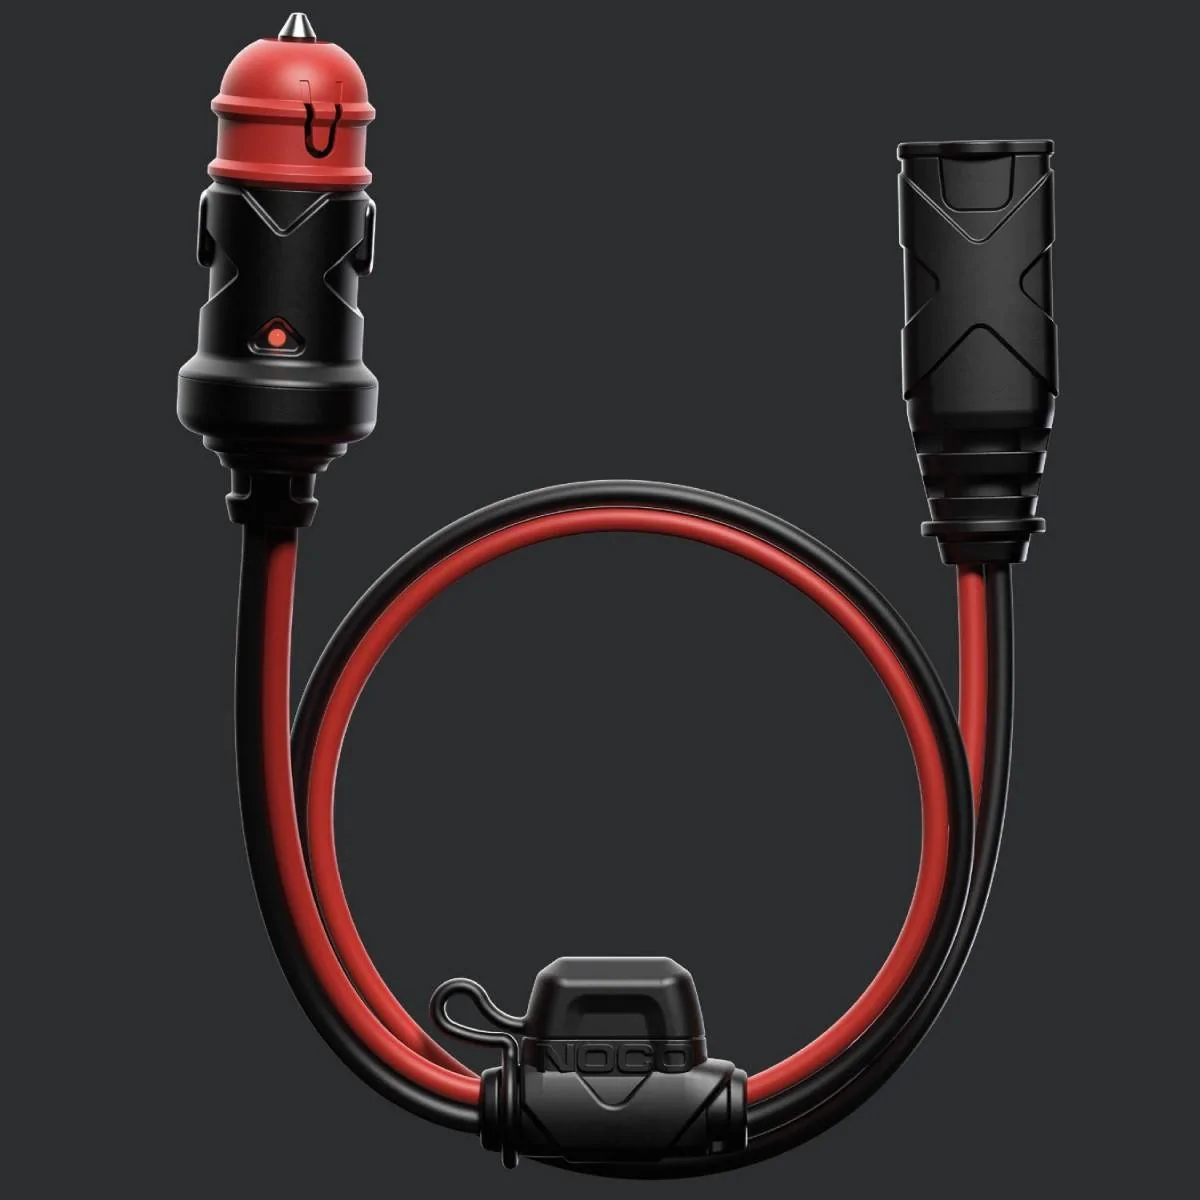
The GC003 12V adapter:

Here’s what you need to charge/maintain your battery via the 12V outlet:
- Batter Charger. My 2 recommendations here are to spend a little more for a quality charger and make sure the charger also works as a maintainer/trickle or you could damage your battery. There are many great products out there and plenty of info you can search online. Remember you have an AGM battery so confirm the charger is compatible. I’m using the NOCO GENIUS5 (5A).
- 12V Adapter Cable for Charger. Most chargers will only include alligator clips to connect direct to the battery. You may be able to find a charger that includes a 12V adapter or you’ll want to make sure they offer one as an option. I’m using the NOCO GC003 X-Connect 12V adapter.
- OBD Cable. Make sure to purchase a FORScan-compatible OBD cable per their website (I’ve used less expensive cables that don’t always work) and verify you’re running the latest firmware. I’m using the OBDLink EX that has worked flawlessly on all my Fords.
- FORScan Software. You can download a 2-months license for free or buy a year for $12 at FORScan.org
WARNING: CHARGING DIRECT TO BATTERY
Your battery allows you to jump or charge it by connecting directly to the factory 12V AGM 800 CCA battery under the hood. While you can JUMP the car by connecting direct to the positive and negative terminals, you SHOULD NOT connect direct to the NEGATIVE terminal when charging or maintaining. Your vehicle has a factory sensor that is attached to the negative terminal of the battery. This sensor monitors current/voltage/temperature of the battery. When charging or maintaining the battery by connecting direct to the battery, the negative charging cable needs to connect upstream of the sensor, further away from the negative terminal. Otherwise you will likely have issues with state of charge and proper charging. You can connect to a negative ground on the chassis or to the special tab (see photo below) coming off the sensor. It’s ok to connect the positive charging cable direct to the positive terminal.
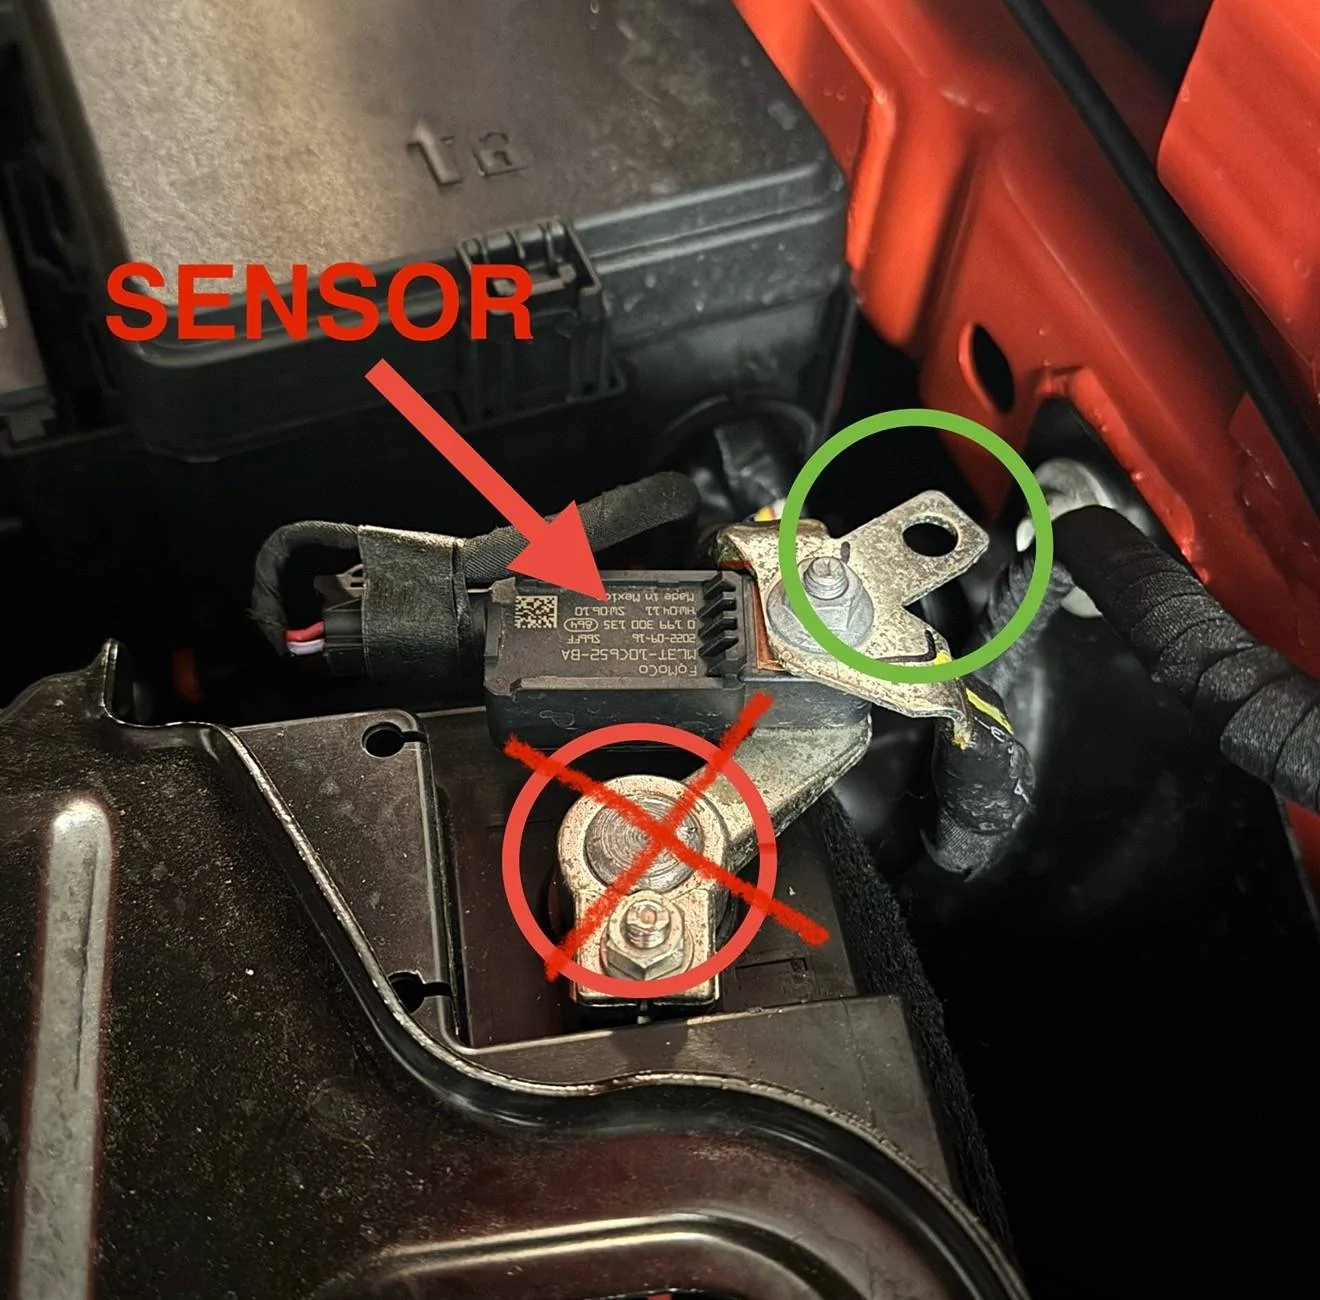
Here are the steps to charge/maintain your battery via the 12V outlet.
NOTE: Be aware of what other components are plugged in and draining power from your 12V or USB connections before proceeding as leaving your power sources on longer could have a negative impact on your battery. I recommend unplugging everything when maintaining your vehicle on a trickle charge.
- Connect to your vehicle via FORScan. NOTE: if you don’t have experience using FORScan or need a refresher, there are plenty of good resources on this forum using search function. Always save module data before you modify in case you need to undo changes.
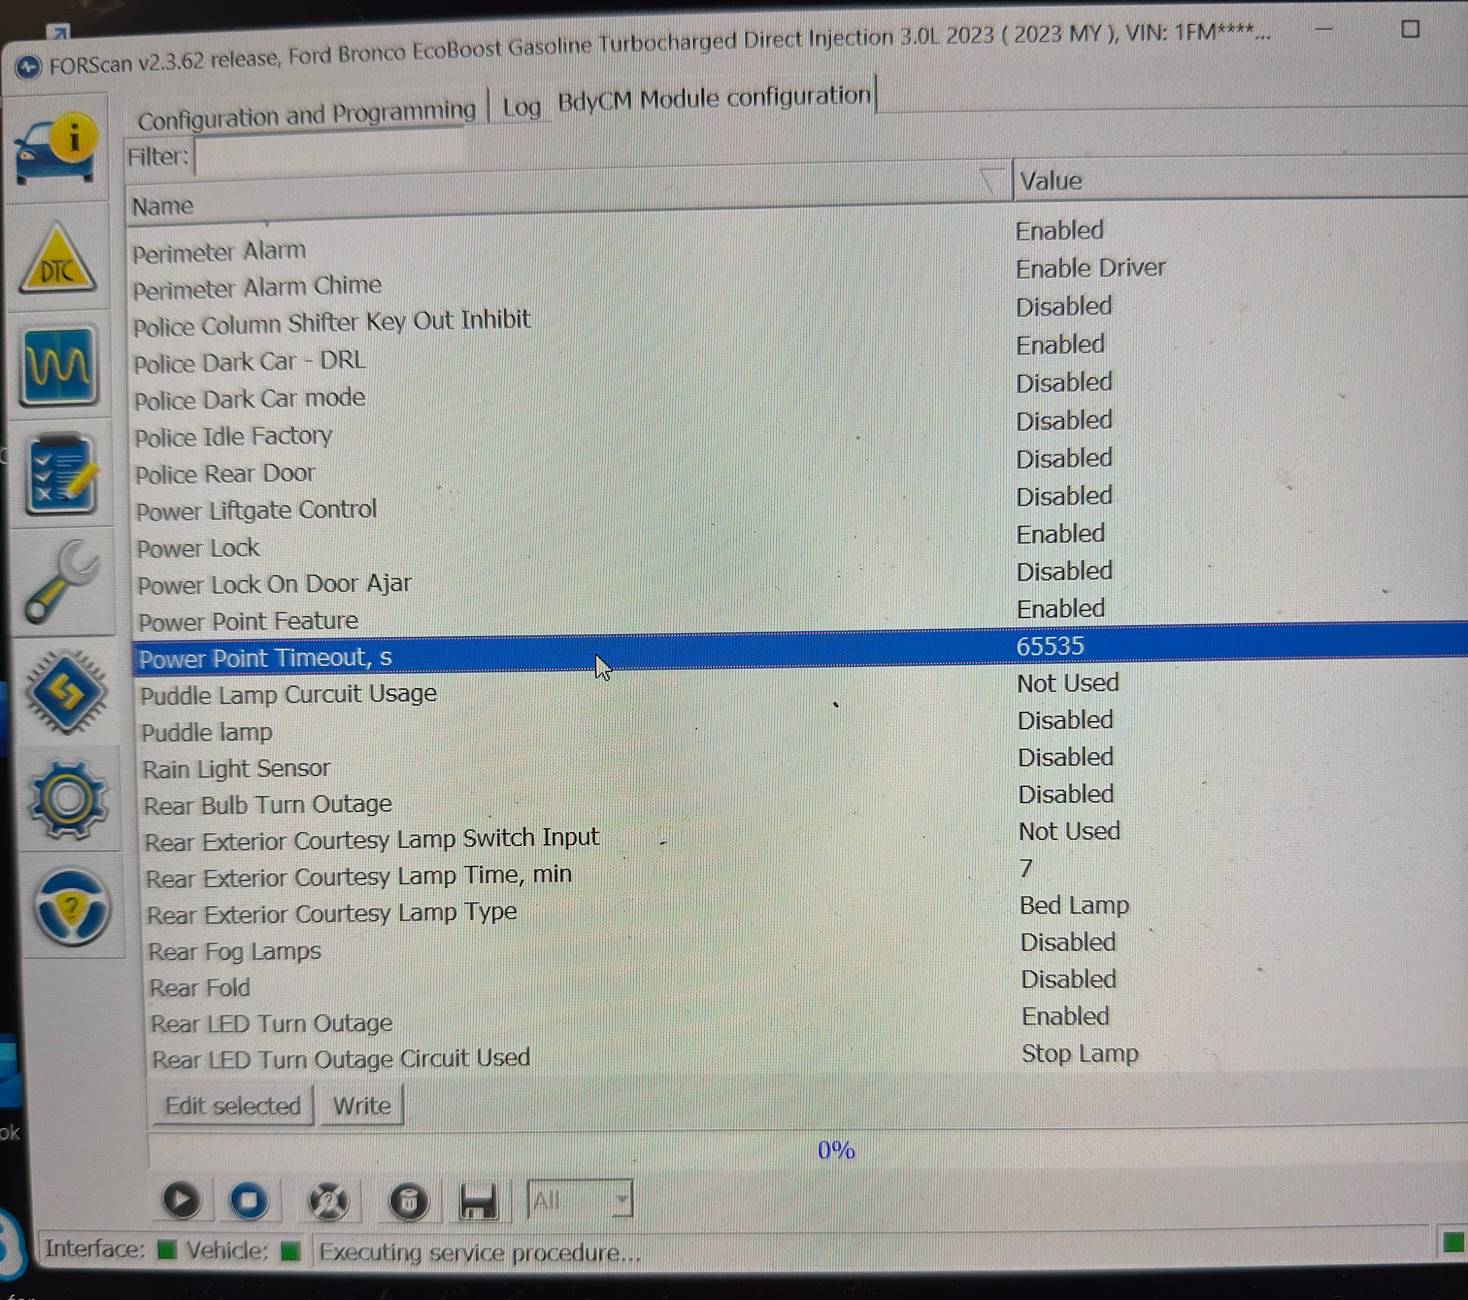
- Navigate to the BdyCM Module and locate the ‘Power Point Timeout, s’ field. This setting changes the timeout of the 12V and USB power points in the car. NOTE: you can also opt to DISABLE the ‘Power Point Feature’ field instead to keep your power sources on indefinitely without a timeout, although I don’t recommend leaving your power sources hot indefinitely unless you need to or can manage this scenario.
- Change the ‘Power Point Timeout, s’ setting suit your needs. The value is in seconds.
Default setting = 4500 (75 min)
Max setting = 65535 (18h12m)
Note the max you can set the value to is 65535. For now, I set mine to 18 hours and cycle power at least once a week to reset the timer. This should be enough to maintain the battery. If not, I’ll adjust accordingly. Your needs may be different depending on what you plug into your power sources on a regular basis when using the vehicle as this could drain your battery when the vehicle is shut off and not being charged.

- Verify changes have saved and disconnect the OBD cable.
- Power up the charger and connect the 12V adapter to one of the 12V power sources on the vehicle. I connected mine to the 12V socket in the center console.
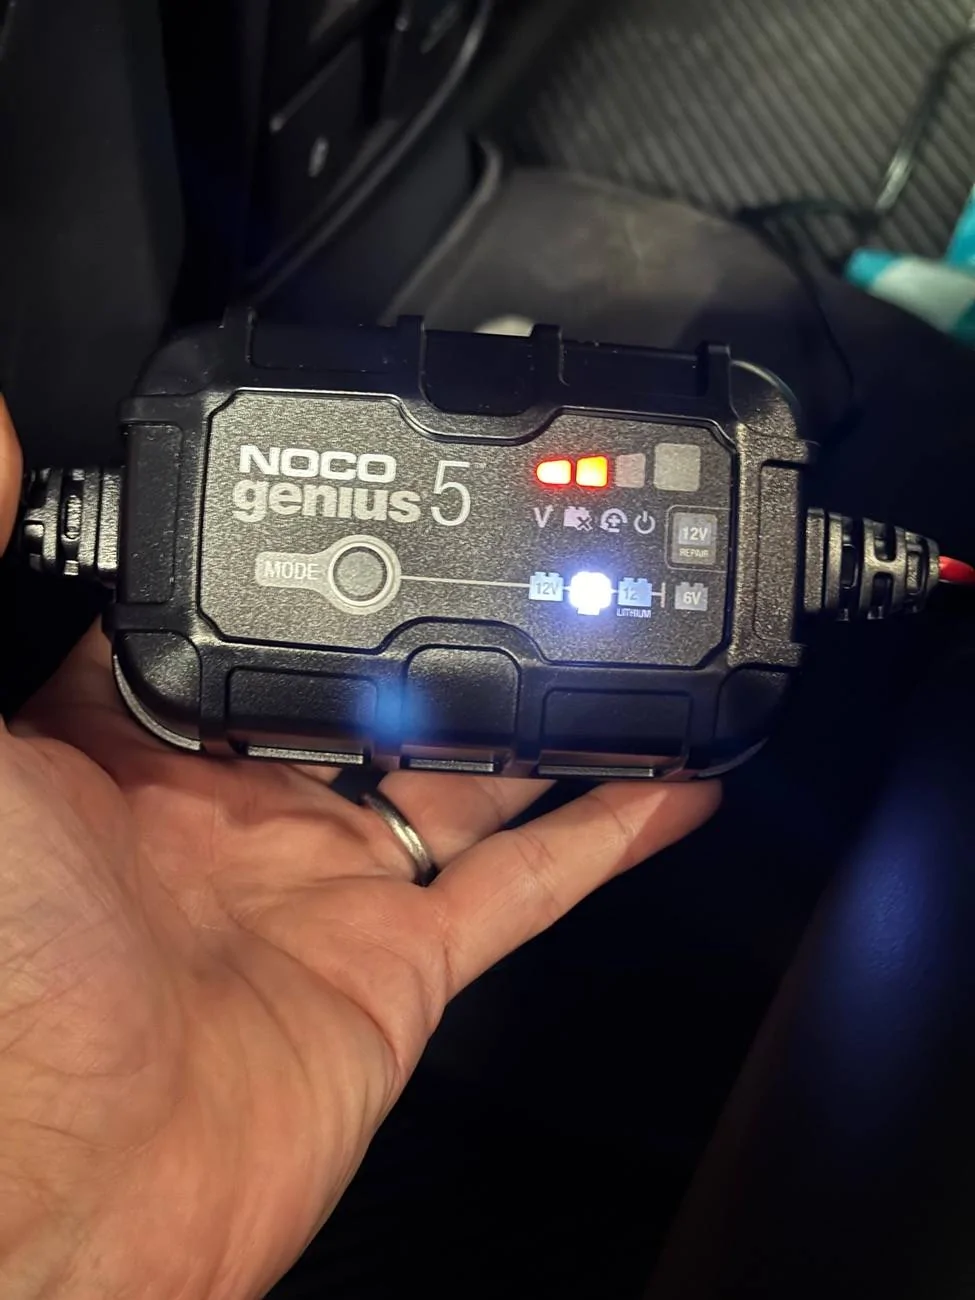
- Make sure the charger mode is set to AGM if need be and verify charge status.
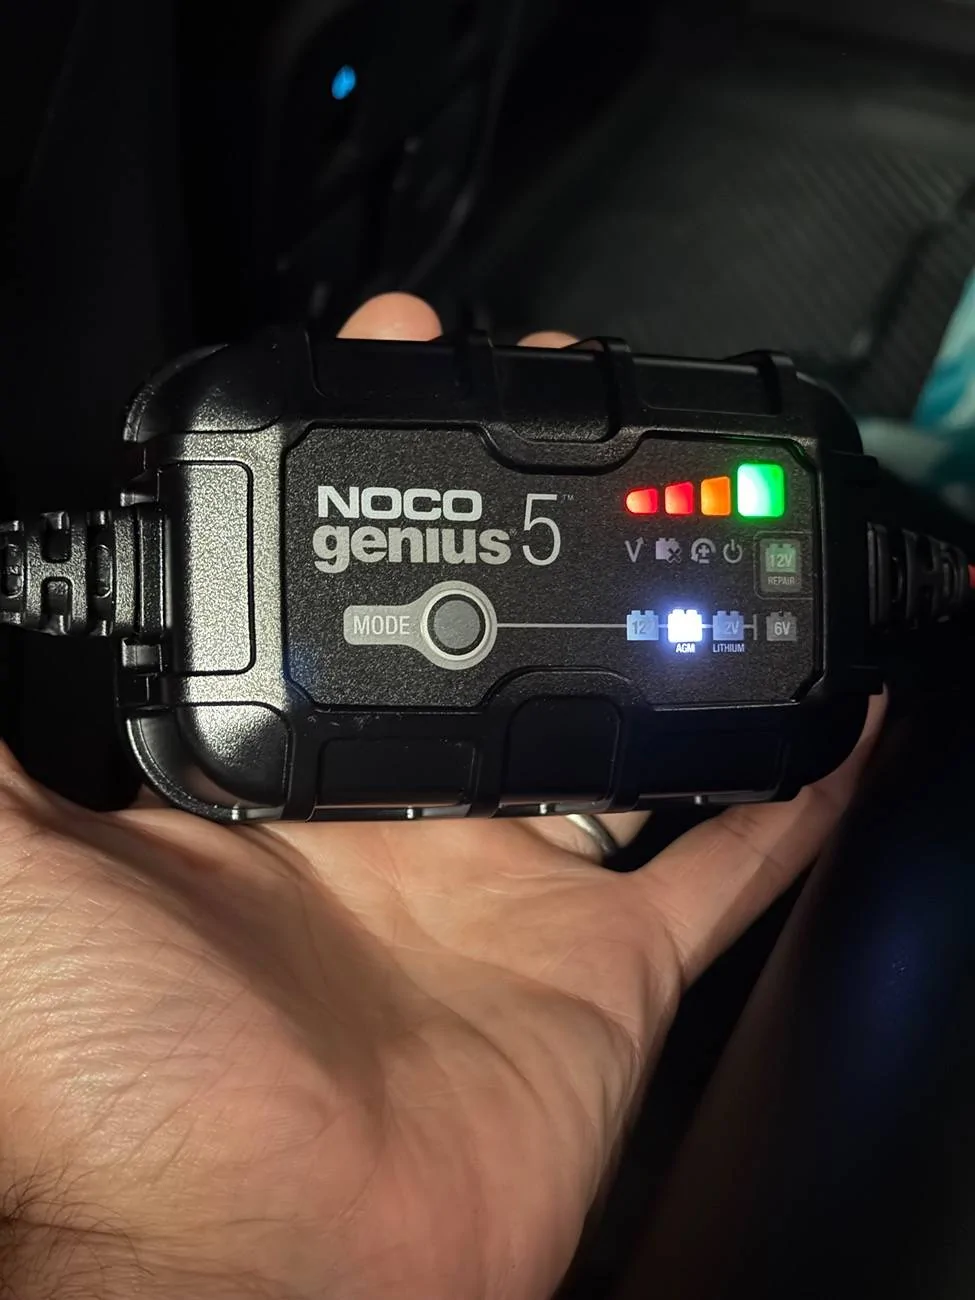
- Once your battery has been fully charged, the charger should automatically go into maintain mode.
The GENIUS5 showing charging AGM battery:
The GENIUS5 showing fully charged battery:
The GENIUS5 showing battery in maintain mode:
The GC003 12V adapter:
Sponsored
Last edited: