
- Joined
- Jun 11, 2022
- Threads
- 0
- Messages
- 7
- Reaction score
- 4
- Location
- Password007!
- Vehicle(s)
- Bronco
- Your Bronco Model
- Badlands
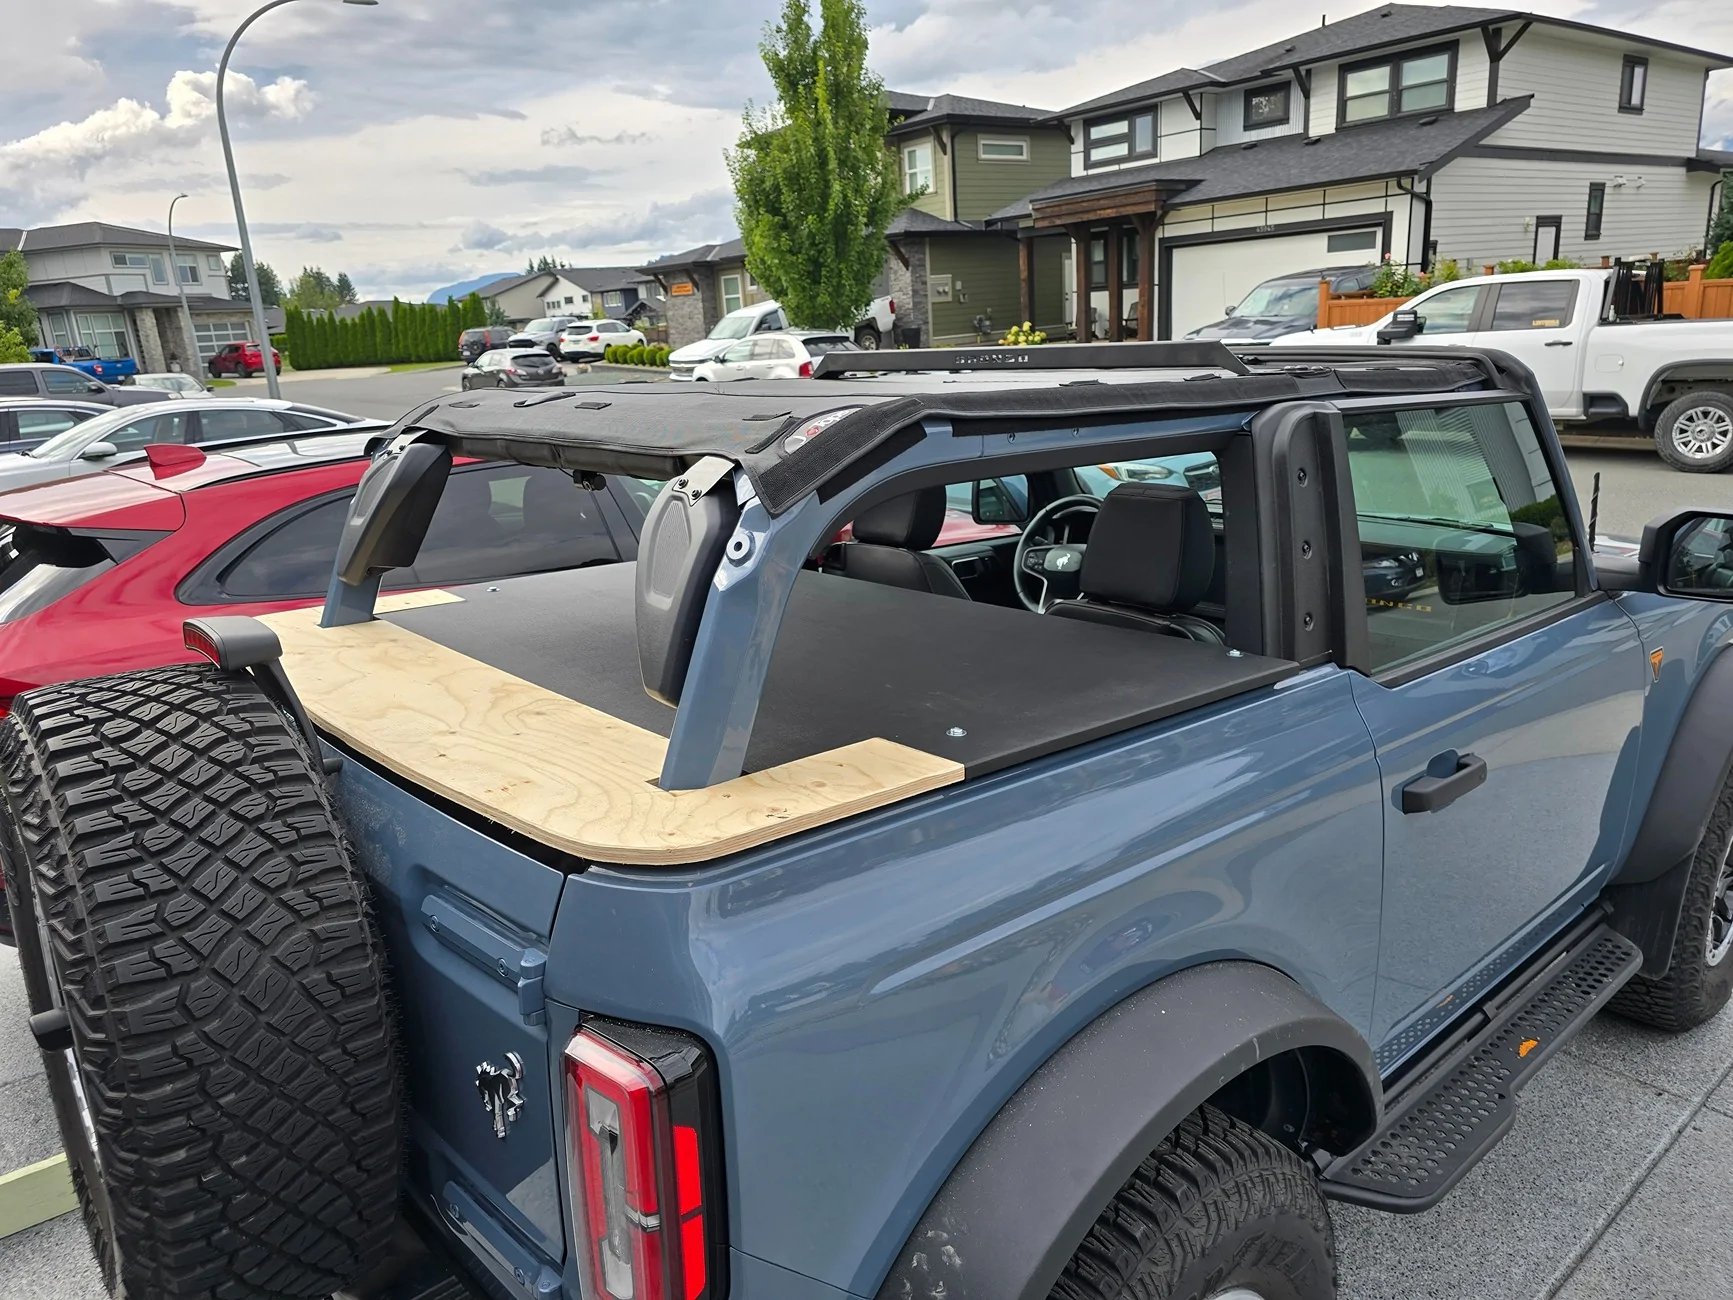
I wish you had some measurements for this that I could just give to a fabricator.I got tired of worrying about my golf clubs in the back of the Bronco while the top is off or having my suitcase rained on while the top is off over the summer. With no off the shelf options and a few photos/DIY accounts here, I decided to build my own cover.
I used 3/4" plywood, some foam boat flooring scraps and some vinyl to put it all together. All in I probably have 6-8 hours into the project. Maybe 2 hours to get the basic shape and the rest was sanding, finishing details (gotta match the angles on the roll cage right??) and then wrapping.
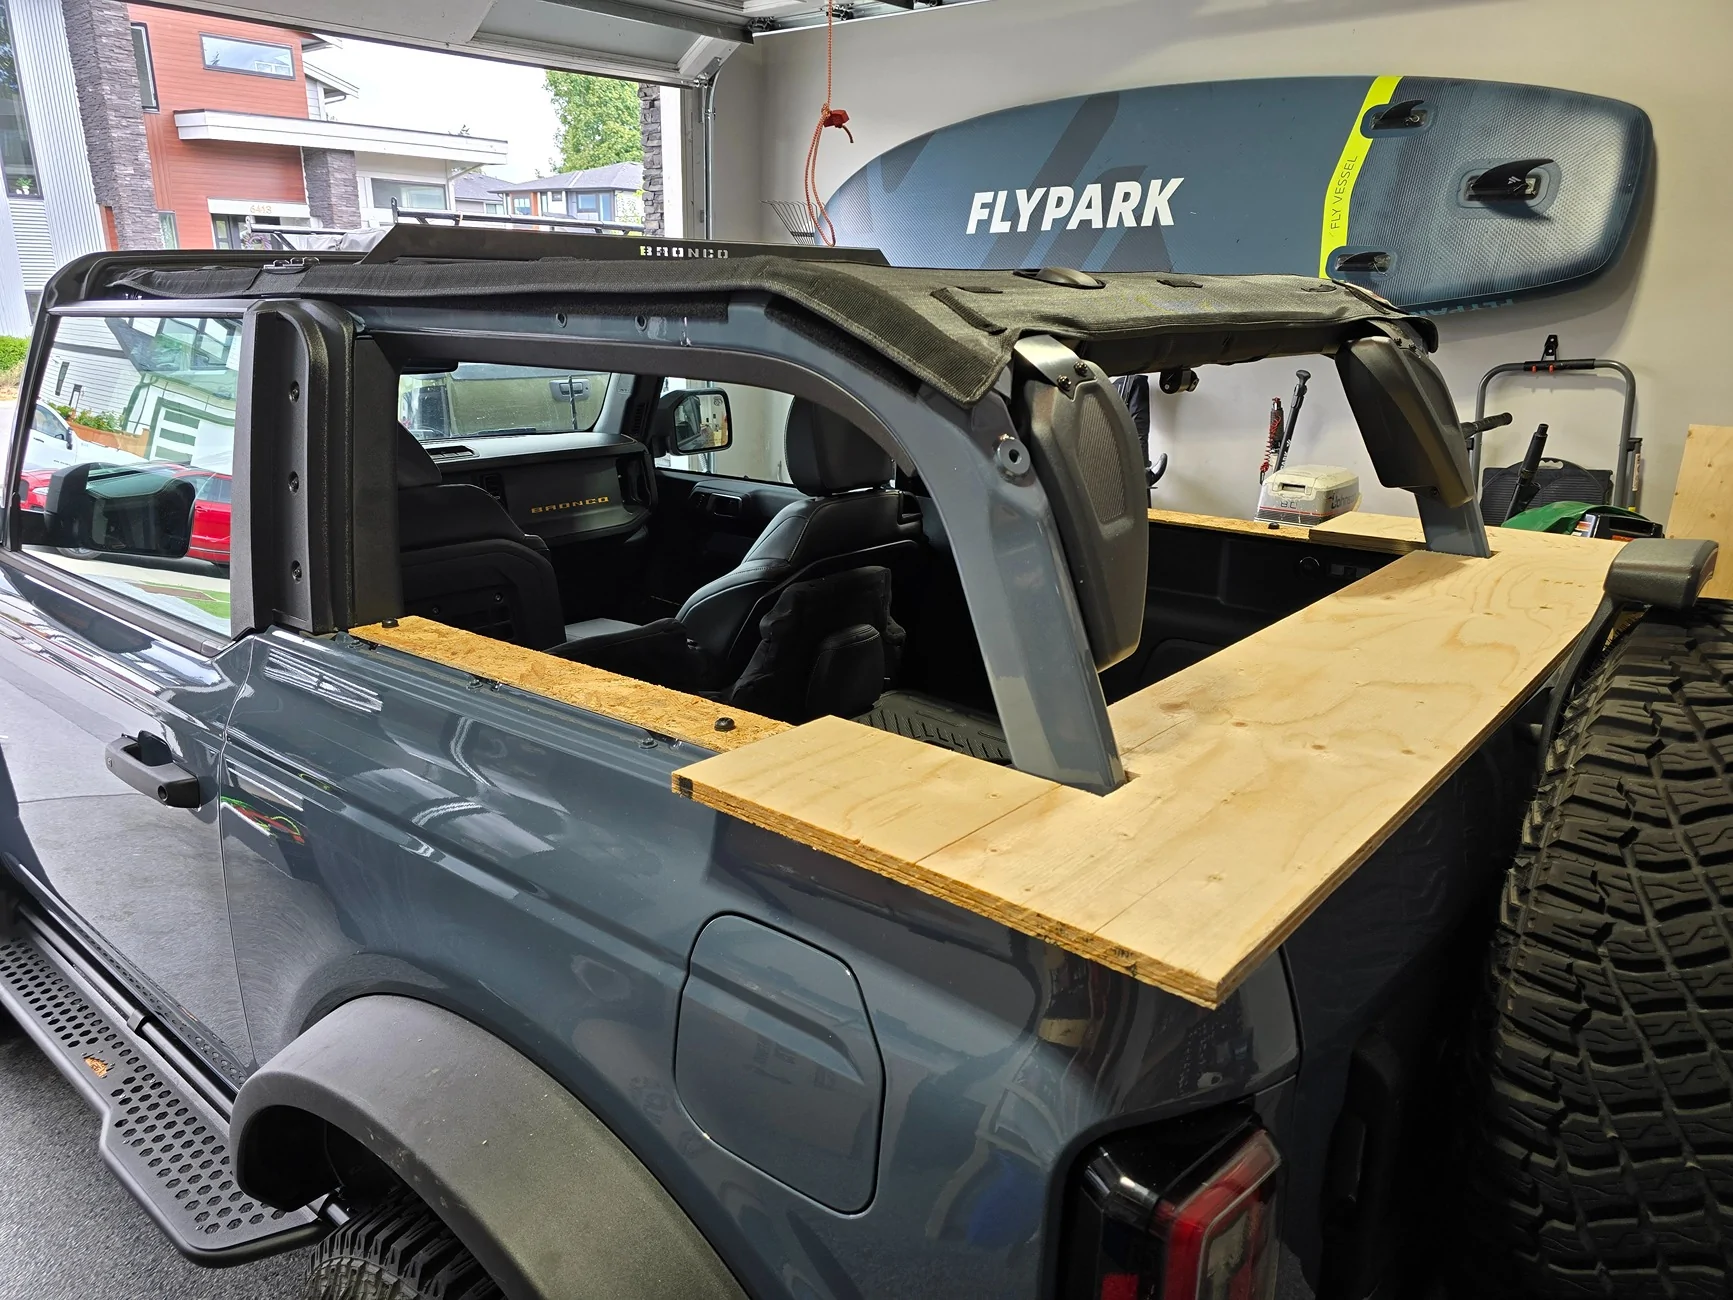
Started off making a template of the rear piece out of cardboard (not shown) then put that on a piece of plywood that was 63" x 48" to trace and cut.

Realized that there was some weatherstrip and such in the way so I cut two strips of 1/4 inch plywood to raise the cover above that. Also made it easy to locate the bolt holes on easy to manage small pieces.
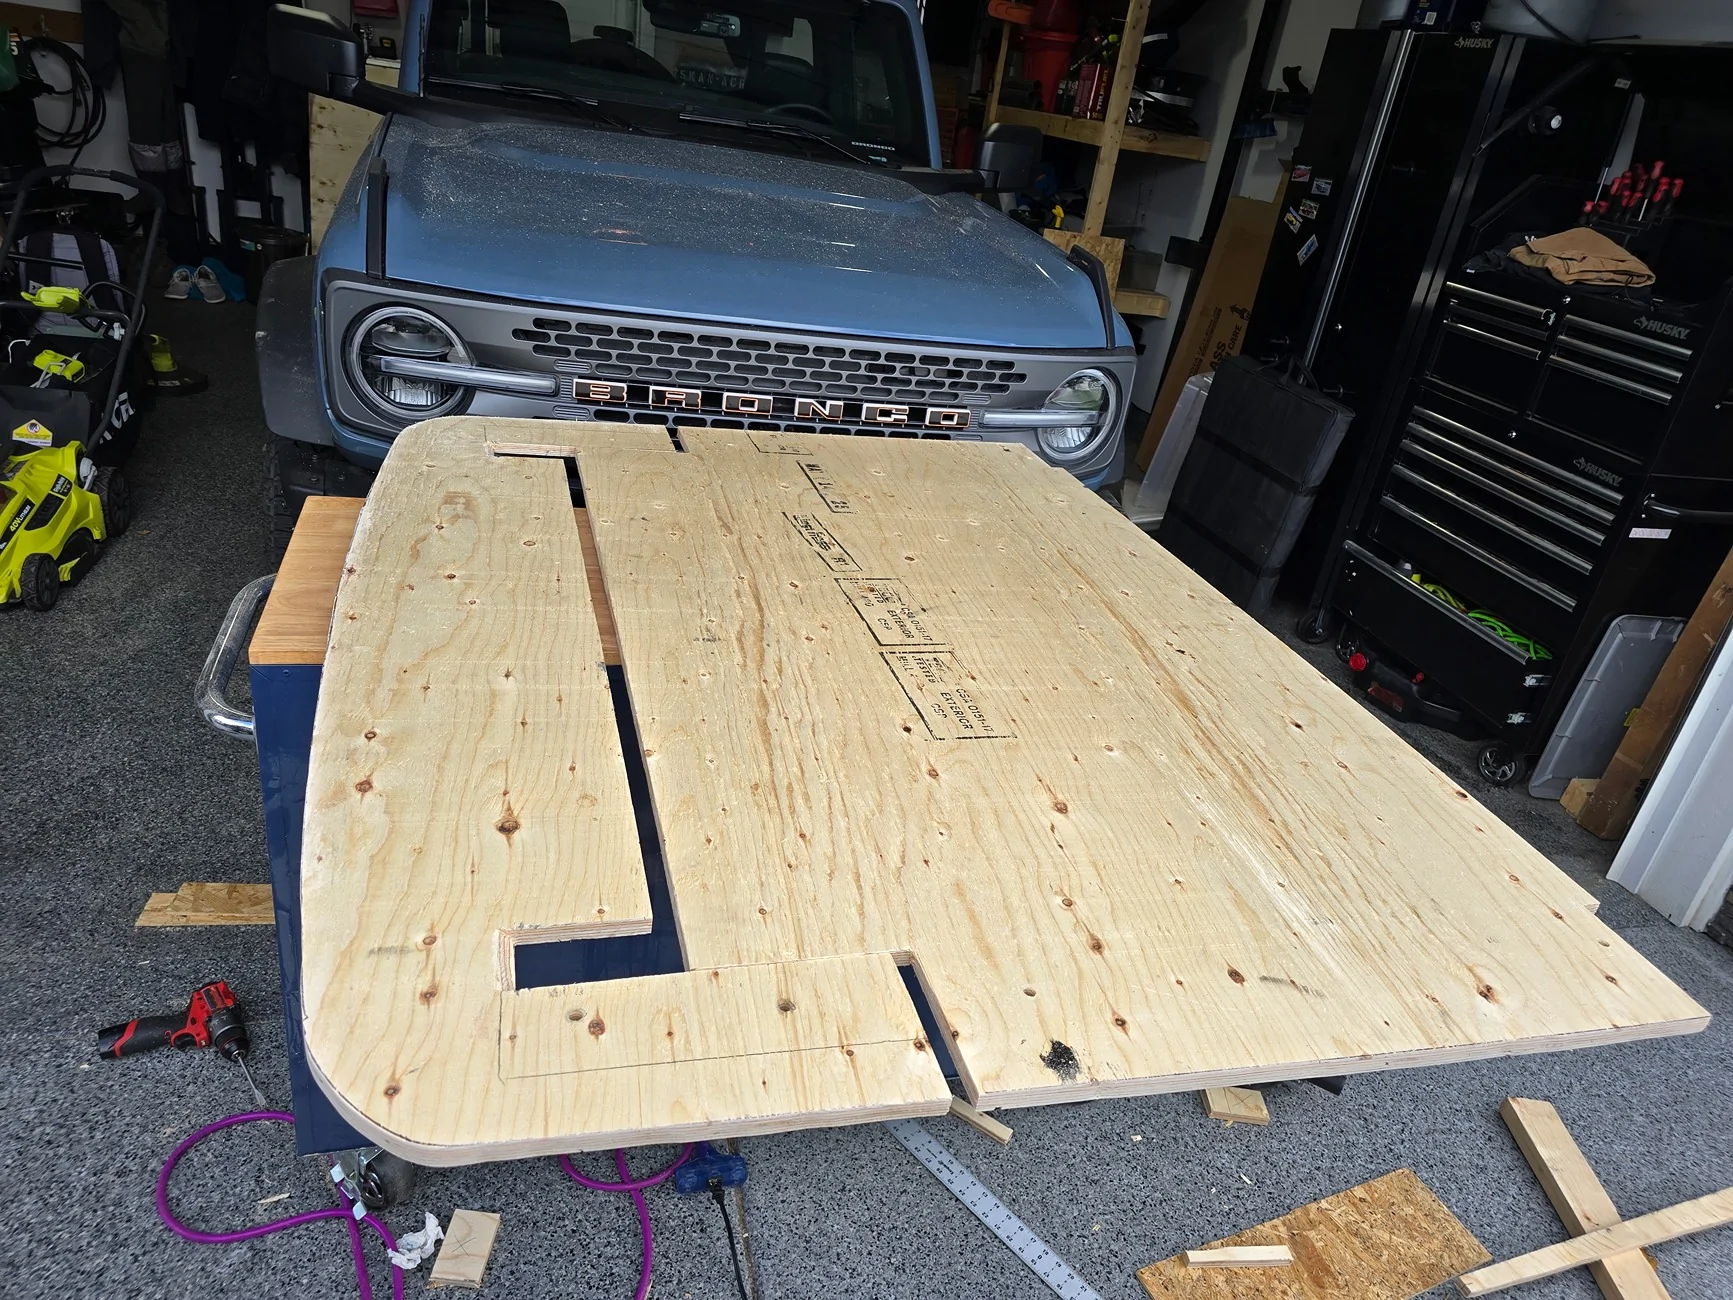
The leftover piece was the rear of my cover, just had to cut out the pieces around the roll cage and a couple small relief cuts around the plastics behind the door.
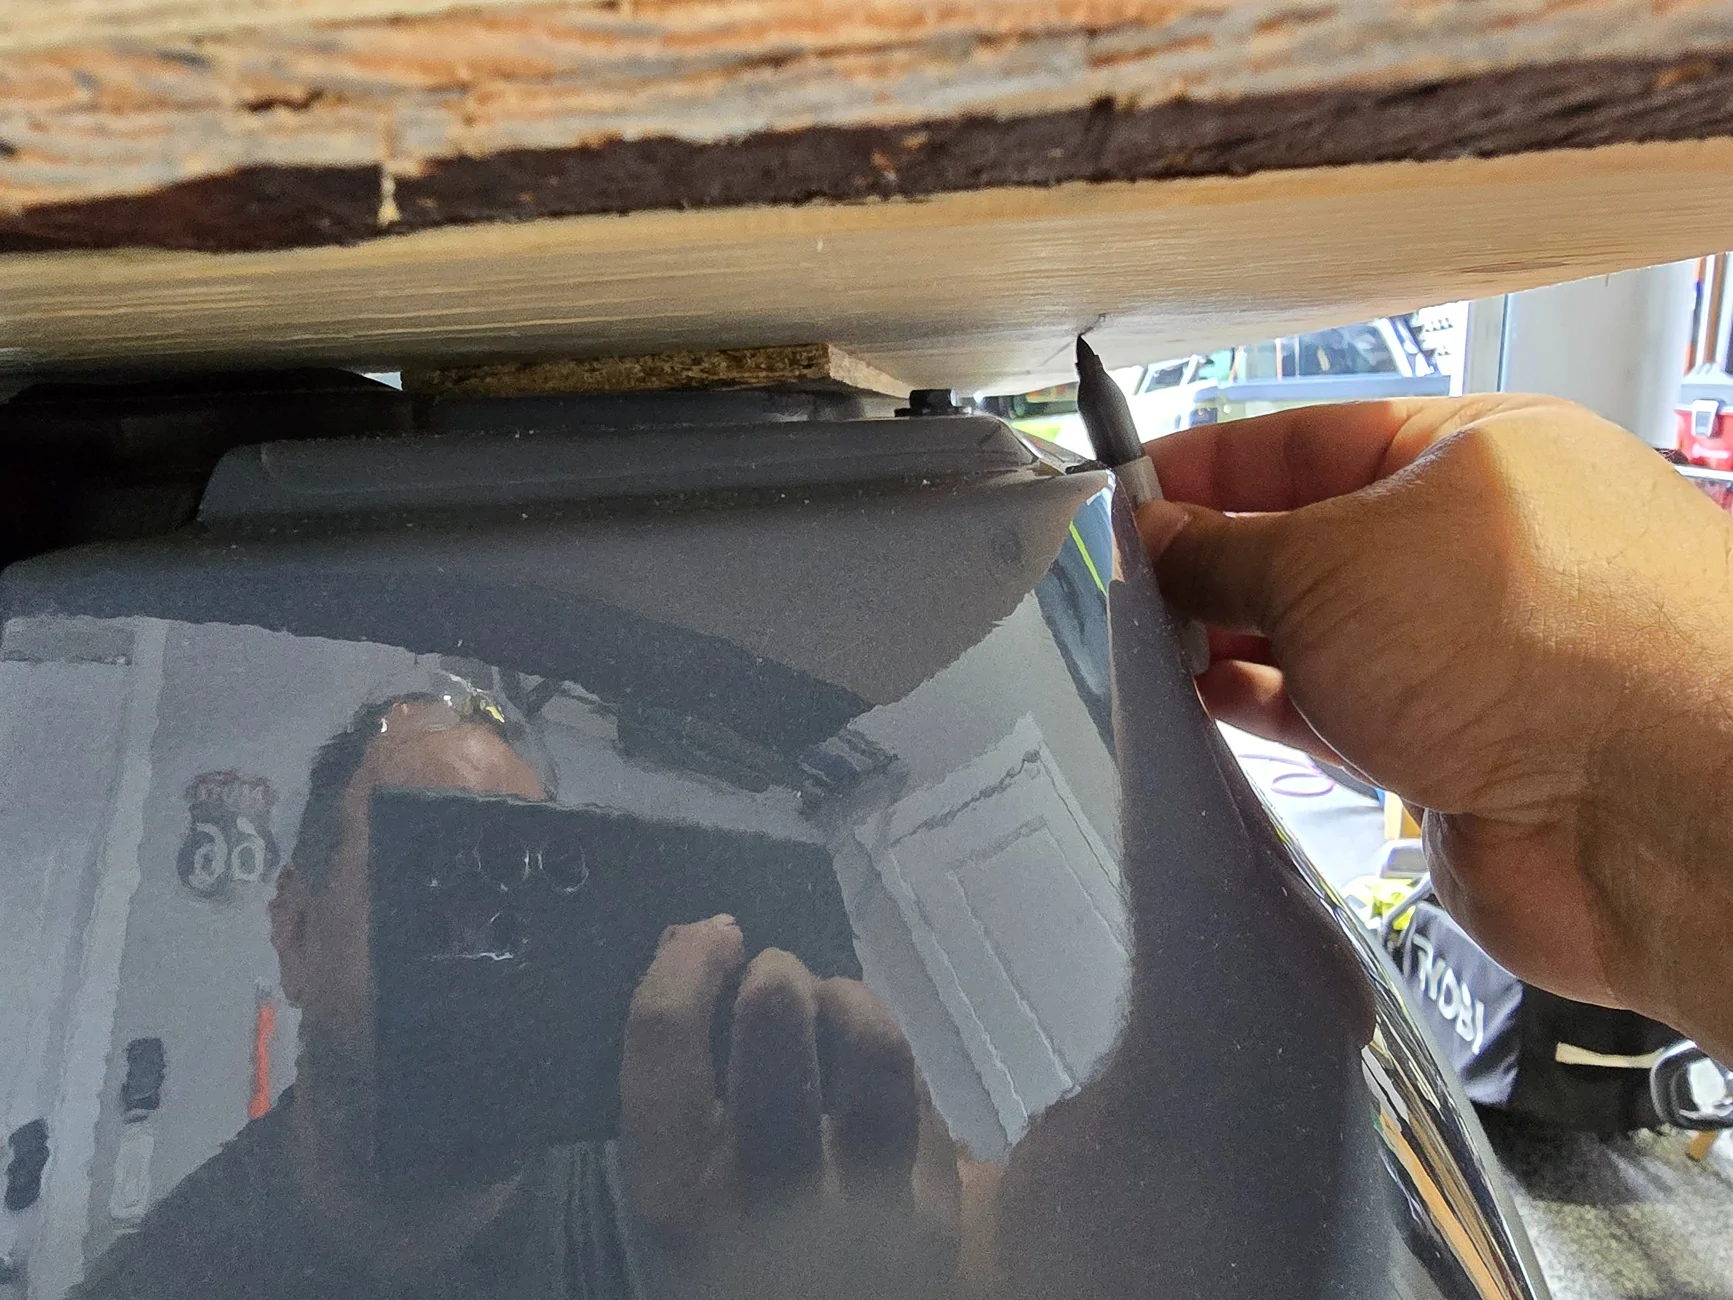
Then I traced the body lines on the underside of the plywood using a miniature sharpie
Then cut it slightly large with a small circular saw and jigsaw then sanded down to my lines.
Because it was all cut out of the same piece, it fit together perfectly (a little too perfect, I ended up having to sand the cut edges a bit to make room for the fabric later)
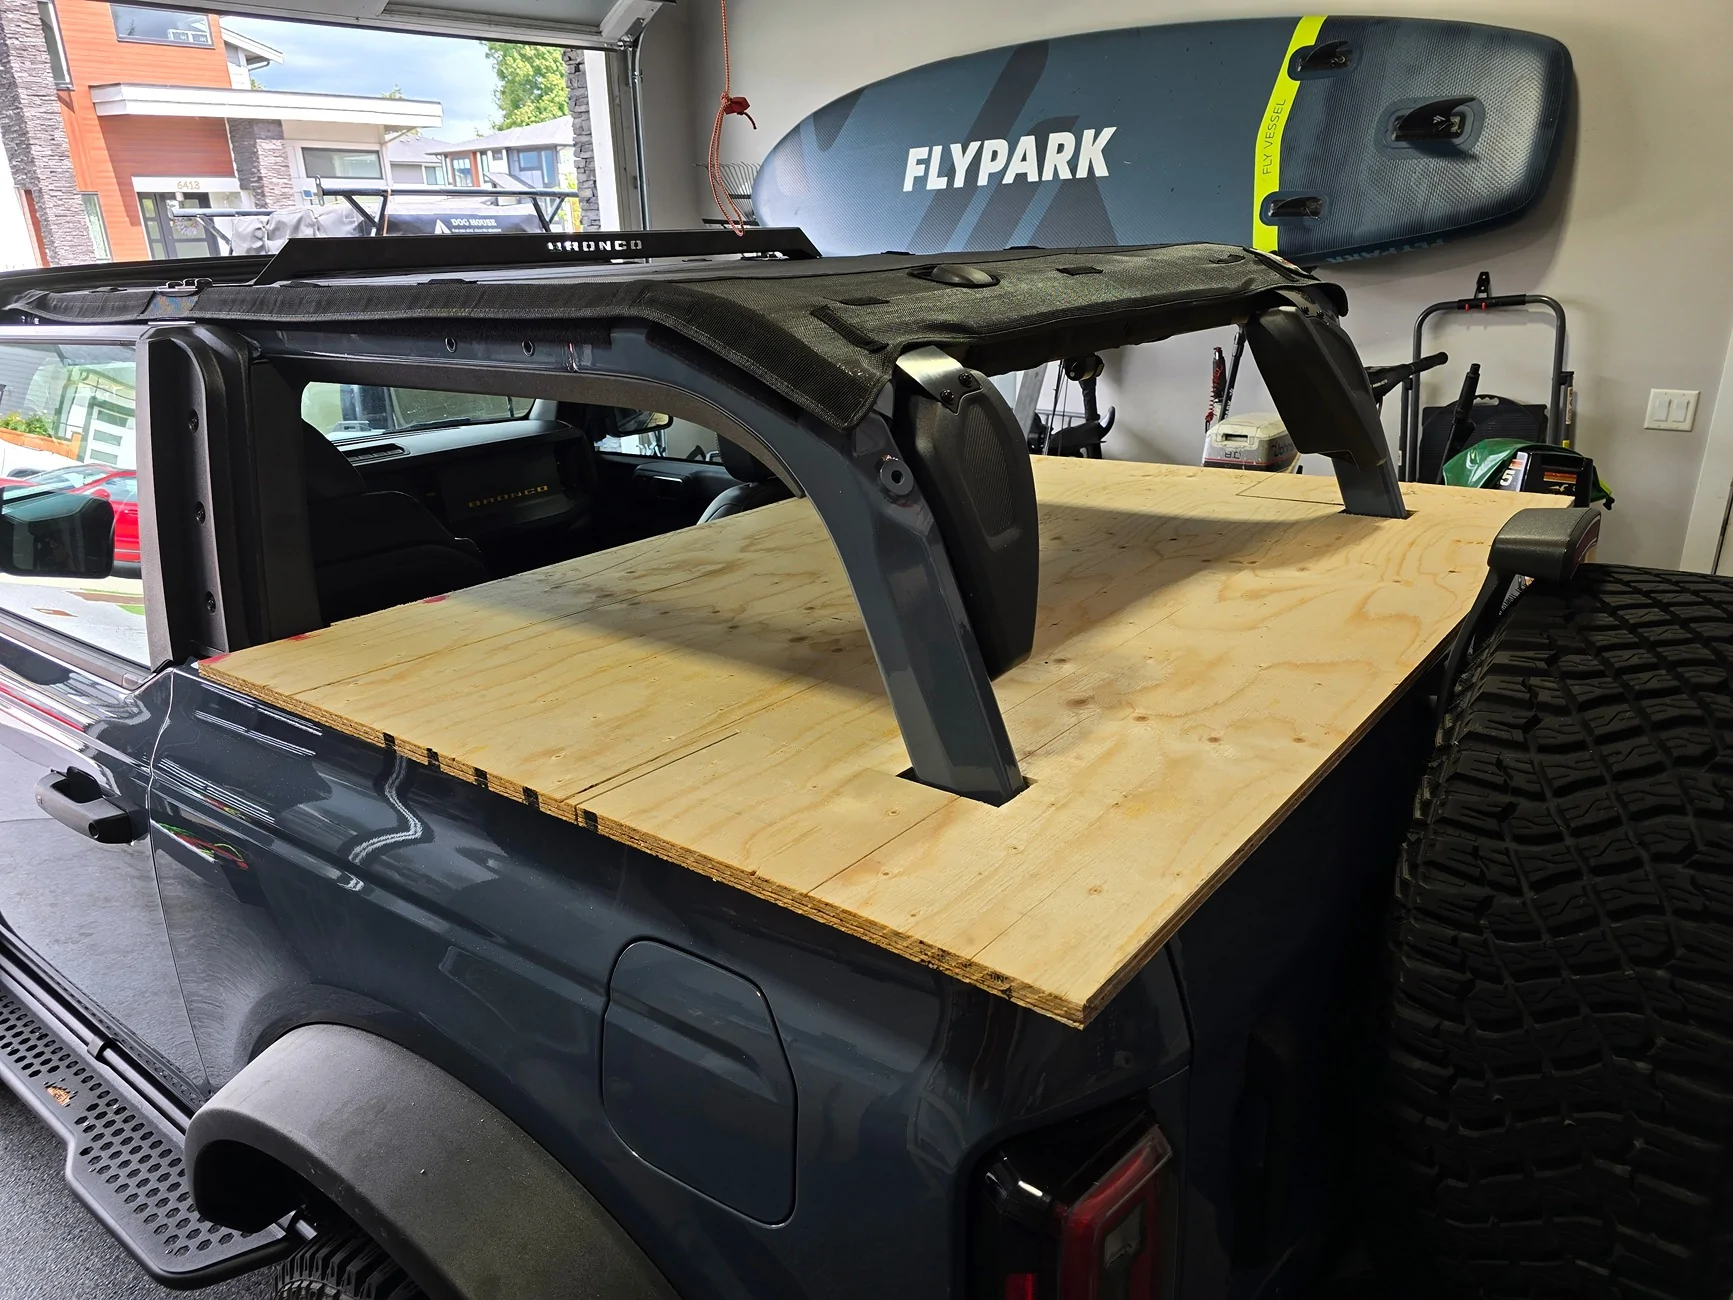
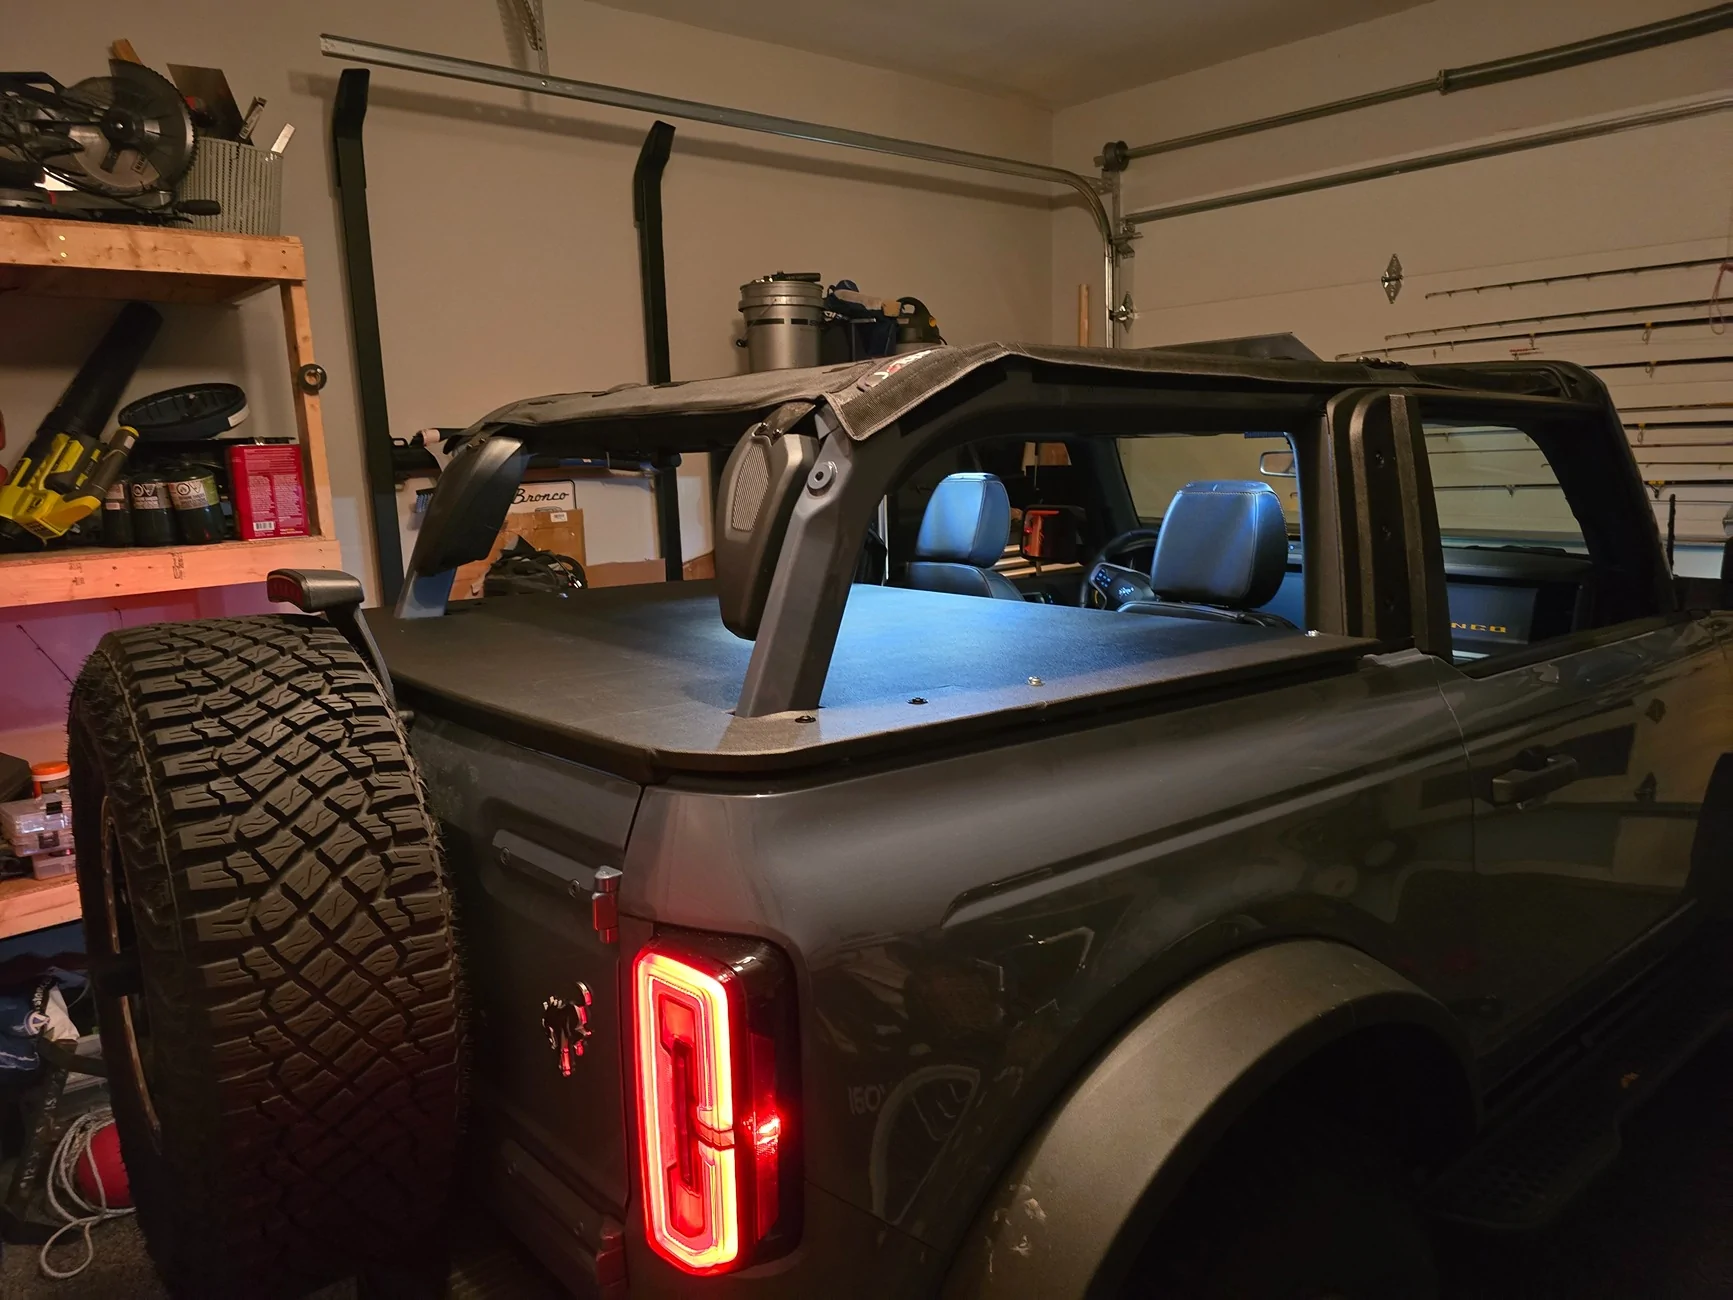
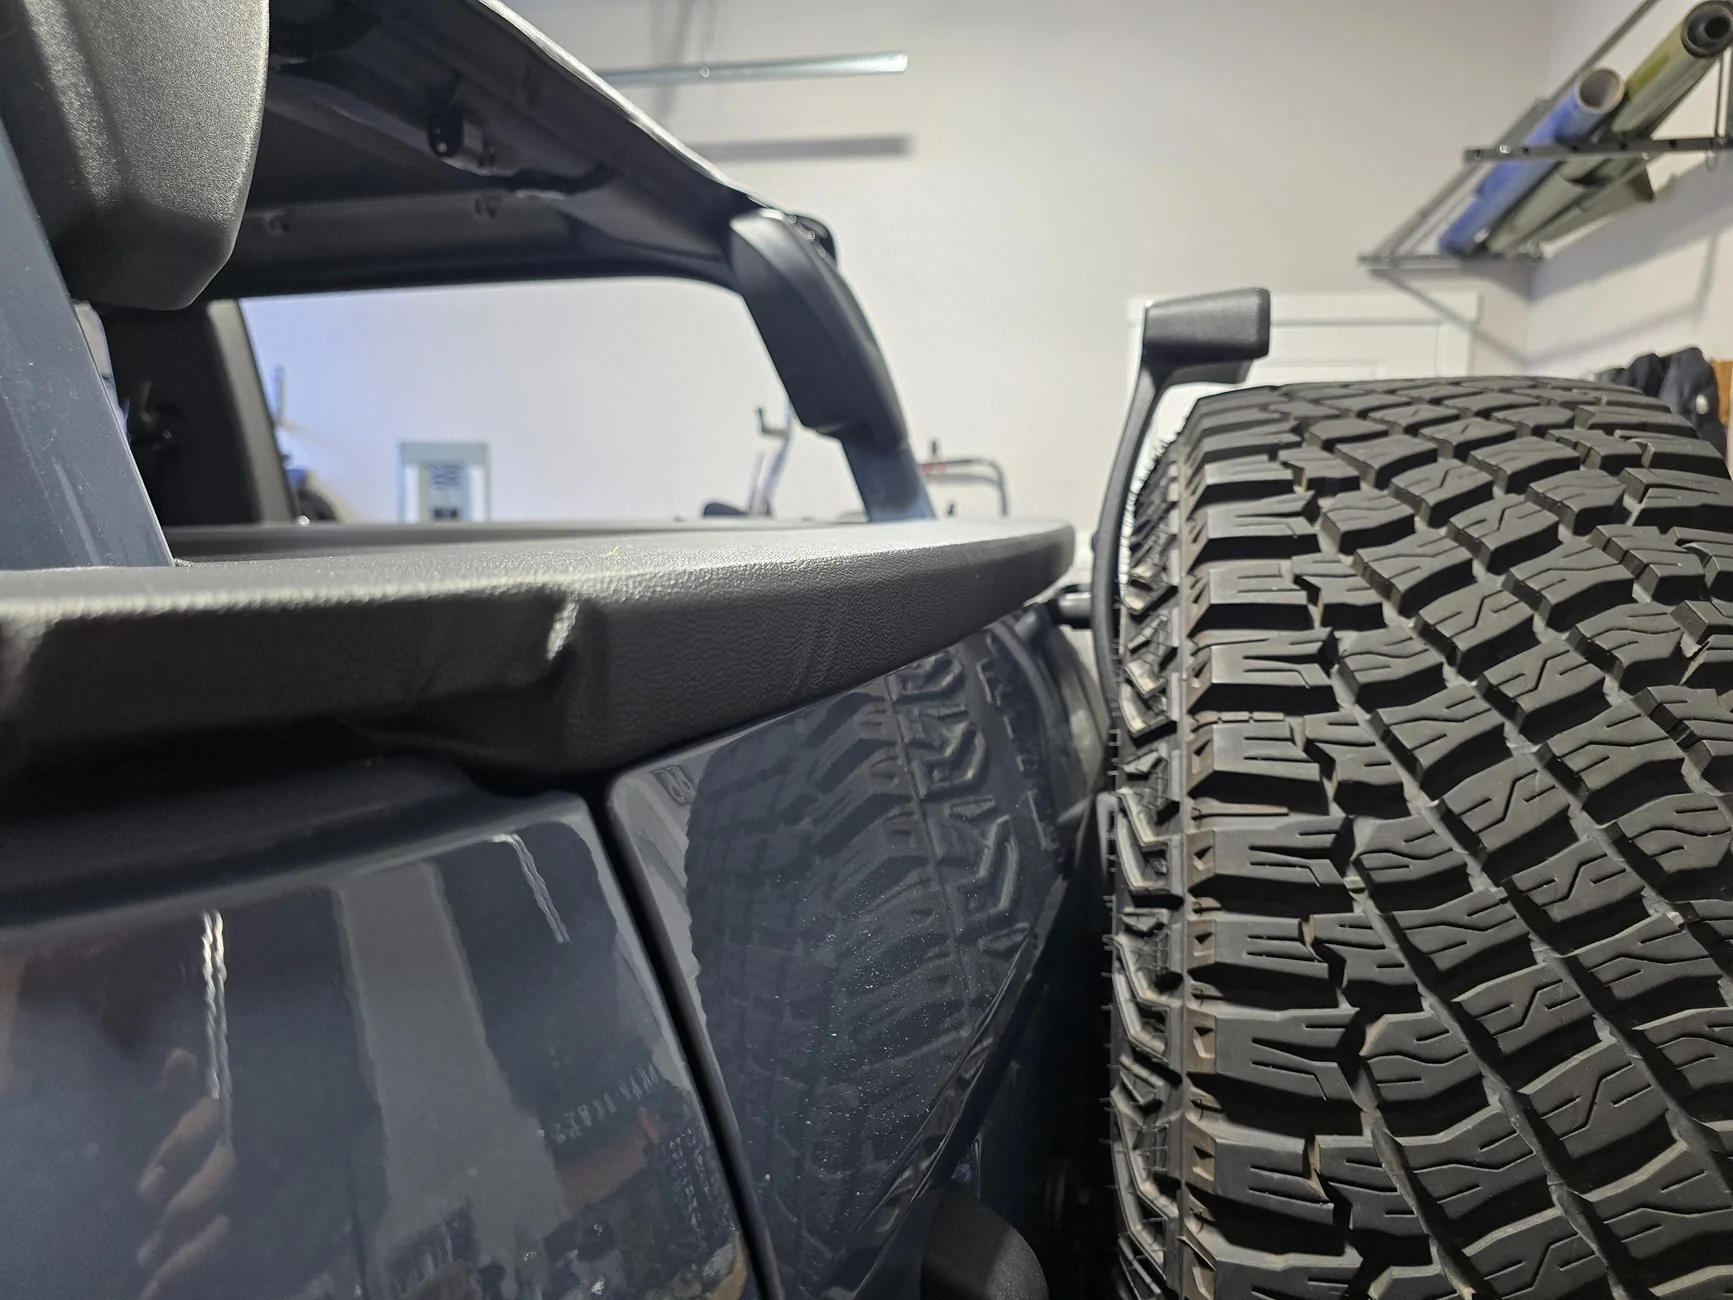
Then I cut some small wedges to make the cover tighter to the roll cage and added a second layer of plywood under the rear curve (trimmed /sanded after it was glued instead of trying to cut that curve again) to fill the large gap there. Unfortunately I ended up sanding too much to get them to match and left a small gap. I got some leftover foam flooring from a boat project and stuck it over the rear curve. Worked great to cover the gap, give me a uniform curve, hide the seam between the plywood pieces and gave me a clean bevel.
Then just stapled some vinyl over the two pieces (j/k, I suck at upholstery, it was a way more of a pain than it sounds. So its not beautiful but it works. I may have it done by a pro next year)
Overall I'm happy with how it came out. I got some 2" bolts to secure it to the factory locations for the top (M8x1.25, 50mm I think). I got black and stainless, gotta decide which finish I like better.
The shape I used I chose to get 2 bolt holes in each piece and if I get a 1x12" board I can make a second piece to sit on top of the rear cover that will also fit when the back seats are up. That's for another day.
Took most of a 4x8 sheet of 3/4 inch plywood, about a 4' x 1' scrap of 1/4 inch plywood, some scrap foam and two sections of 54" x 72" vinyl. Tools were a circular saw, jig saw, drill, belt sander, palm sander and an electric stapler.
Total cost was around $200

Sponsored
