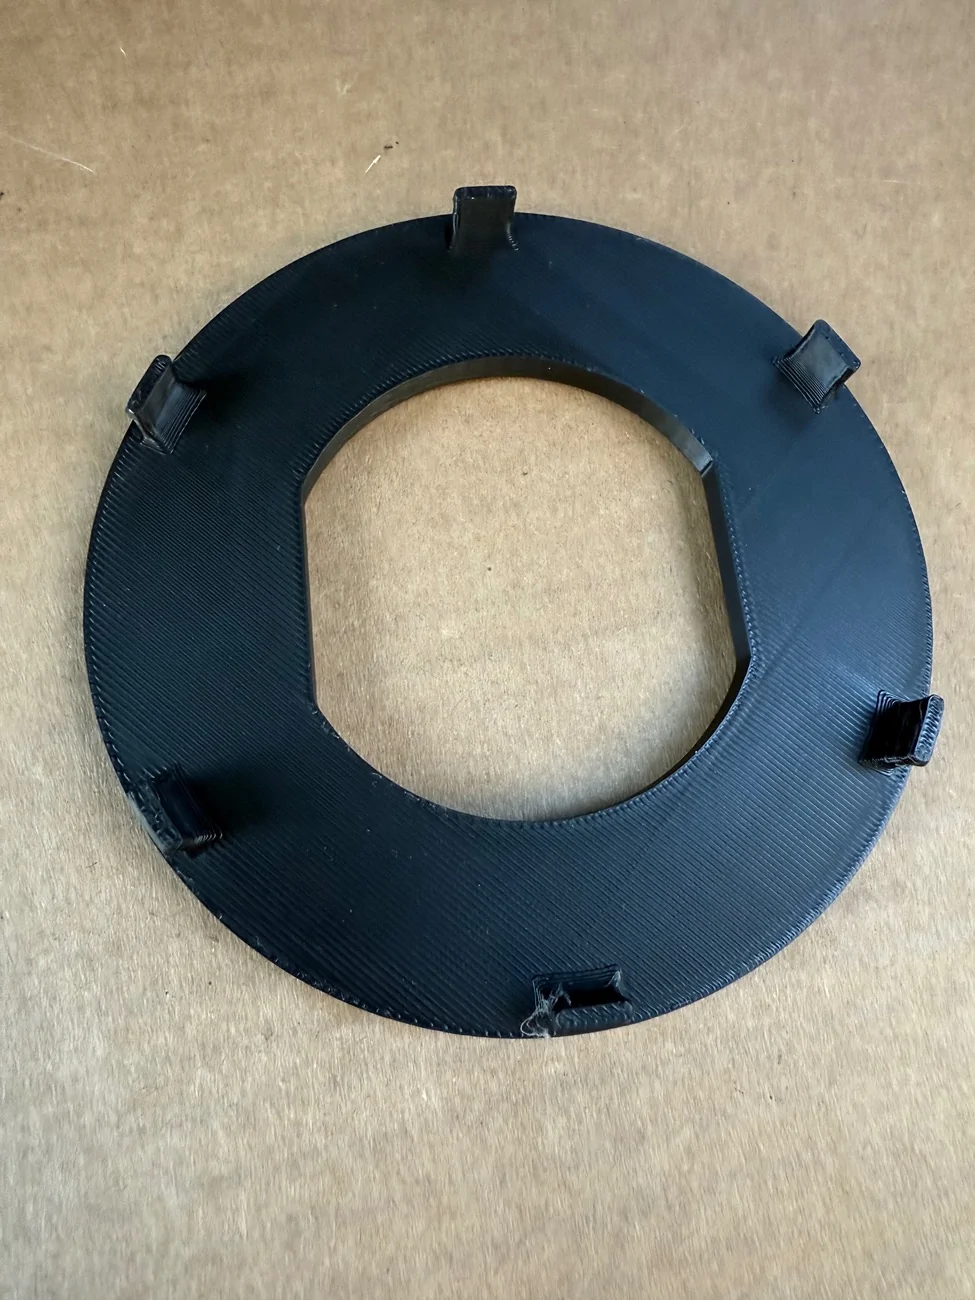
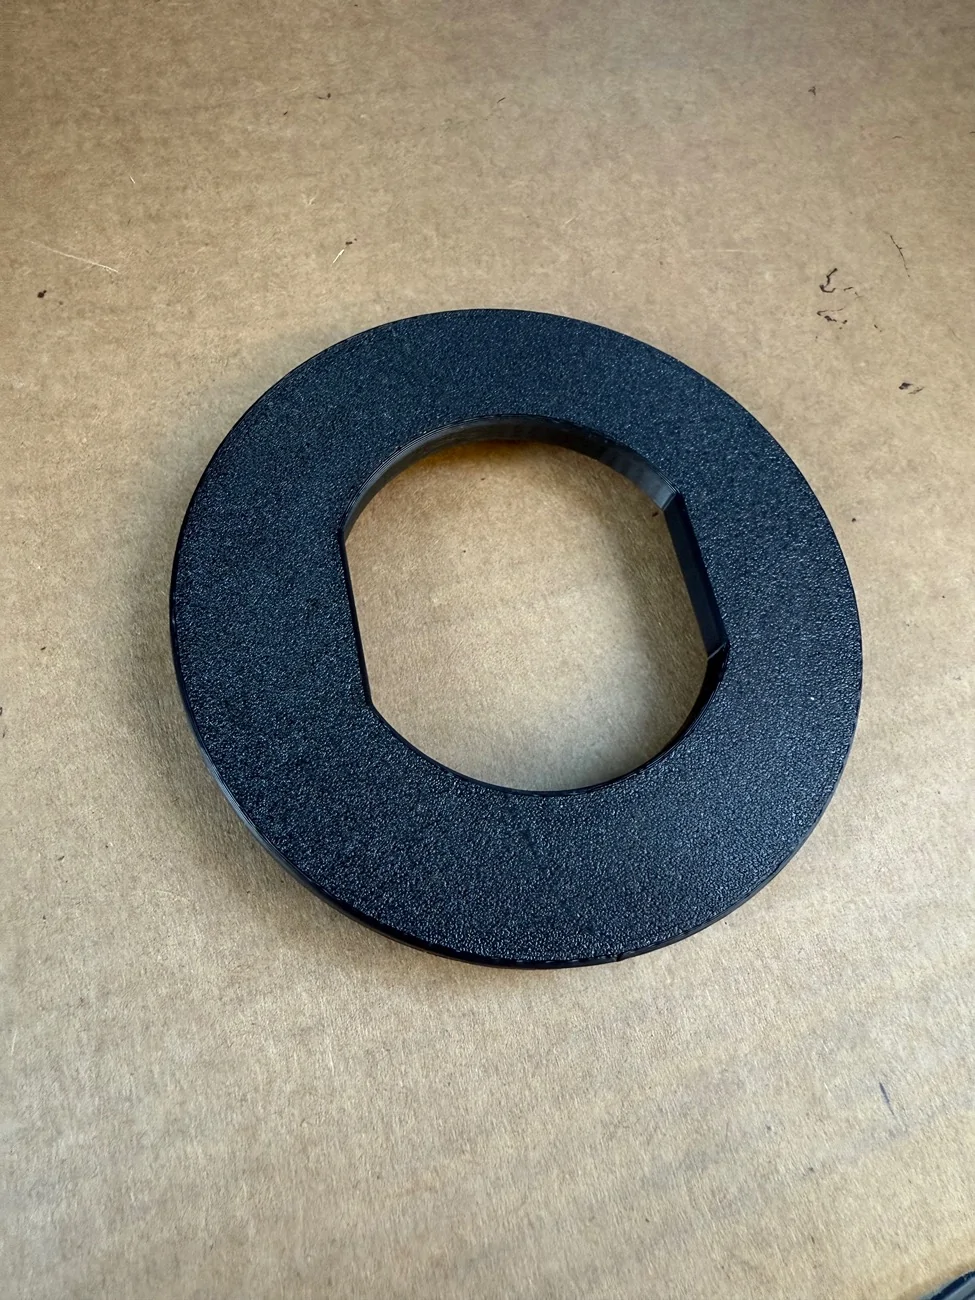
Nice! how do you handle warping? feels like whatever I do like 50-52C chamber temp, glue stick...nothing helps and some level of warping is always there.Ha yes they are you can see why I split up the top row, hope they print well for you! I did mine on a P1S so I doubt the X1C will have any issues
Sponsored