- Thread starter
- #1
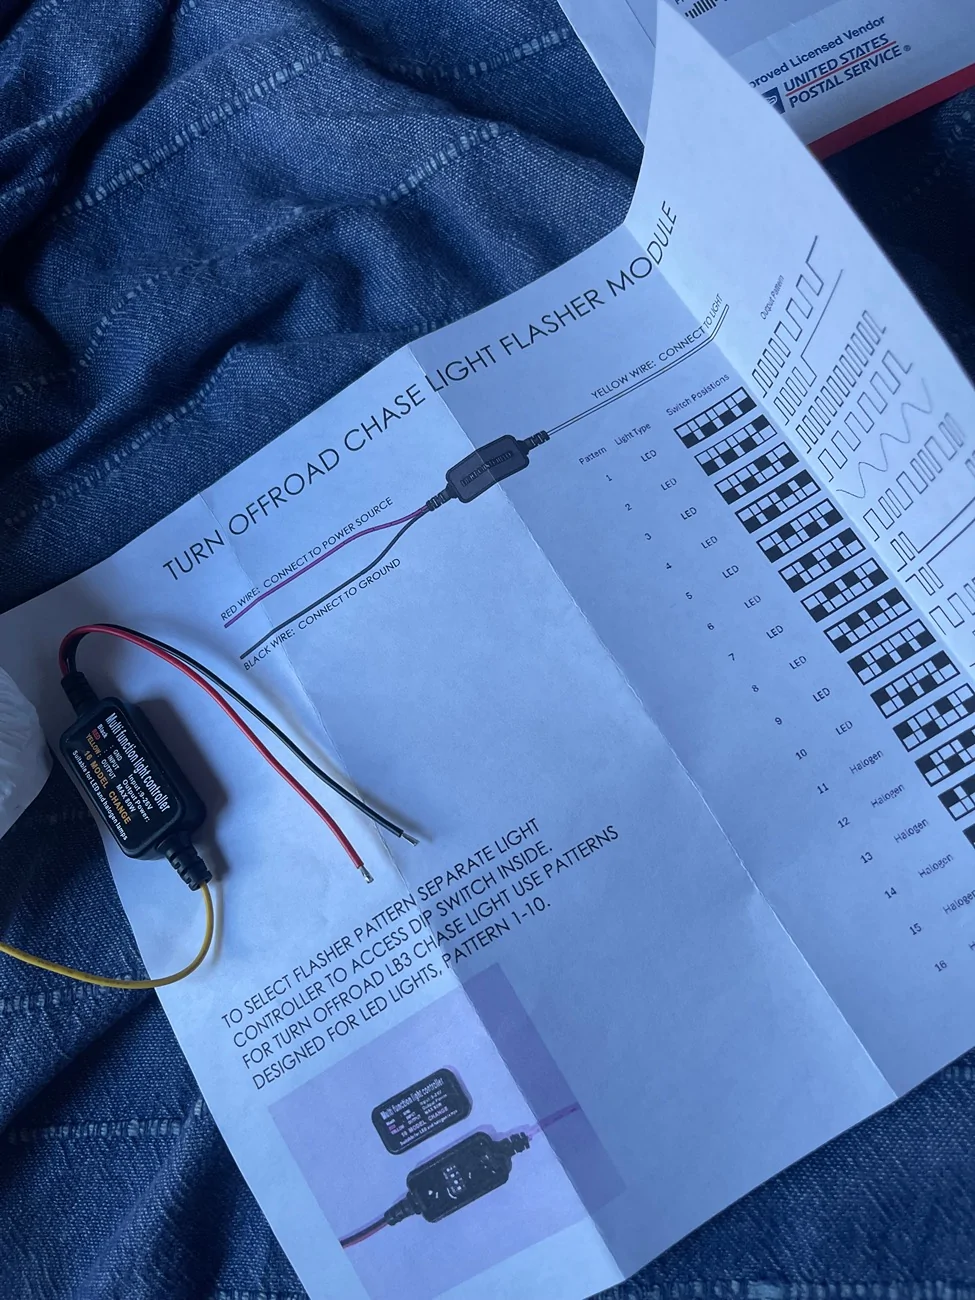
This is gonna be a general walkthrough on the install and concerns with the Turn off-road third brake/chase light combo.
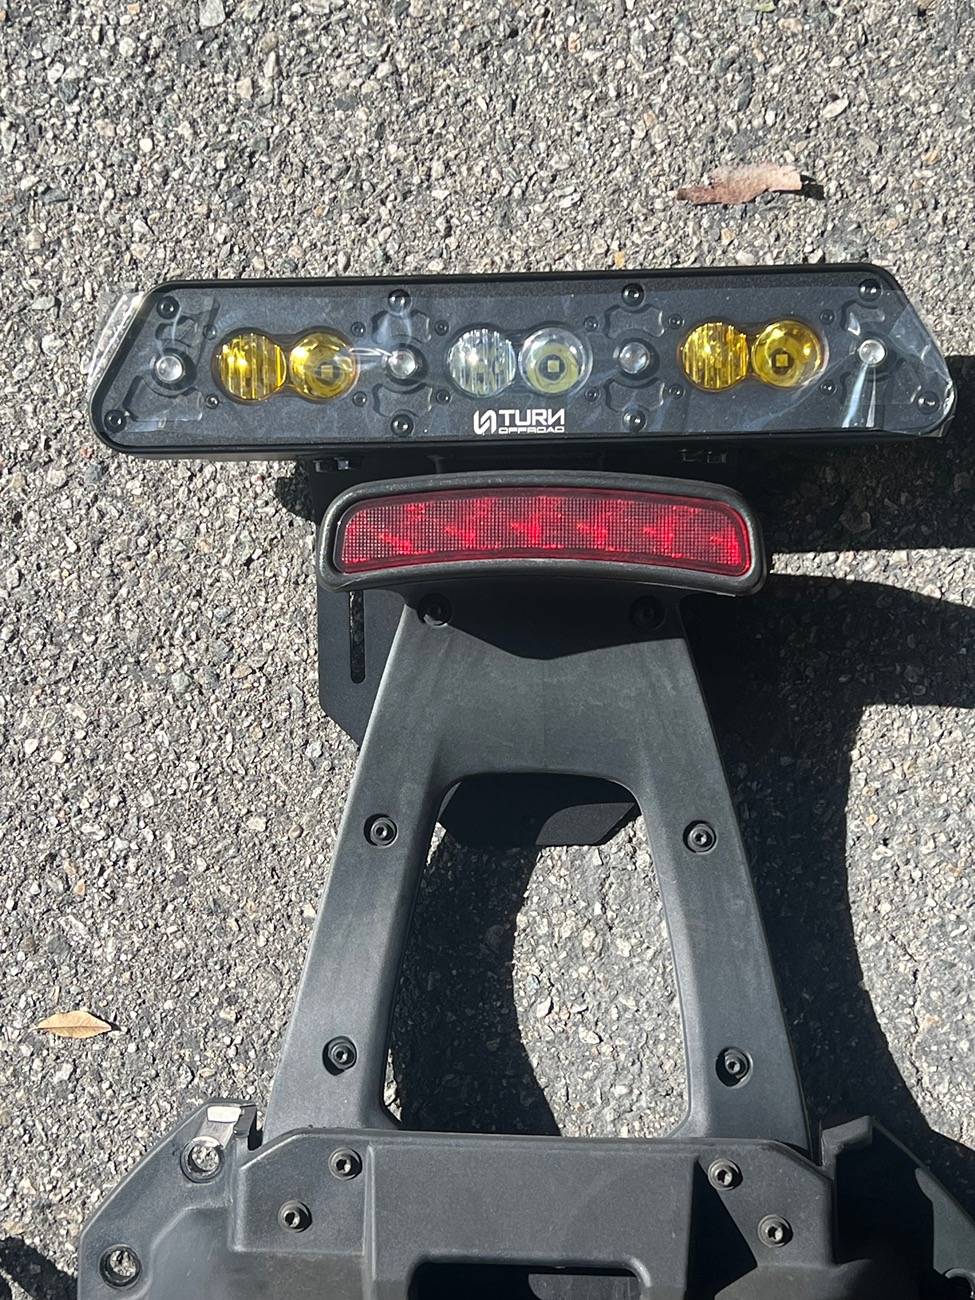
First is the size comparison of the OEM brake light (non raptor).

The tools needed to complete the basics of the install are
•10mm socket
•1/2in socket
•4mm Allen wrench
•Ford torx wrench
•T25 torx wrench
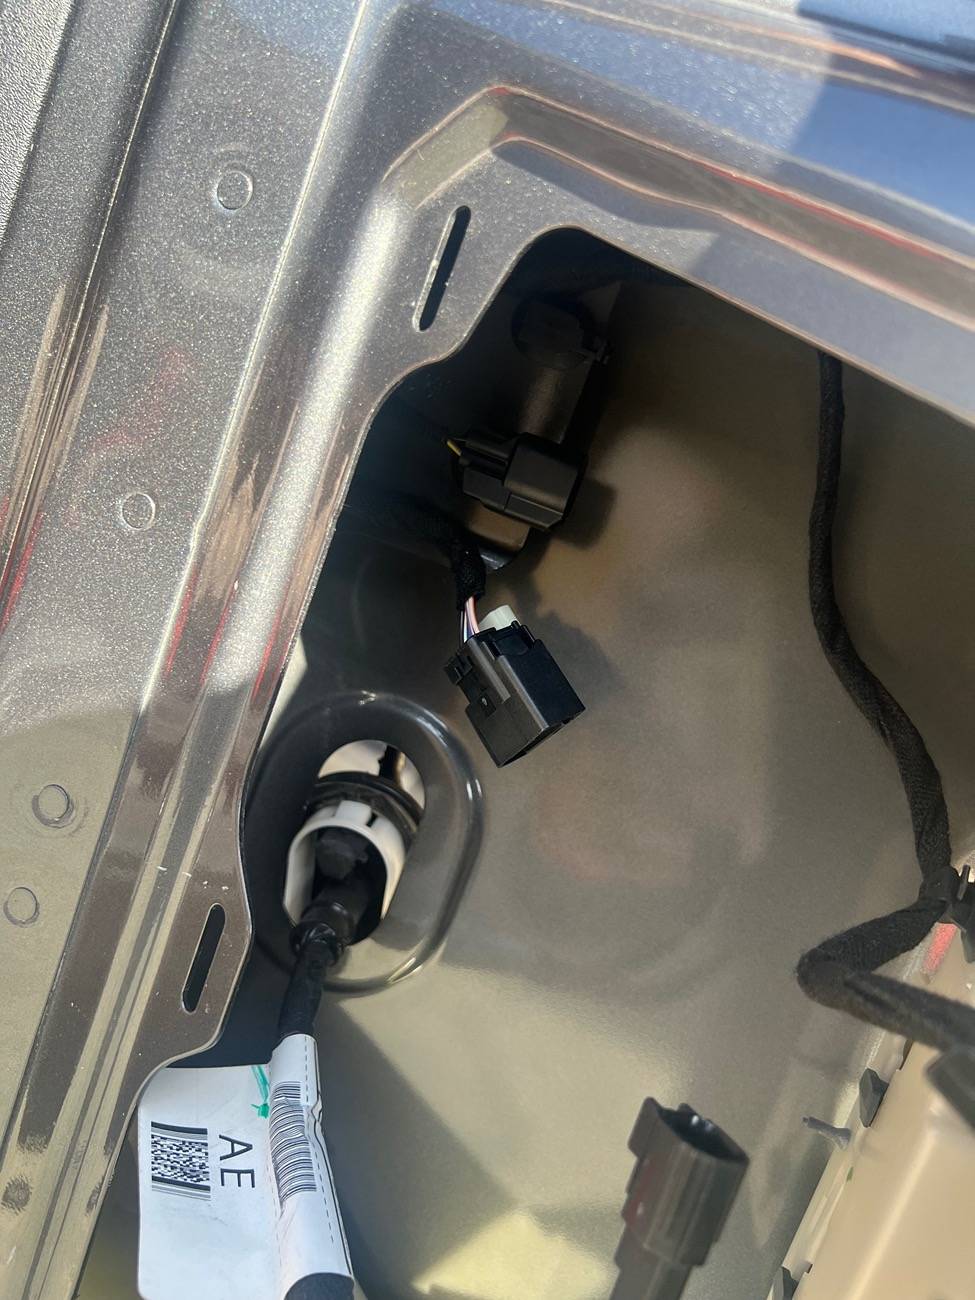
Start by removing the access panel on inside of the tailgate and unplug the wires for the brake light and rear view camera. Squeeze the tabs on the plastic retainer for the rubber grommet and push out.
Remove the spare tire. Then remove the 7 1/2in bolts holding the spare tire carrier to the vehicle. Use the Ford Torx wrench to remove the third brake light from the carrier. Now you can either cut the leading to the third brake light or use the T25 Torx to remove the 8 screws holding the assembly together and simply unplug the light.
Now you can start the assembly of the new brackets using the supplied hardware.
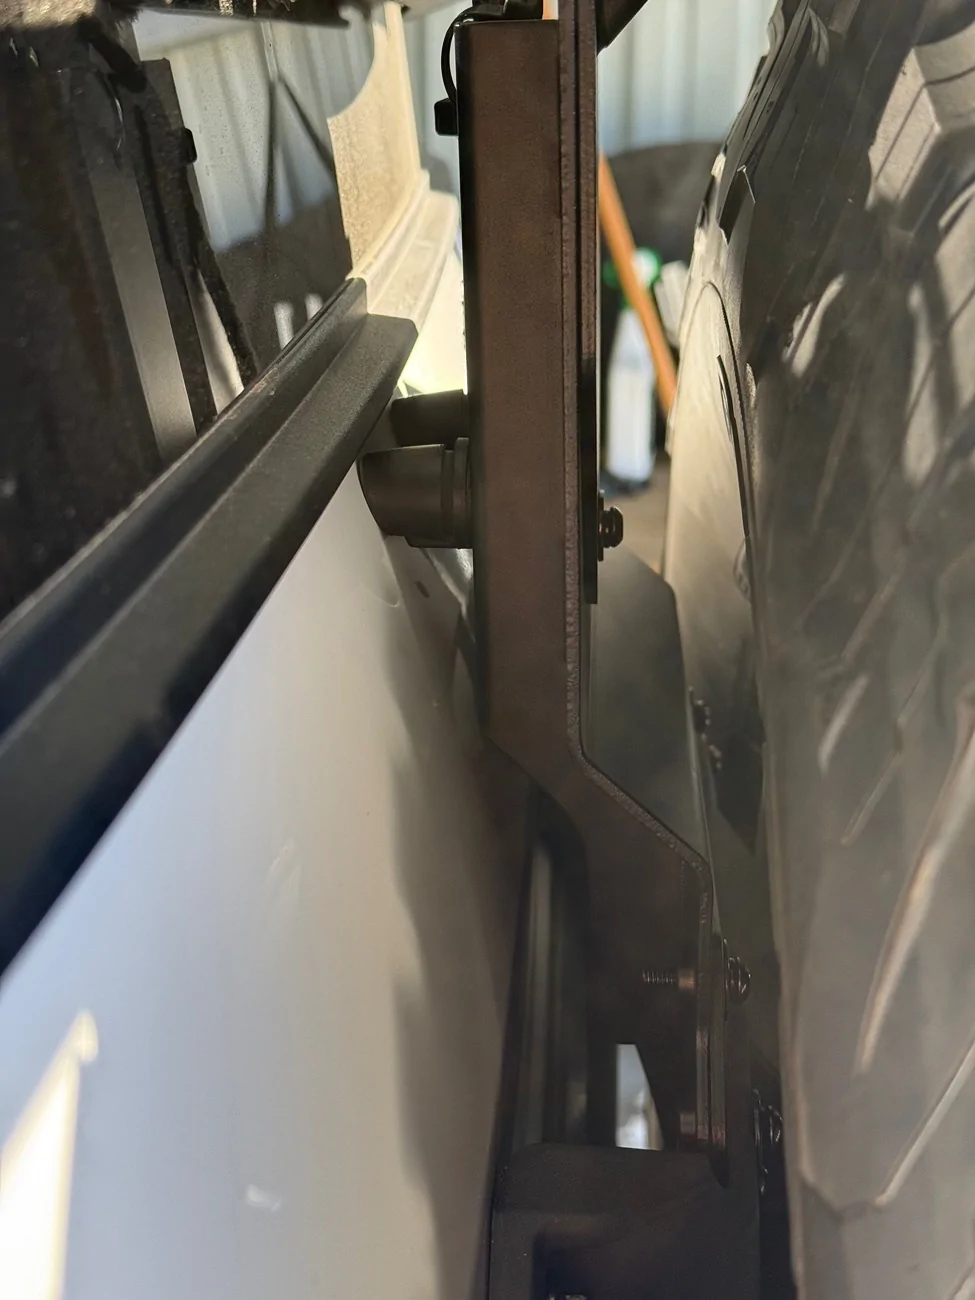
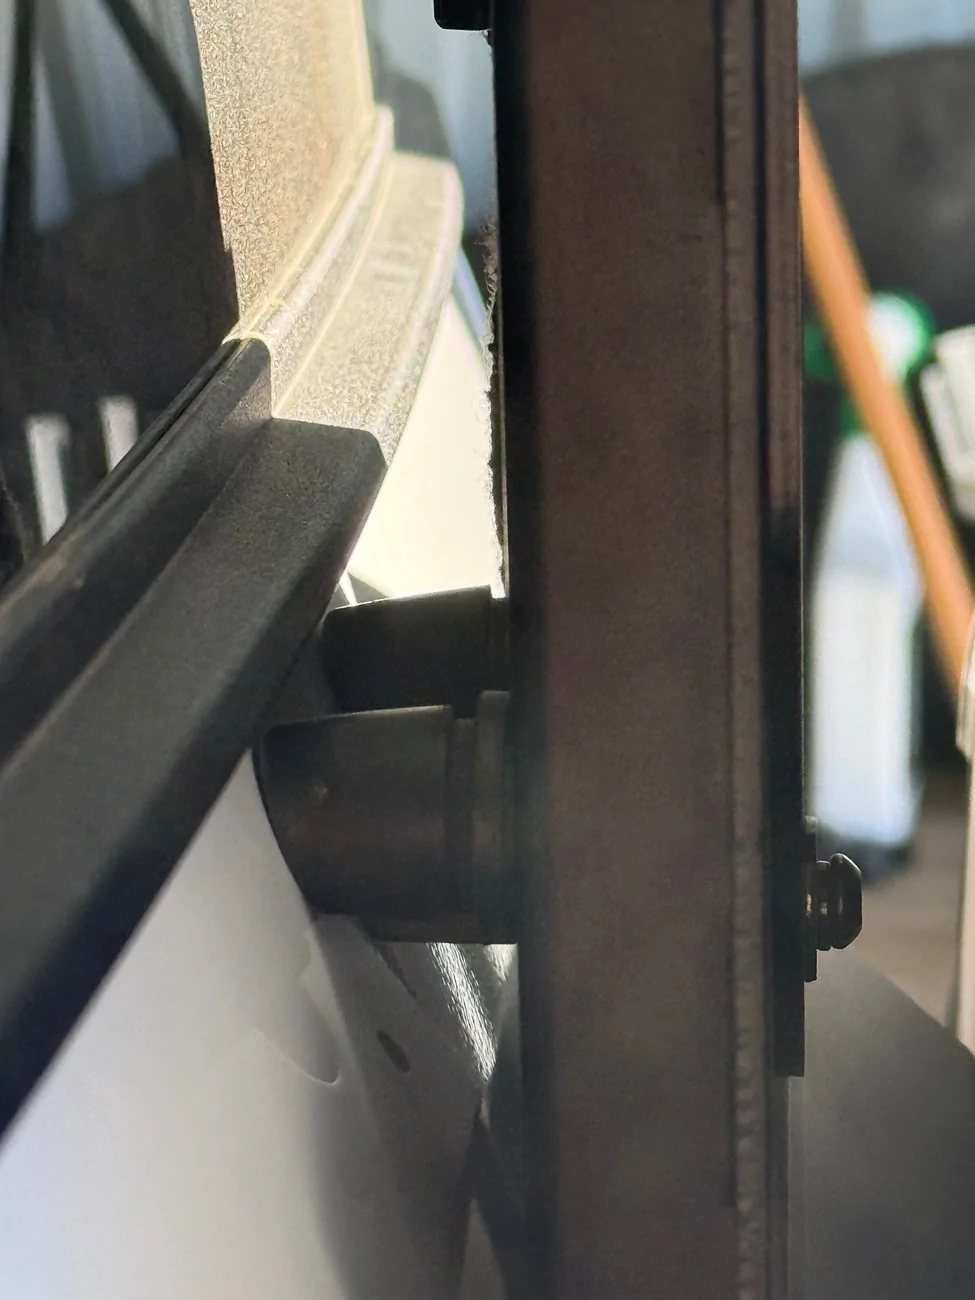
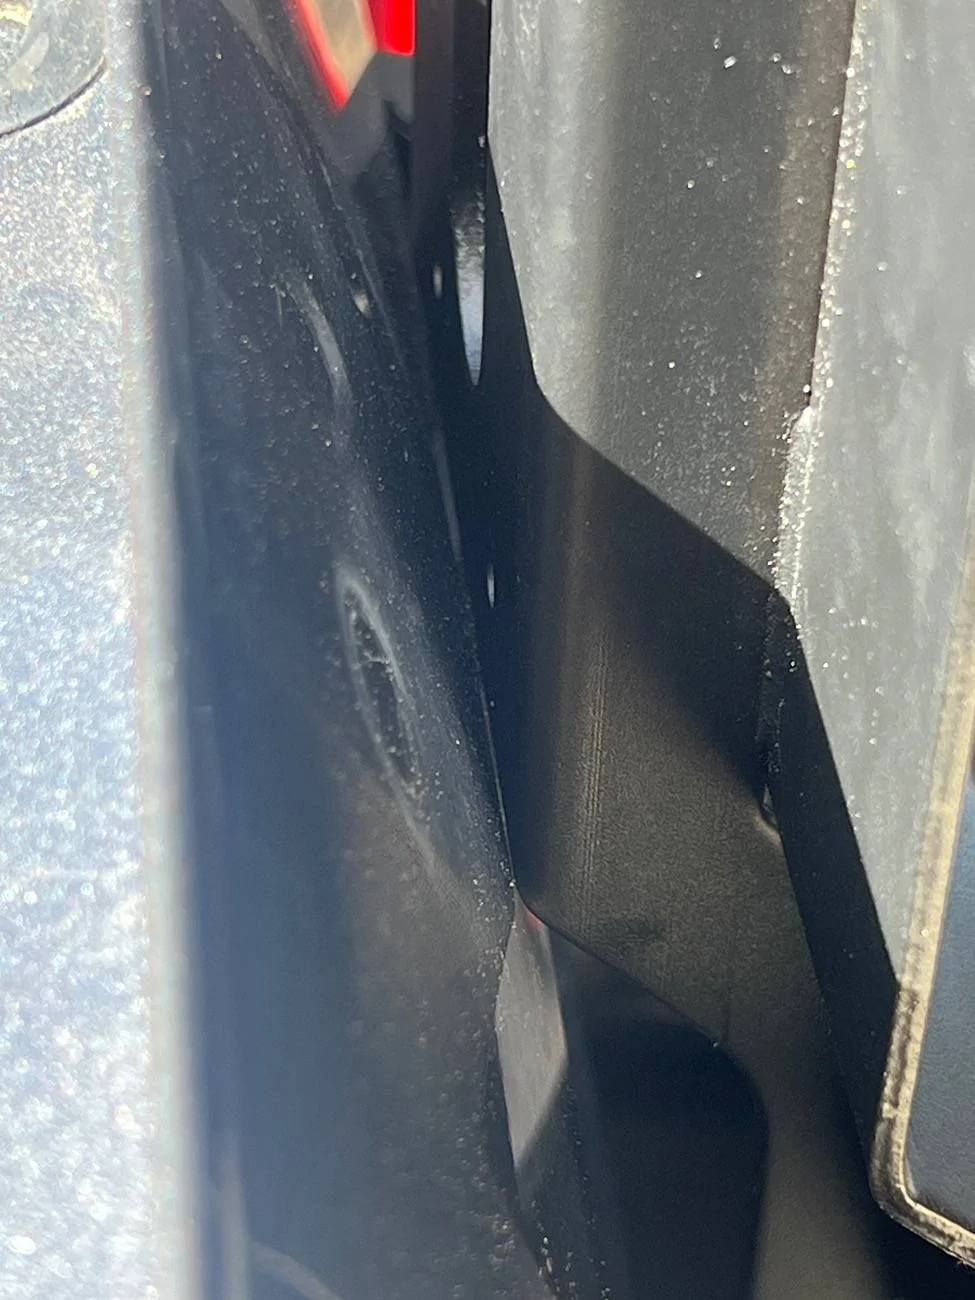
First attach the bottom bracket to the tire carrier using the 4mm Allen head bolts and 4 washers. At this point I would recommend fitting the carrier back on the vehicle. If you aren’t using a reinforcement plate that spaces the carrier from the tailgate you might want to either place some padding or shave down the bottom of the bracket to keep it from impacting the tailgate.
Even when adjusted as much as possible the bracket will still wobble and make contact with the tailgate when simply closing it.
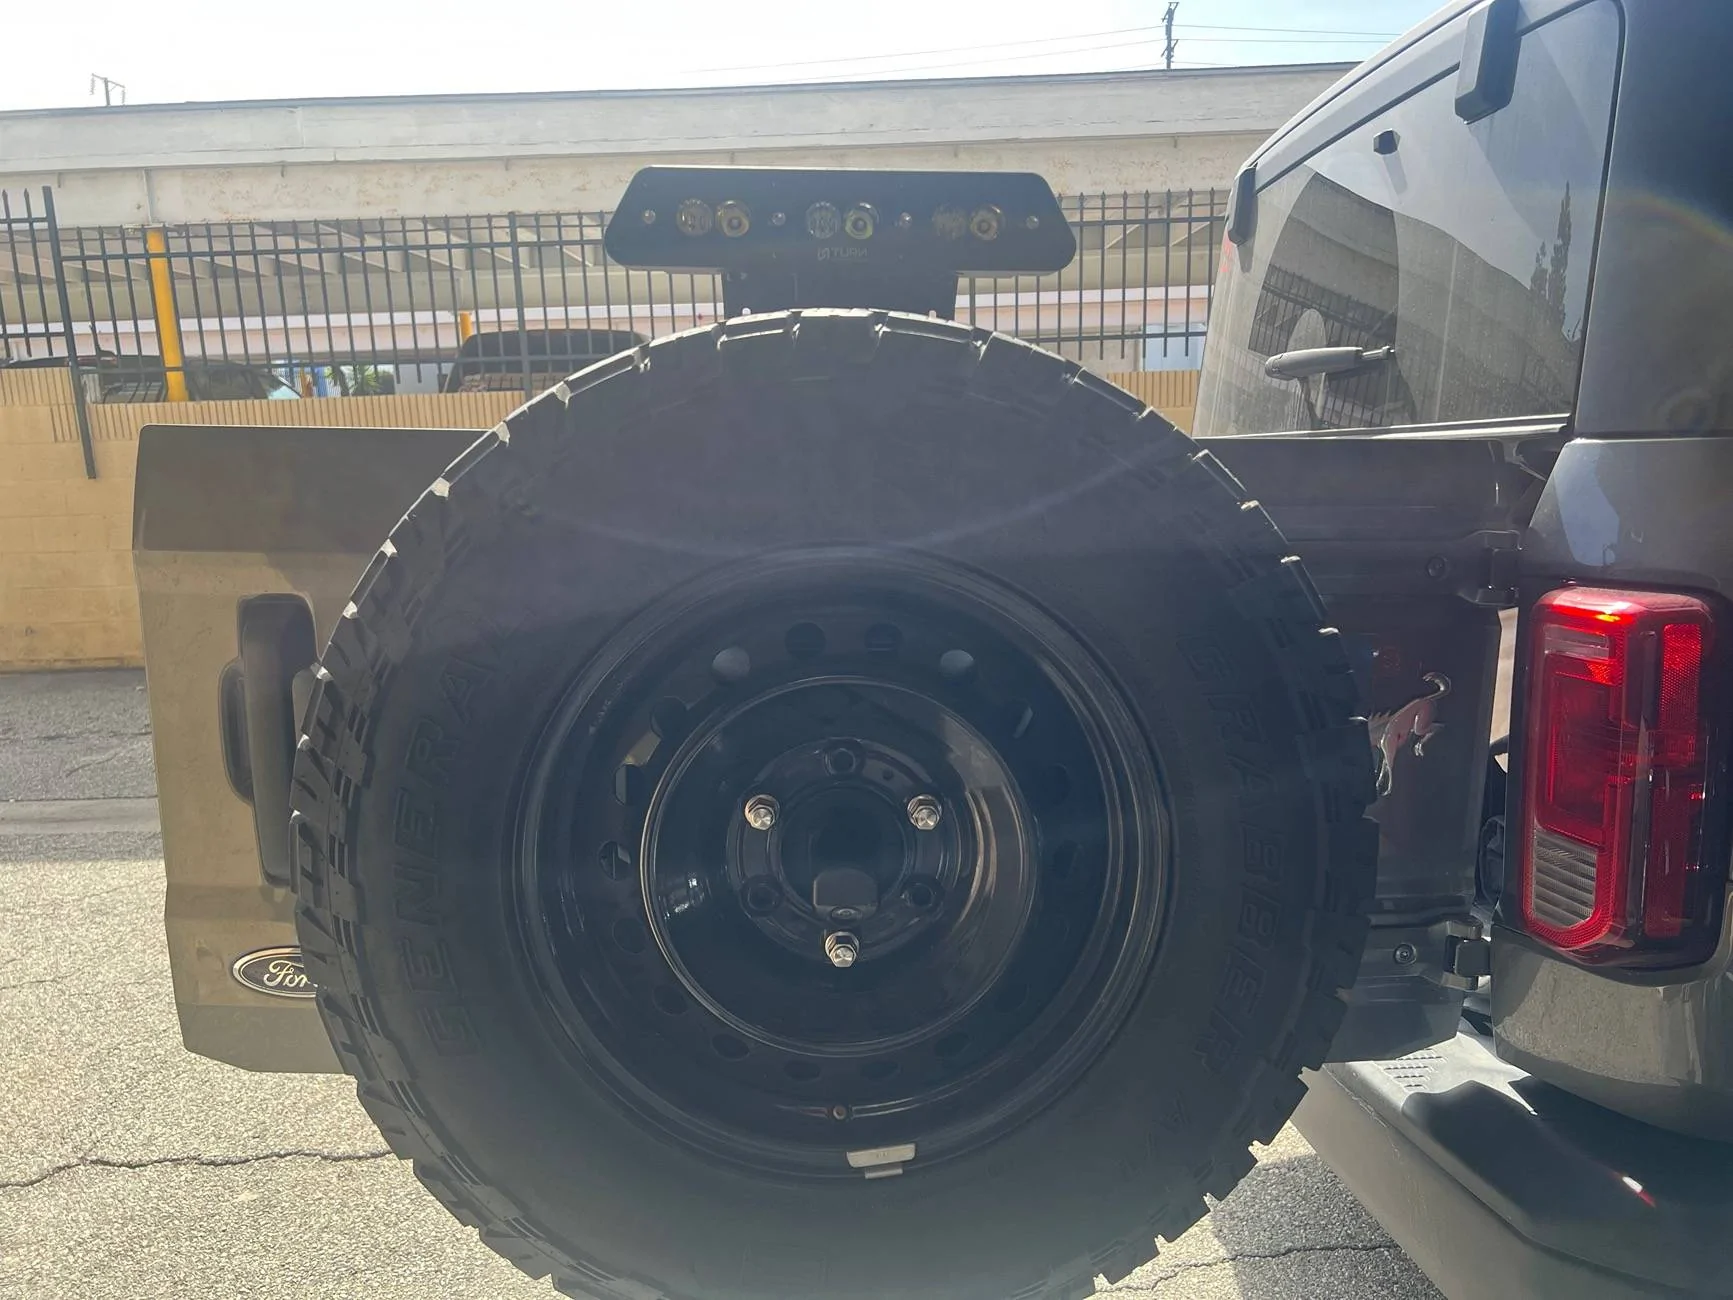
Now you can attach the light and bracket combo to the top of the first bracket using the last 3 4mm Allen head bolts and washers, before tightening make sure to adjust for your tire size. If running the stock black steelies and general grabbers the adjustments will be almost bottomed out. Now just run the included harness down the channel is the bottom bracket and attach ground wire to the back of the light housing.

First is the size comparison of the OEM brake light (non raptor).
The tools needed to complete the basics of the install are
•10mm socket
•1/2in socket
•4mm Allen wrench
•Ford torx wrench
•T25 torx wrench
Start by removing the access panel on inside of the tailgate and unplug the wires for the brake light and rear view camera. Squeeze the tabs on the plastic retainer for the rubber grommet and push out.
Remove the spare tire. Then remove the 7 1/2in bolts holding the spare tire carrier to the vehicle. Use the Ford Torx wrench to remove the third brake light from the carrier. Now you can either cut the leading to the third brake light or use the T25 Torx to remove the 8 screws holding the assembly together and simply unplug the light.

Now you can start the assembly of the new brackets using the supplied hardware.
First attach the bottom bracket to the tire carrier using the 4mm Allen head bolts and 4 washers. At this point I would recommend fitting the carrier back on the vehicle. If you aren’t using a reinforcement plate that spaces the carrier from the tailgate you might want to either place some padding or shave down the bottom of the bracket to keep it from impacting the tailgate.

Even when adjusted as much as possible the bracket will still wobble and make contact with the tailgate when simply closing it.
Now you can attach the light and bracket combo to the top of the first bracket using the last 3 4mm Allen head bolts and washers, before tightening make sure to adjust for your tire size. If running the stock black steelies and general grabbers the adjustments will be almost bottomed out. Now just run the included harness down the channel is the bottom bracket and attach ground wire to the back of the light housing.
Sponsored