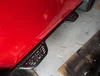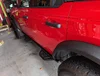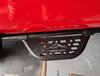

A couple of days ago I removed the aftermarket Clamber steps. I replaced those with OEM rock rails that I purchased off of eBay. So just a word to the wise. Make sure you know what you are getting. This purchase was just for the rails and not the nuts, bolts and extra brackets that you need. Still the rails were only about $150.
I reached out to Flip, here on the Bronco6g and he provided me a list of the parts. I ordered these form Ruxer Parts and a pretty good discount.
The total was about $123.
It was a very easy install. The hardest part and the part that took the longest was removing the aftermarket steps.
Then I added some aftermarket steps that slip on and can be removed when off-roading. I found the actual install instructions online for the OEM rails, so today I went back and torqued everything to spec. The thumb bolts I decided to add some blue loctite stuff.

I also installed a digital rear mirror. This is the Wolfbox G900 with a front 4K camera and rear 2.5K camera. It records front and rear while you drive. You can activate it in parking mode so that it captures whatever. The kit includes a GPS antenna. It was a bit time consuming but overall very easy to install. Route the power wire and the GPS to the drivers side. It tucks up into the molding. The GPS wire was skinny and kept falling out so I took some electrical tape and wrapped around the wire in about four places and that keeps it high and tight. The rear camera wire goes to the passenger's side and down into the molding that covers the doors. Very easy to do.
The video is very bright during the day. Now I don't have to worry about all our stuff being in the way of the mirror on long trips.
The camera wire is routed along the passenger side of the vehicle behind the panels and then into the rear door. I brought the wire out through the flaps in the hatch door. The camera is mounted on top of the third brake light with 3m tape. How does it work? For the most part really well. The night time camera is not so wonderful but is still usable. You get a lot of sparklies.

I couldn't resist and also added to each side the Bronco script logos.
I reached out to Flip, here on the Bronco6g and he provided me a list of the parts. I ordered these form Ruxer Parts and a pretty good discount.
Part Number | Part Name | Price | Quantity | Total |
|---|---|---|---|---|
M2DZ-78200B38-A | Rear Bracket | $13.78 | 2 | $27.56 |
M2DZ-54200B38-A | Center Bracket | $13.25 | 1 | $13.25 |
M2DZ-54200B39-A | Center Bracket | $13.21 | 1 | $13.21 |
-W712154-S439 | Drive Shaft Assembly Mount Bolt | $2.43 | 6 | $14.58 |
-W714986-S439 | Running Board Rear Bolt | $1.86 | 4 | $7.44 |
-W713475-S442 | Center Bracket Nut | $1.86 | 12 | $22.32 |
Subtotal: $98.36 |
Estimated Shipping to 32317 via Economy Shipping: $24.70 |
It was a very easy install. The hardest part and the part that took the longest was removing the aftermarket steps.
Then I added some aftermarket steps that slip on and can be removed when off-roading. I found the actual install instructions online for the OEM rails, so today I went back and torqued everything to spec. The thumb bolts I decided to add some blue loctite stuff.
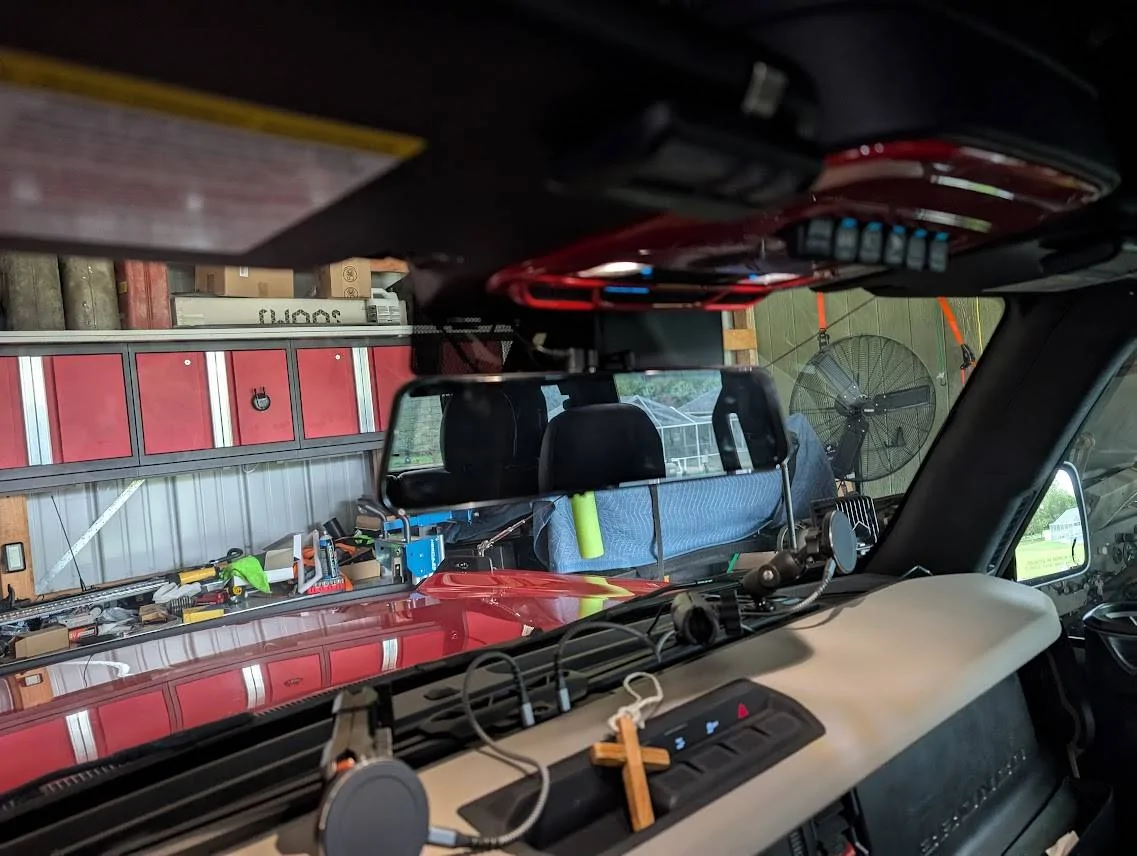
I also installed a digital rear mirror. This is the Wolfbox G900 with a front 4K camera and rear 2.5K camera. It records front and rear while you drive. You can activate it in parking mode so that it captures whatever. The kit includes a GPS antenna. It was a bit time consuming but overall very easy to install. Route the power wire and the GPS to the drivers side. It tucks up into the molding. The GPS wire was skinny and kept falling out so I took some electrical tape and wrapped around the wire in about four places and that keeps it high and tight. The rear camera wire goes to the passenger's side and down into the molding that covers the doors. Very easy to do.
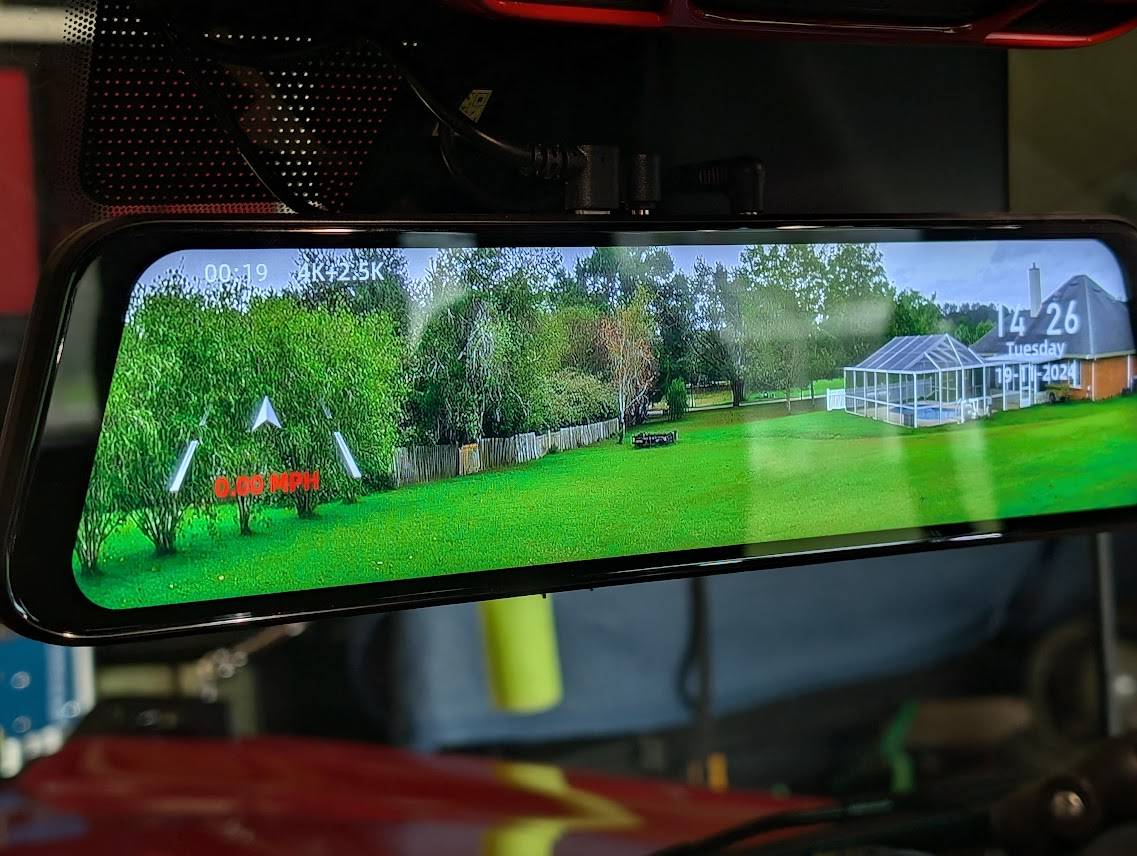
The video is very bright during the day. Now I don't have to worry about all our stuff being in the way of the mirror on long trips.
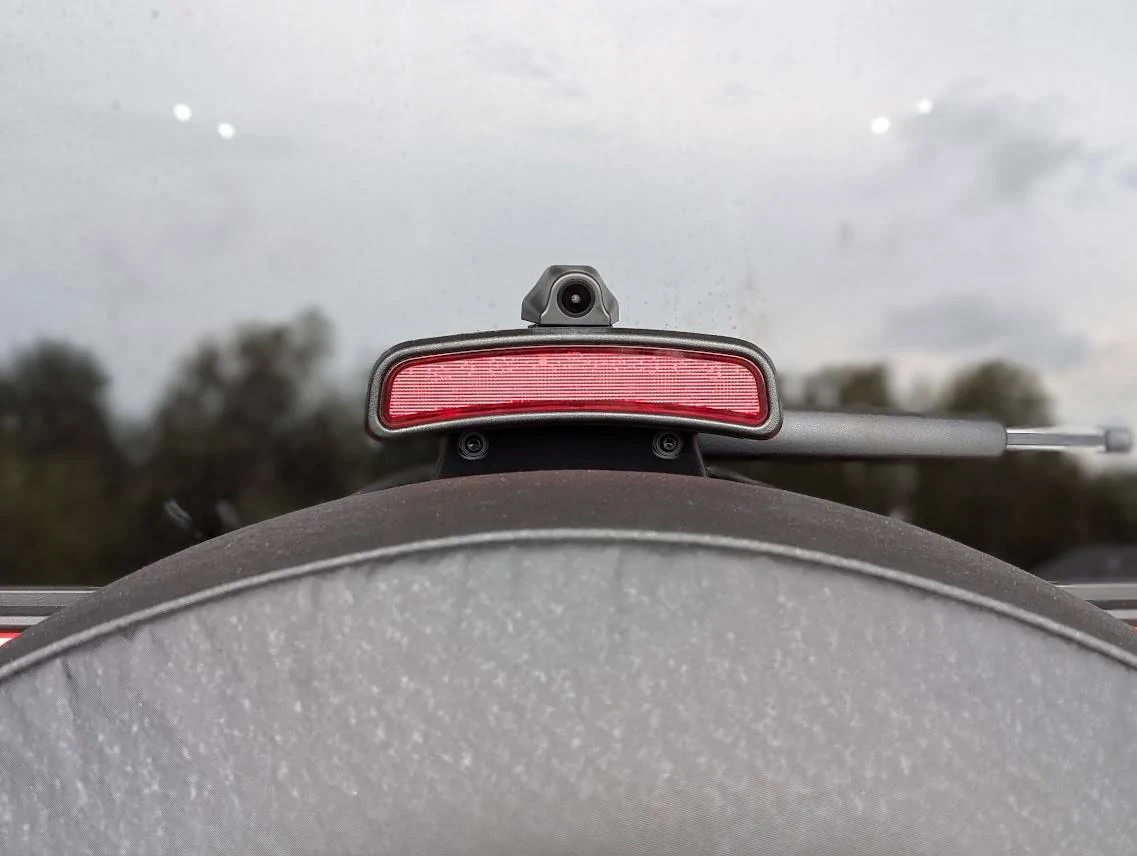
The camera wire is routed along the passenger side of the vehicle behind the panels and then into the rear door. I brought the wire out through the flaps in the hatch door. The camera is mounted on top of the third brake light with 3m tape. How does it work? For the most part really well. The night time camera is not so wonderful but is still usable. You get a lot of sparklies.
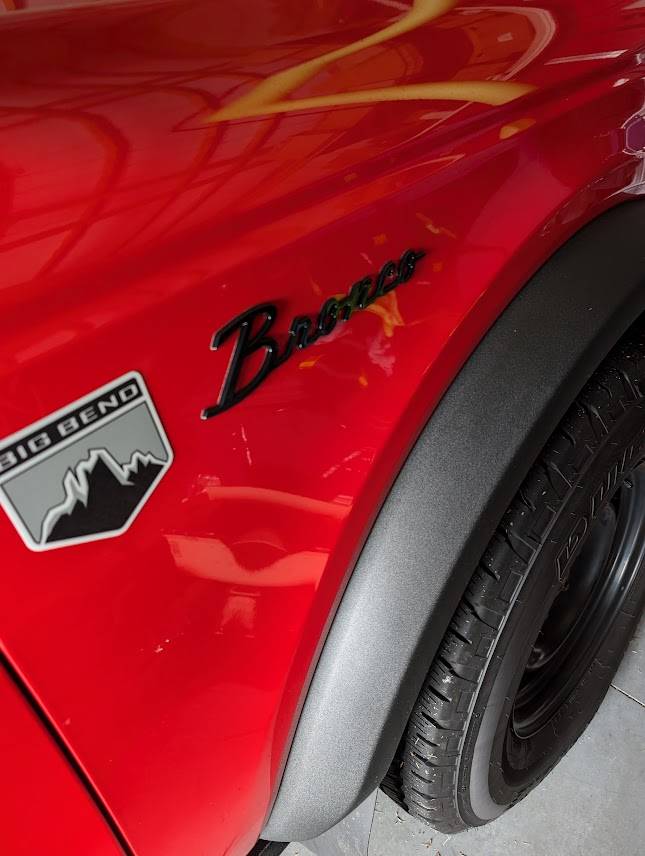
I couldn't resist and also added to each side the Bronco script logos.
Show full message↓